Chocolate Macaron Recipe

This post contains affiliate links. As an Amazon Associate, we may earn a small commission at no extra cost to you if you make a purchase through one of these links. We only recommend products we genuinely use and love 💛 Thank you for supporting Satisfy Your Cravings and helping us continue sharing delicious recipes!
Mastering Chocolate Macarons
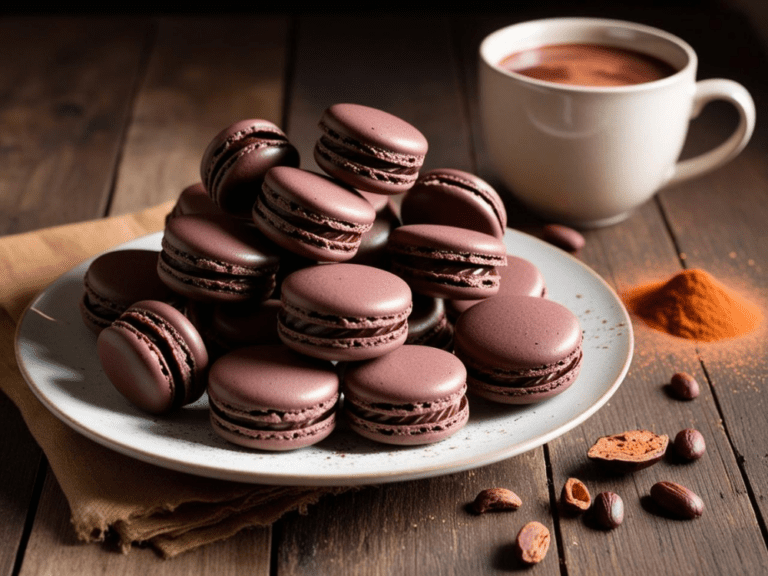
When we set out to create this Chocolate Macaron Recipe, we wanted to capture everything we adore about these little French gems—the way that crisp shell gives way to a fudgy, chocolate-packed center. We’ve spent way too many late nights in our kitchen, tweaking this one until it felt just right. It’s not about perfection (our first batch looked like sad little blobs), but about getting that thrill when we nail it—the meringue peaks standing tall, the cocoa sifted smooth. We wrote this recipe like we’d explain it to our best friend: clear, encouraging, and with all the little tips we wish we’d known starting out.
We’ll be real with you—macarons can feel intimidating, but we’ve got your back with this one. Our kitchen’s no fancy bakery; it’s a mess of flour-dusted counters and a sink full of dishes, so we made sure this recipe works for the rest of us. That ganache filling? It’s our pride and joy—silky, rich, and worth every second of stirring. We’re so excited for you to try it, to taste that chocolate magic and maybe even surprise yourself with what you can pull off. So grab your whisk, and let’s make something delicious together—we promise it’s worth it!
Why You’ll Fall Head Over Heels for This Chocolate Macaron Recipe
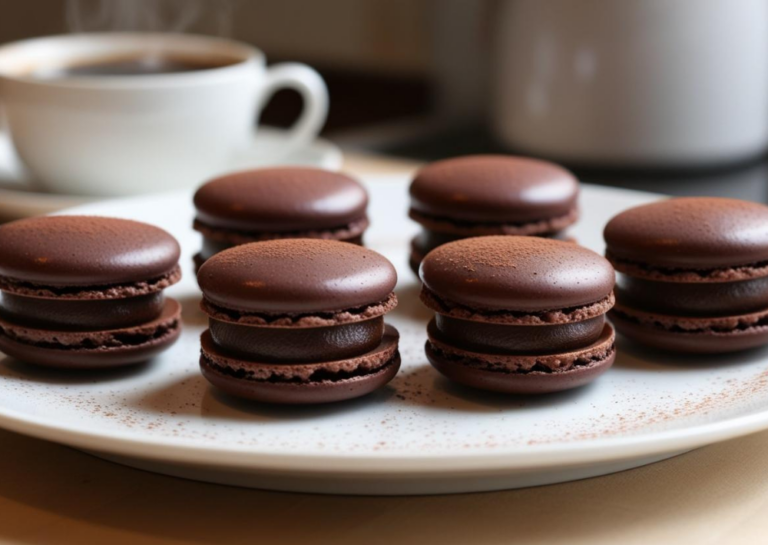
Let us tell you why this Chocolate Macaron Recipe is about to become your new kitchen obsession. We’ve poured our hearts into crafting something that’s not just a recipe but an experience—one that makes you feel like a rockstar baker, even if your apron’s more stained with flops than victories. First off, the taste. Oh, the taste! That crisp, delicate shell cracking open to reveal a chewy, chocolate-drenched center—it’s pure bliss in every bite. We’ve tweaked this Chocolate Macaron Recipe over countless batches to get that balance just right, so you’re not fumbling with guesswork. It’s rich without being overwhelming, sweet without being cloying, and every nibble feels like a little reward you totally deserve.
But it’s not just about the flavor (though, trust us, that alone is worth the hype). What we love most about this Chocolate Macaron Recipe is how it makes the whole process feel doable. We get it—macarons have this fancy, finicky reputation, and we’ve had our share of cracked shells and ganache disasters. That’s why we’ve packed this guide with every trick we’ve learned, from resting the shells to nailing that silky ganache. It’s like having us right there in your kitchen, cheering you on as you pipe those perfect circles. And when you pull those beauties out of the oven? That rush of “We did it!” is unbeatable. This Chocolate Macaron Recipe isn’t just instructions—it’s a confidence boost wrapped in chocolatey goodness.
Let’s talk about the wow factor, too. There’s something downright magical about serving up a plate of homemade macarons—especially ones as gorgeous and delicious as these from the Chocolate Macaron Recipe. We’ve watched friends’ jaws drop when we’ve casually mentioned, “Oh, we whipped these up ourselves.” They’re perfect for impressing at a party, gifting to someone special, or just savoring solo with a cup of coffee on a quiet afternoon. Plus, the recipe’s forgiving enough that you can play with it—maybe swirl in some espresso or a hint of sea salt if you’re feeling adventurous. Every time we make this Chocolate Macaron Recipe, we’re reminded why we fell in love with baking: it’s creative, it’s comforting, and it’s a little bit of magic you can share.
And here’s the kicker: it’s yours to conquer. We’ve written this Chocolate Macaron Recipe with you in mind—someone who might be nervous about macarons but is ready to dive in anyway. The ingredients are straightforward, the steps are clear, and the payoff is huge. You’ll love how it fills your kitchen with that warm, chocolatey aroma, how it challenges you just enough to feel accomplished, and how it tastes like a treat you’d pay top dollar for at a patisserie. Honestly, we’re a little jealous you’re about to discover this Chocolate Macaron Recipe for the first time—it’s that good. So go ahead, give it a shot. We promise you’ll be texting us (well, figuratively) to say, “Why didn’t I try this sooner?!
Macaron Baking Tips for Beginners: Your Cheat Sheet to Nailing It
Hey, first-time macaron maker! We totally get it—jumping into the world of macarons can feel like stepping into a baking reality show with the heat turned up. But don’t sweat it; we’ve been there, and we’ve got your back with this Chocolate Macaron Recipe. We’ve rounded up our best tips to help beginners like you go from “What’s a macaronage?” to “Look at these beauties!” in no time. Baking macarons is part art, part science, and a whole lot of fun once you get the hang of it—so let’s dive into the stuff we wish we’d known when we started.
First things first: don’t skip aging your egg whites. It sounds fancy, but all it means is separating your eggs a day or two ahead and letting the whites sit in the fridge (covered, of course). We’ve found this little trick pulls out extra moisture, making your meringue stronger and less likely to flop. Room temp works fine too, but trust us, aged whites are a game-changer for those glossy, stable peaks in the Chocolate Macaron Recipe. Oh, and speaking of meringue—beat it slow and steady. Start low, add sugar gradually, and crank it up only when it’s foamy. We’ve rushed this before and ended up with a weepy mess, so take your time here.
Next up, let’s talk about the macaronage—the fancy term for mixing your batter. This is where a lot of us beginners trip up, but here’s the secret: fold, don’t stir. Use a spatula to gently smoosh the almond flour-cocoa mix into the meringue, scraping around the bowl and pressing down the middle. You’re aiming for a lava-like flow—thick but smooth, dripping off the spatula in ribbons. We overmixed our first batch into a pancake batter disaster, so stop when it looks right (about 40-50 folds usually does it). With this Chocolate Macaron Recipe, we’ve learned it’s better to undermix a tad than go overboard.
Piping’s your next hurdle, and yep, it’s intimidating at first. Grab a piping bag, snip the tip (or use a round nozzle), and hold it straight up over your tray—none of that angled stuff. Squeeze gently, let the batter spread to about an inch, then flick your wrist to stop the flow. We’ve had our share of lopsided blobs, so here’s a pro tip: trace circles on parchment paper (flip it over before piping) to keep them uniform. And don’t skip the tray tap! Once they’re piped, bang the tray on the counter a few times to pop air bubbles. It feels silly, but it saves you from cracked shells in the Chocolate Macaron Recipe.
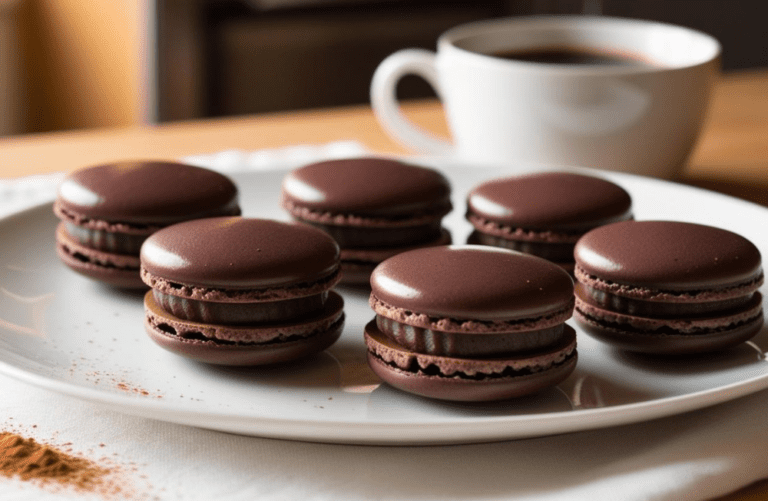
Resting the shells is non-negotiable. Let them sit out for 20-40 minutes until they form a skin—you should be able to touch them without sticking. We’ve rushed this step and regretted it when our macarons came out looking like little volcanoes. Humidity’s a factor here (a dry day is your friend), so be patient—it’s worth it for those perfect feet (those cute ruffly edges). And ovens? They’re sneaky. Preheat longer than you think—ours takes forever to stabilize—and use an oven thermometer if you can. We bake at 300°F for about 15 minutes with this Chocolate Macaron Recipe, rotating halfway because our oven’s a diva with hot spots.
Last tip: don’t stress the flops. Our first go at macarons was a comedy of errors—hollow shells, no feet, ganache everywhere but where it belonged. But every batch taught us something, and now we’re hooked. This Chocolate Macaron Recipe is forgiving enough for beginners, with steps broken down so you’re not guessing. You’ll mess up, laugh, and try again—and when you bite into that first perfect macaron, you’ll get why we’re obsessed. So grab your whisk, take a deep breath, and let’s make some magic together. You’ve got this!
Try some of our other recipes!
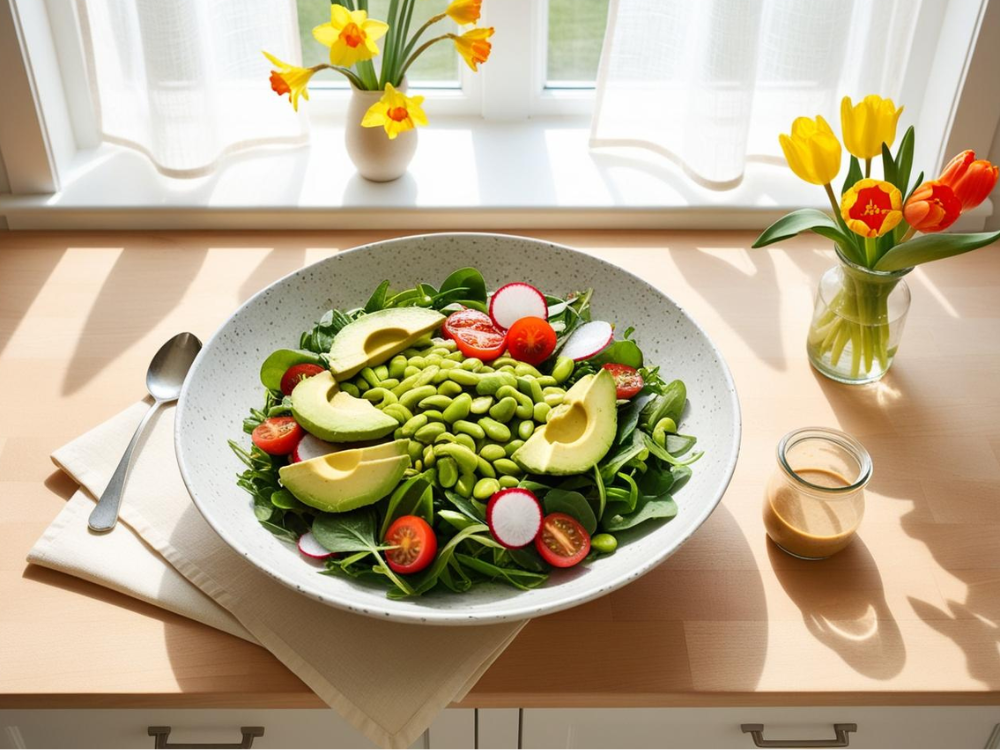
Spring Greens & Edamame Salad with Miso Dressing
Read More

Zucchini and Carrot Breakfast Muffins
Read More

Spanish-Inspired Chickpea Paella
Read More
The History of Macarons: A Sweet Journey Through Time
Let’s take a little detour before we dive back into the Chocolate Macaron Recipe and talk about where these delightful treats came from. We’ve always been suckers for a good food story, and macarons have one that’s as layered as their crispy shells. Picture this: it’s the Middle Ages, and monks and nuns across Europe are whipping up simple almond cookies—think rustic, no-fuss treats made from ground almonds, sugar, and egg whites. Some say the name “macaron” comes from the Italian “maccarone,” meaning a fine paste, which tracks with those early recipes. We like to imagine a medieval kitchen, flour-dusted habits and all, churning out the ancestors of our fancy Chocolate Macaron Recipe.
Fast forward to the 16th century, and things get juicy. Legend has it that Catherine de’ Medici, the Italian-born queen of France, brought these almond goodies with her when she married King Henry II. Her chefs supposedly introduced them to the French court, and boom—macarons start getting a glow-up. Were they the exact sandwich cookies we know today? Nah, probably not. Back then, they were more like single, crispy rounds—delicious, sure, but a far cry from the ganache-filled wonders in our Chocolate Macaron Recipe. Still, we love picturing Catherine nibbling one while plotting her next move—talk about a power snack.
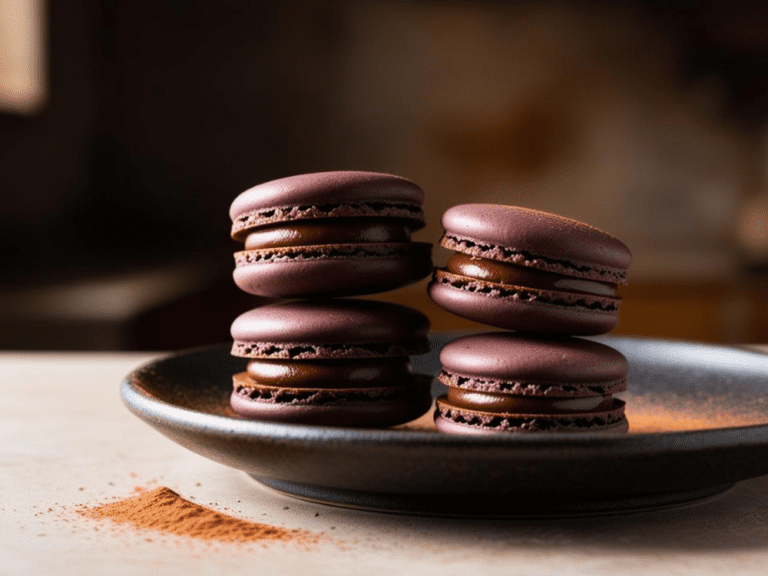
The real magic happens in the 19th century when French bakers start getting creative. Enter the “macaron parisien”—two shells glued together with a creamy filling. We’ve got to tip our hats to the folks at Ladurée, the iconic Parisian patisserie, for making this style famous around the 1830s. They paired those almond discs with jams, spices, and eventually chocolate ganache, turning a humble cookie into a fancy-pants dessert. We can’t help but grin thinking about some baker going, “Hey, let’s stick ‘em together!”—and thank goodness they did, because it paved the way for treats like our Chocolate Macaron Recipe. By the 20th century, macarons were a symbol of French elegance, popping up in tea rooms and fancy boxes everywhere.
Now, here’s where it gets wild: macarons went global. Japan took them and ran, adding matcha and crazy colors; the U.S. turned them into Instagram stars with unicorn vibes. But we’re kind of old souls about it—there’s something timeless about the classic French version that inspired our Chocolate Macaron Recipe. It’s crazy to think that a treat born in medieval monasteries ended up on our kitchen counters, right? Every time we whip up a batch, we feel connected to that history—a little bit of Catherine’s flair, a dash of Ladurée’s genius, all wrapped up in chocolatey goodness.
So yeah, macarons aren’t just a dessert—they’re a story. From those early almond lumps to the delicate, ganache-stuffed beauties we’re obsessed with, they’ve evolved over centuries into something truly special. Our Chocolate Macaron Recipe is our love letter to that journey—simple enough to nod to the past, but decadent enough to feel like a modern treat. Next time you bite into one, think about the monks, the queens, and the bakers who got us here. Pretty cool for a cookie, huh?
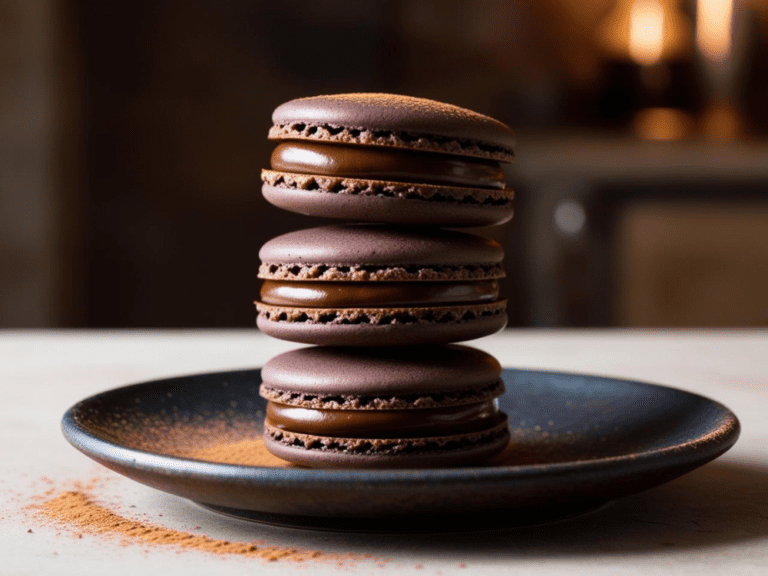
Common Mistakes to Avoid When Making Gnocchi (And How to Fix Them!)
Making homemade gnocchi is one of the most rewarding kitchen projects—you get to turn a few simple ingredients into soft, pillowy bites of goodness. But let’s be real: gnocchi can go wrong fast if you’re not careful. Whether you’ve ended up with a sticky mess, chewy dumplings, or a dough that falls apart in the water, don’t worry! I’ve been there too, and I’ve learned the hard way how to avoid these common pitfalls.
So before you dive into making Sweet Potato Gnocchi with Sage Butter, check out these top mistakes and how to fix them. Trust me, these tips will make all the difference between frustration and gnocchi perfection!
1. Boiling Instead of Roasting the Sweet Potatoes
🔴 Mistake: You boiled your sweet potatoes instead of roasting them.
⚠️ Why It’s a Problem: Boiling adds too much moisture, making your dough sticky and hard to work with.
✅ Fix It: Always roast your sweet potatoes at 400°F (200°C) until fork-tender. Roasting removes excess moisture, enhances the natural sweetness, and gives your gnocchi a better texture.
💡 Pro Tip: If you must boil them, cook the sweet potatoes whole with the skin on to trap excess moisture. Once they’re done, peel and let them steam dry before mashing.
2. Adding Too Much Flour
🔴 Mistake: You added too much flour because the dough felt sticky.
⚠️ Why It’s a Problem: Over-flouring results in dense, chewy gnocchi instead of light, pillowy ones.
✅ Fix It: Start with 1 ½ cups of flour per 1 ½ pounds of sweet potatoes and only add more if necessary. The dough should be slightly sticky but still manageable.
💡 Pro Tip: Instead of adding more flour, flour your hands and work surface lightly to prevent sticking. This keeps the dough light and soft.
3. Overworking the Dough
🔴 Mistake: You kneaded the dough like bread dough.
⚠️ Why It’s a Problem: Overworking develops too much gluten, making gnocchi rubbery and tough.
✅ Fix It: Gnocchi dough should be mixed gently, just until the ingredients come together. Stop handling it as soon as it’s combined!
💡 Pro Tip: Treat gnocchi dough like cookie dough, not bread dough—gentle hands make all the difference!
4. Not Testing a Sample Gnocchi First
🔴 Mistake: You cooked an entire batch without testing the dough first.
⚠️ Why It’s a Problem: If the dough isn’t right, all your gnocchi could fall apart in the water or turn out too dense.
✅ Fix It: Before cooking all your gnocchi, boil one test piece first. If it falls apart, your dough needs a little more flour. If it’s too firm, you’ve added too much flour—adjust accordingly!
💡 Pro Tip: Always do a test batch! This small step can save your entire recipe.
5. Not Shaping the Gnocchi Properly
🔴 Mistake: You skipped shaping the gnocchi or made them too big.
⚠️ Why It’s a Problem: Gnocchi without ridges don’t hold sauce well, and large gnocchi can be too doughy inside.
✅ Fix It: Roll the dough into ½-inch thick ropes, then cut into ¾-inch pieces. Use a fork or gnocchi board to add ridges for better sauce absorption.
💡 Pro Tip: If you don’t want to shape them, that’s fine! Just keep them small and uniform in size so they cook evenly.
6. Crowding the Pot When Boiling Gnocchi
🔴 Mistake: You dumped all the gnocchi into the pot at once.
⚠️ Why It’s a Problem: Overcrowding lowers the water temperature, causing sticky, gummy gnocchi instead of light, fluffy ones.
✅ Fix It: Cook gnocchi in small batches to keep the water at a rolling boil. This ensures they cook quickly and evenly.
💡 Pro Tip: Gnocchi is done when it floats to the top! Scoop them out with a slotted spoon as soon as they rise.
7. Overcooking the Gnocchi
🔴 Mistake: You left the gnocchi in the boiling water too long.
⚠️ Why It’s a Problem: Overcooked gnocchi become mushy and start falling apart.
✅ Fix It: As soon as the gnocchi float (about 2-3 minutes), scoop them out immediately!
💡 Pro Tip: Transfer them directly to your sauce for the best texture.
8. Skipping the Sauté Step
🔴 Mistake: You drained the gnocchi and served them immediately.
⚠️ Why It’s a Problem: Boiled gnocchi alone can be soft and slightly mushy—sautéing adds texture and flavor.
✅ Fix It: After boiling, heat butter or olive oil in a pan and sauté the gnocchi for 1-2 minutes until golden and slightly crispy.
💡 Pro Tip: Toss in fresh sage while sautéing for extra flavor—it crisps up beautifully in the butter!
9. Using the Wrong Sauce
🔴 Mistake: You paired sweet potato gnocchi with a heavy tomato sauce.
⚠️ Why It’s a Problem: Sweet potato gnocchi has a delicate, slightly sweet flavor that can get overwhelmed by acidic or overpowering sauces.
✅ Fix It: Stick with light, buttery sauces like:
- Sage butter (classic & perfect!)
- Brown butter with toasted nuts
- Lemon garlic butter
- Creamy Alfredo
💡 Pro Tip: If you want tomato sauce, use a light, fresh tomato sauce instead of a heavy marinara.
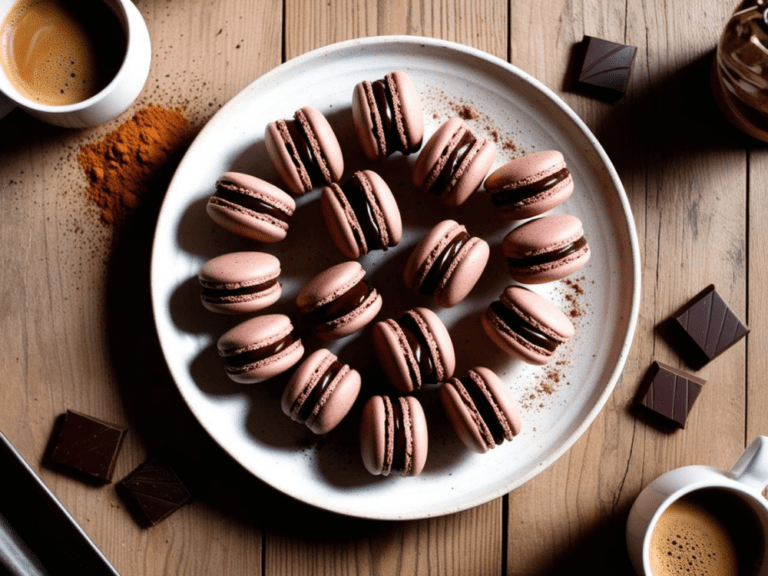
Nutritional Information: What’s Inside Our Chocolate Macaron Recipe
Alright, let’s get real about what’s going into these tasty little treats from our Chocolate Macaron Recipe—because we know some of you are curious about the numbers behind the indulgence. We’re not here to pretend macarons are a health food (ha, if only!), but we figured it’s worth breaking down what you’re getting in each bite. After all, baking’s about joy, and knowing what’s in your food can help you enjoy it guilt-free—or at least plan your splurge. So, we’ve crunched the numbers for you based on a standard batch of our Chocolate Macaron Recipe, and here’s the scoop.
Let’s start with the basics: a single macaron from this Chocolate Macaron Recipe—think one shell pair with that dreamy chocolate ganache—clocks in at roughly 80-100 calories. It depends a bit on how big you pipe ‘em and how generous you get with the filling (we’ve been known to go overboard). The main players are almond flour, sugar, egg whites, and that rich chocolate ganache, so you’re looking at about 4-5 grams of fat (mostly from the almonds and chocolate), 10-12 grams of carbs (hello, sugar!), and maybe 1-2 grams of protein from the egg whites. We’re not dietitians over here, but we’ve double-checked our math with a handy nutrition calculator to keep it legit.
Now, here’s the cool part: this Chocolate Macaron Recipe is naturally gluten-free, thanks to almond flour taking center stage instead of wheat. So if you’re dodging gluten, these babies are a win—no substitutions needed. They’re not exactly low-carb or keto-friendly with all that sugar, though—sorry, keto crew! The fat’s mostly unsaturated from the almonds, which is a nice perk, and you’re getting a tiny boost of antioxidants from the cocoa in the shells and ganache. We’re not saying it’s a superfood, but it’s fun to know there’s a little something good mixed in with the decadence.
Let’s talk dietary tweaks, because we’ve got readers with all kinds of needs. If you’re dairy-free, you could swap the butter and cream in the ganache for coconut oil and coconut cream—our Chocolate Macaron Recipe is flexible like that. We haven’t tested a vegan version yet (egg whites are clutch for that meringue), but there’s chatter online about aquafaba (chickpea water) working as a sub—let us know if you try it! Sugar-wise, it’s tough to cut back without messing up the texture, but you could experiment with a stevia blend if you’re watching your intake. Honestly, we love these as a treat just the way they are—full-on, unapologetic sweetness.
Portion-wise, a batch of our Chocolate Macaron Recipe makes about 20-24 macarons (depending on your piping skills), so you’re not committing to a calorie bomb unless you eat the whole tray—which, no judgment, we’ve been tempted to do. Each one’s a small indulgence, perfect for savoring slowly with a coffee or sharing with friends. We’ve included this breakdown not to scare you off but to help you enjoy them your way—whether it’s one as a reward or a dozen because it’s been that kind of week. Life’s too short to skip dessert, right? So dig into this Chocolate Macaron Recipe knowing exactly what’s in every delicious bite.
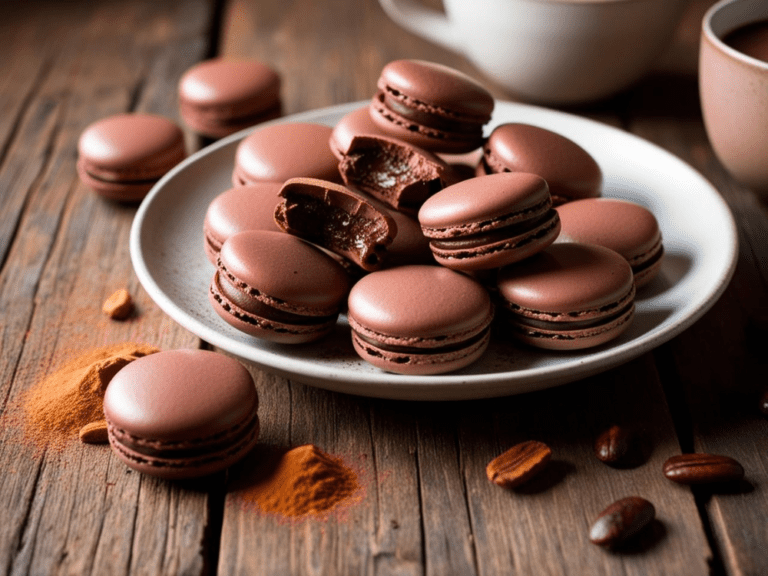
Frequently Asked Questions: Your Chocolate Macaron Recipe Queries Answered
Okay, we’ve been around the block with this Chocolate Macaron Recipe, and we know you’ve got questions—because we sure did when we started! Macarons can feel like a mystery wrapped in a riddle, especially when you’re staring at a tray of cracked shells or a runny ganache. So, we’ve gathered the most common FAQs we hear from readers (and a few we asked ourselves in the early days) to help you nail this Chocolate Macaron Recipe without the stress. Let’s dive in and sort out the stuff that keeps you up at night—or at least has you Googling at 2 a.m.
Q: Why are my macarons hollow? Oh, we’ve been there—biting into a macaron only to find it’s an empty shell like some cruel baking prank. Hollow macarons usually mean your meringue got overwhipped or your oven’s too hot. With this Chocolate Macaron Recipe, we say whip those egg whites to stiff peaks but stop before they look clumpy—think glossy, not dry. And check your oven temp with a thermometer; if it’s creeping above 300°F, dial it back. Resting the shells longer (30-40 minutes) can help too. It’s a tweak-and-try game, but you’ll get the hang of it.
Q: Why don’t my macarons have feet? Those cute little ruffles are the holy grail, right? If your Chocolate Macaron Recipe batch comes out flat-footed, it’s often because the batter’s overmixed (too runny) or didn’t rest long enough to form a skin. Fold gently until it flows like lava—not pancake batter—and let them sit until you can touch them without sticking. We’ve skipped the rest step in a rush and paid the price, so patience is your friend here. Oven heat matters too—too low, and they won’t rise, so keep it steady.
Q: Can I make these ahead of time? Totally! We love that this Chocolate Macaron Recipe plays nice with planning. You can bake the shells a day or two ahead and store them in an airtight container at room temp. The ganache keeps in the fridge for a week—just soften it up before piping. Assembled macarons taste even better after a night in the fridge (wrapped tight so they don’t sog out); the flavors meld like magic. We’ve frozen them too—up to a month—and they thaw like champs. Perfect for impressing last-minute guests!
Q: Why did my shells crack? Ugh, cracks are the worst—we’ve had our share of heartbreak over that one. It’s usually too much moisture or heat gone wild. For this Chocolate Macaron Recipe, make sure you’re tapping out air bubbles after piping (bang that tray!) and letting them rest until dry to the touch. Oven temp spikes can also crack ‘em, so preheat well and avoid opening the door mid-bake. We’ve cried over a cracked batch, but it’s all fixable with a little TLC next time.
Q: My ganache is too runny—what do I do? We’ve had ganache turn into chocolate soup before, and it’s a bummer. If yours won’t set, it’s likely too much cream or not enough chill time. With the Chocolate Macaron Recipe, we stick to the ratio we’ve given, but if it’s runny, pop it in the fridge for 20-30 minutes to firm up. Still too thin? Melt in a bit more chocolate. We’ve salvaged a batch this way and felt like kitchen wizards after.
Q: Can I use regular flour instead of almond flour? Nope, sorry—that’s a dealbreaker. Almond flour’s what gives this Chocolate Macaron Recipe its signature texture and flavor; regular flour would turn these into weird cookies instead. If you’re nut-free, there’s talk of pumpkin seed flour working, but we haven’t tried it ourselves. Stick with almond for the real deal—you won’t regret it.
Q: How do I know when they’re done baking? Good question! We look for shells that don’t wobble when you nudge ‘em—about 15 minutes at 300°F in our oven for this Chocolate Macaron Recipe. They should lift off the parchment without a fight. Underdone, and they’ll stick; overdone, and they’re dry. We’ve burned a few figuring this out, so start checking at 12 minutes and trust your gut.
Got more questions? Hit us up in the comments or on social—we’re here for it! This Chocolate Macaron Recipe is all about making you feel like a pro, so we’re not leaving you hanging. Baking’s a journey, and we’re stoked to troubleshoot with you until your macarons are picture-perfect.
Spring Greens & Edamame Salad with Miso Dressing
Clean Cuisine / Dinner Delicacies 80
0
Zucchini and Carrot Breakfast Muffins
Sunny Side Up Breakfast Delights 105
0
Spanish-Inspired Chickpea Paella
Dinner Delicacies 110
0
Green Goddess Vodka Spritz Cocktail
Sip & Savor Drinkable Delights For Every Ocassion 81
0
Lemon Chia Seed Muffins
Free Macaron Piping Template
Want perfectly shaped macarons every time? Download our free Macaron Piping Template to help guide your piping and ensure even, consistent macarons! Simply print it out, place it under your parchment paper or silicone mat, and start piping.
Need a piping guide? Download our free Macaron Piping Template to ensure perfect macarons every time!
This post contains affiliate links. As an Amazon Associate, we may earn a small commission at no extra cost to you if you make a purchase through one of these links. We only recommend products we genuinely use and love 💛 Thank you for supporting Satisfy Your Cravings and helping us continue sharing delicious recipes!
🛒 Shop the Recipe
Get everything you need to create these perfectly crisp, chewy, and chocolaty macarons right at home! 💕 These are my go-to tools and ingredients that make the process so much smoother (and more delicious 😉). As an Amazon Associate, I earn from qualifying purchases — thank you for supporting the blog!
| Item | Why I Love It | Link |
|---|---|---|
| Kitchen Scale | Accurate measurements = macaron success! A must-have for precision baking. | Shop on Amazon |
| Fine Mesh Sieve | Helps sift almond flour and cocoa powder for smooth batter. | Shop on Amazon |
| Silicone Baking Mats | Reusable, non-stick, and perfect for evenly baked macarons. | Shop on Amazon |
| Electric Hand Mixer or Stand Mixer | Whip those egg whites to glossy perfection with ease. | Shop on Amazon |
| Piping Bags + Round Tip | Control and consistency for that iconic macaron shape. | Shop on Amazon |
| Mixing Bowls (Glass or Stainless Steel) | Non-reactive bowls are best for meringue mixing. | Shop on Amazon |
| Offset Spatula | Great for gently folding ingredients without overmixing. | Shop on Amazon |
| Gel Food Coloring (Optional) | Adds rich color without messing up the batter texture. | Shop on Amazon |
👉 Click each link to grab the exact tools I use in my own kitchen! And don’t forget to check if they’re on sale — there are often great baking bundles available!
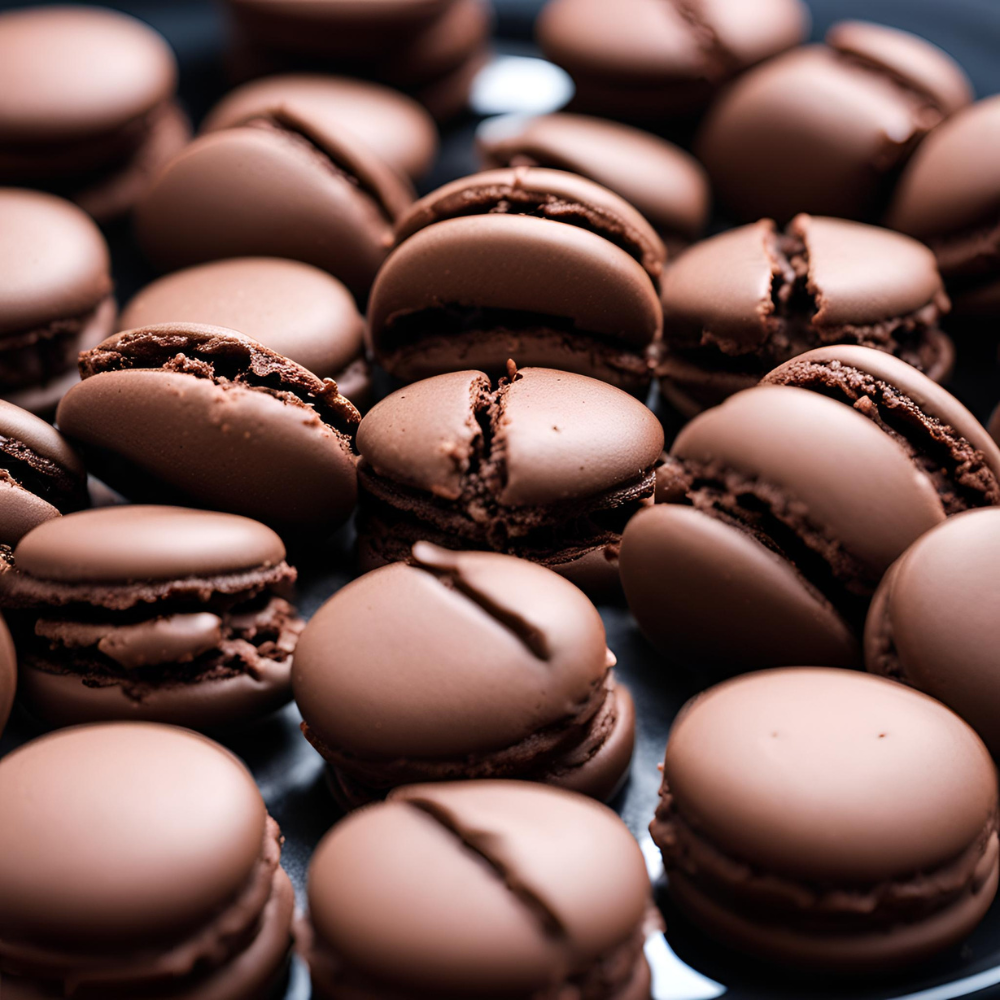
Chocolate Macaron Recipe
Ingredients
Equipment
Method
- Prepare the Dry Ingredients:Sift the almond flour, powdered sugar, and cocoa powder together into a large bowl. This ensures that your macaron shells will be smooth and free of lumps.
- Beat the Egg Whites:In a separate bowl, beat the egg whites on medium speed until foamy. Add the cream of tartar and continue beating until soft peaks form.Gradually add the granulated sugar, one tablespoon at a time, and beat on high speed until stiff peaks form. This should take about 5-7 minutes. The meringue should be glossy and hold its shape.
- Combine Ingredients:Gently fold the dry ingredients into the meringue using a spatula. Be careful not to overmix; the batter should flow like lava and form a ribbon when lifted with a spatula.
- Pipe the Macarons:Transfer the batter into a piping bag fitted with a round tip. Pipe small circles (about 1 inch in diameter) onto a baking sheet lined with parchment paper. Tap the baking sheet firmly on the counter a few times to release any air bubbles.
- Rest the Macarons:Let the piped macarons sit at room temperature for 30-60 minutes, or until a skin forms on the surface. This step is crucial for achieving the classic macaron "feet."
- Bake:Preheat your oven to 300°F (150°C). Bake the macarons for 15-18 minutes, rotating the baking sheet halfway through. The macarons are done when they are set and can be lifted from the parchment paper without sticking.
- Prepare the Ganache:While the macarons are cooling, heat the heavy cream in a small saucepan until it just begins to simmer. Pour the hot cream over the chopped chocolate and let it sit for 2-3 minutes. Stir until the chocolate is completely melted and smooth. Add the butter and mix until well combined. Allow the ganache to cool and thicken.
- Assemble the Macarons:Once the macarons are completely cool, pair them by size. Pipe a small amount of ganache onto the flat side of one macaron and gently press the other shell on top to create a sandwich.
Notes
Make-Ahead Instructions:
Chocolate macarons are perfect for making ahead because their texture improves after resting!- Macaron Shells: You can bake the shells 1-2 days in advance and store them in an airtight container at room temperature.
- Chocolate Ganache Filling: The ganache can be made up to 5 days in advance and stored in the refrigerator. Let it sit at room temperature before piping.
- Assembled Macarons: Once filled, macarons should rest in the fridge for at least 24 hours to develop the perfect chewy texture.
Storage Instructions:
✅ Refrigerator (Best for Freshness):- Store filled macarons in an airtight container in the fridge for 3-5 days.
- Let them sit at room temperature for 15-30 minutes before serving for the best texture.
- Unfilled shells: Store in an airtight container or zip-top bag and freeze for up to 3 months.
- Assembled macarons: Freeze in a single layer, then transfer to an airtight container with parchment paper between layers. They last up to 2 months.
- To thaw, place them in the fridge overnight, then let them come to room temperature before enjoying.
💡 Pro Tip: Always store macarons in a single layer or with parchment paper between them to prevent sticking and cracking.
A Little sweetness Goes a Long Way
And there you have it—our Chocolate Macaron Recipe, straight from our kitchen to yours, with all the love and chocolatey goodness we could pack into it. We’ve spilled our secrets, shared our flops, and cheered you on through every step because, honestly, there’s nothing better than seeing someone light up over a homemade treat. Baking these macarons isn’t just about the end result (though that first bite is pure heaven); it’s about the messy counters, the little victories, and that cozy feeling of creating something with your own hands. We hope this recipe brings you that same joy—it’s why we do what we do.
So, whether you’re whipping up a batch of this Chocolate Macaron Recipe for a special occasion or just because it’s Tuesday and you deserve it, know you’re part of something sweet. Share them with friends, sneak one for yourself, or stash a few in the fridge for a rainy day—we won’t tell. We’d love to hear how it goes—drop us a note or tag us with your macaron masterpieces. Here’s to more baking adventures, more chocolate-stained aprons, and more moments that taste as good as they feel. Happy baking, friends—you’ve got this!
Join Now!
Love this recipe? Don’t miss out on even more delicious, healthy, and easy-to-make recipes like this Chocolate Macaron Recipe! By joining our email community, you’ll gain access to exclusive content, bonus recipes, and tips to make clean eating a breeze.
Enter your email & click below to subscribe and start receiving tasty inspiration right away. It only takes a minute to join our growing community of food lovers dedicated to making healthy eating delicious and fun.
This post contains affiliate links. As an Amazon Associate, we may earn a small commission at no extra cost to you if you make a purchase through one of these links. We only recommend products we genuinely use and love 💛 Thank you for supporting Satisfy Your Cravings and helping us continue sharing delicious recipes!
