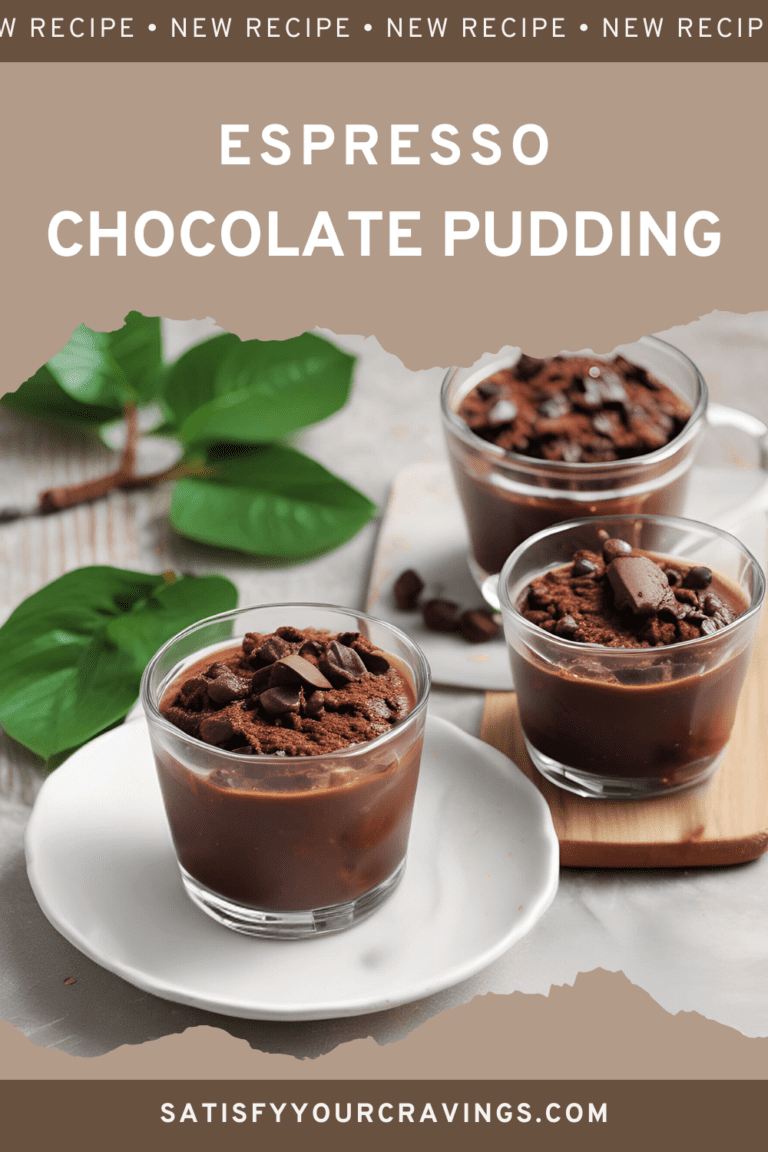
Espresso Chocolate Pudding
These partnerships help support our content and keep our recipes free for our amazing readers. We only recommend products and brands we personally use and trust in our own kitchen. Thank you for supporting us! 💛
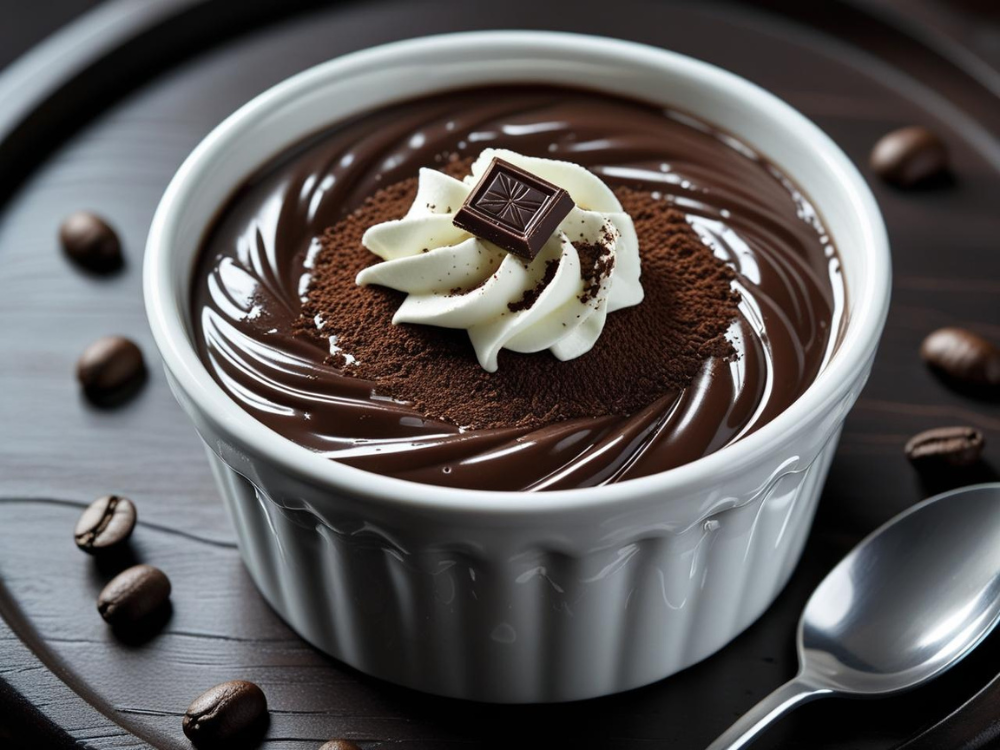
☕ Espresso Chocolate Pudding: Silky, Rich, and Coffee-Kissed
If you’ve been searching for a dessert that’s equal parts elegant and comforting, Espresso Chocolate Pudding is about to become your new go-to. This velvety treat blends the deep, indulgent flavor of rich chocolate with the bold aroma of freshly brewed espresso, creating a spoonful that’s smooth, decadent, and impossible to resist. The best part? It’s surprisingly easy to make from scratch, with just a few simple steps that guarantee café-quality flavor right in your own kitchen.
Whether you’re serving it in casual mason jars for a cozy family night or dressing it up in crystal dessert glasses for a dinner party, this pudding never fails to impress. The silky texture, coffee-chocolate balance, and make-ahead convenience make it a recipe you’ll come back to time and time again—because sometimes the simplest desserts are the ones that leave the most lasting impression.

How to Make Espresso Chocolate Pudding from Scratch (Rich, Silky, and Easy)
If you’ve ever wanted a dessert that’s as indulgent as it is simple to make, Espresso Chocolate Pudding is the answer. It’s a heavenly blend of deep chocolate richness and bold coffee aroma—silky smooth, with just enough espresso to make the chocolate flavor sing. Best of all, you can make it entirely from scratch with everyday ingredients and a few simple steps. Once you try it, you may never reach for store-bought pudding again.
1. Choose Quality Ingredients First
The better your chocolate and coffee, the better your pudding will taste.
Chocolate: Use high-quality dark or semi-sweet chocolate with at least 60–70% cocoa for a rich, complex flavor.
Espresso: Freshly brewed espresso is best, but strong French press or Moka pot coffee works too.
Pro Tip: This brand of fair-trade dark chocolate melts like a dream—get it here.
2. Whisk Your Dry Ingredients Thoroughly
In a medium saucepan, combine sugar, cocoa powder, cornstarch, and a pinch of salt. Whisking them together before adding liquids ensures the cornstarch disperses evenly, preventing lumps later.
3. Add Milk and Cream Slowly
Pour in whole milk and heavy cream gradually while whisking. This step keeps the mixture smooth from the start. The combination of milk for lightness and cream for richness creates the perfect pudding texture.
4. Cook Low and Slow
Place the saucepan over medium heat and whisk constantly as the pudding warms. You’ll notice it begin to thicken after 5–7 minutes. Keep whisking until it coats the back of a spoon. Cooking slowly prevents scorching and gives you that velvety finish.
Must-Have: A heavy-bottom saucepan distributes heat evenly—see my favorite here.
5. Melt in the Chocolate and Espresso
Once the mixture has thickened, remove from the heat and stir in chopped chocolate until melted and glossy. Add your freshly brewed espresso and whisk until fully incorporated. The heat of the pudding will release the coffee’s aroma, making your kitchen smell like a café.
6. Strain for Perfect Smoothness
For a truly professional result, pour the pudding through a fine-mesh sieve before chilling. This step catches any tiny lumps or bits of unmelted chocolate, ensuring every bite is silky.
7. Chill Before Serving
Spoon the pudding into individual ramekins, jars, or dessert glasses. Cover with plastic wrap pressed directly against the surface to prevent a skin from forming. Chill for at least 2–4 hours before serving.
💡 Why This Works:
By starting with quality ingredients, incorporating them in the right order, and cooking gently, you create a pudding that’s rich yet balanced—where the espresso enhances the chocolate instead of overpowering it. Every bite is smooth, decadent, and unforgettable.
What Kind of Coffee or Espresso Works Best in Chocolate Pudding? (Maximize Flavor Without Bitterness)
The coffee you choose for Espresso Chocolate Pudding can make or break the final flavor. The right brew will enhance the chocolate’s richness and add depth, while the wrong one can overpower or taste bitter. Choosing your espresso thoughtfully ensures every spoonful delivers that perfect balance of indulgent chocolate and aromatic coffee.
1. Freshly Brewed Espresso for the Boldest Flavor
Nothing beats the intensity of a freshly pulled double shot of espresso. It’s concentrated, smooth, and blends seamlessly into warm pudding. The robust coffee notes cut through the sweetness and complement the cocoa beautifully.
Pro Tip: This compact espresso machine makes café-quality shots in minutes—get it here.
2. Strong Brewed Coffee as an Alternative
If you don’t have an espresso machine, you can still achieve amazing results. Use a French press, Moka pot, or AeroPress to brew strong coffee. Aim for a bold, smooth flavor without excessive bitterness—medium or dark roast beans work best.
3. Espresso Powder for Ease and Intensity
High-quality espresso powder is a fantastic option when you want maximum flavor with minimal effort. It dissolves instantly and gives you complete control over the coffee strength. Simply whisk it into the pudding mixture along with your dry ingredients.
Recommendation: This premium espresso powder is my go-to for baking and desserts—find it here.
4. Bean Selection Matters
Medium Roast: Balanced flavor that won’t overpower the chocolate.
Dark Roast: Deeper, richer coffee notes—pairs well with high-cocoa chocolate.
Single-Origin Beans: Unique tasting notes (like caramel or berry) for an extra layer of flavor sophistication.
5. Freshness is Key
Whether you’re using beans for brewing or grinding espresso, freshness makes all the difference. Coffee loses its vibrant aroma quickly, so grind your beans just before brewing for the best results.
💡 Why This Works:
The right coffee or espresso brings out the chocolate’s natural complexity and adds a luxurious depth to each bite. By choosing a brew method and roast that matches your chocolate, you ensure every spoonful of pudding feels balanced, smooth, and absolutely irresistible.
Try some of our other recipes!
Can You Make Espresso Chocolate Pudding Without Dairy? (Yes—Here’s How to Keep It Creamy and Indulgent)
You might think removing dairy from Espresso Chocolate Pudding means sacrificing that rich, silky texture—but it’s surprisingly easy to make a plant-based version that’s just as decadent as the classic. By choosing the right milk alternatives and dairy-free chocolate, you can enjoy all the luscious creaminess without the dairy.
1. Use Full-Fat Plant-Based Milk for Creaminess
For the closest match to traditional pudding, use full-fat coconut milk or oat milk. Coconut milk delivers a subtle tropical undertone, while oat milk has a naturally sweet, neutral flavor that lets the chocolate and espresso shine.
Pro Tip: This brand of organic oat milk is ultra-creamy—find it here.
2. Swap Heavy Cream for Coconut Cream
If your recipe calls for heavy cream, coconut cream is your best dairy-free replacement. It’s thick, rich, and whips into the pudding beautifully, giving you that luxurious texture.
3. Choose Dairy-Free Chocolate
Look for high-quality dark chocolate labeled as vegan or dairy-free. These varieties use cocoa butter instead of milk fat, delivering the same deep chocolate flavor without dairy.
4. Replace Butter with Coconut Oil or Vegan Butter
Coconut oil adds a delicate richness and blends easily with chocolate. If you prefer a more neutral flavor, choose a plant-based butter substitute.
5. Whisk and Cook Gently
Plant-based milks can scorch faster than dairy, so cook your pudding over medium-low heat and whisk constantly to prevent sticking.
💡 Why This Works:
By selecting full-fat plant milks, dairy-free chocolate, and rich plant-based fats, you can recreate the creamy, indulgent experience of espresso chocolate pudding—minus the dairy. It’s proof that you don’t have to give up flavor or texture to enjoy a vegan-friendly dessert.

How Do You Get the Creamiest Espresso Chocolate Pudding Texture? (Pro Tips for Silky-Smooth Results)
The magic of Espresso Chocolate Pudding lies in its texture—thick enough to hold its shape on a spoon, yet silky enough to melt in your mouth. Achieving that perfect creaminess isn’t about fancy equipment—it’s about technique, ingredients, and patience.
1. Balance the Fat-to-Liquid Ratio
Creaminess comes from using the right mix of milk and cream.
Whole milk provides lightness.
Heavy cream adds richness and body.
Too much liquid can make pudding thin, while too much fat can make it heavy. Aim for a 2:1 milk-to-cream ratio for ideal results.
2. Use Cornstarch for Smooth Thickening
Cornstarch is your best thickening agent for pudding. It creates a stable, glossy texture without clumping—if whisked in properly with your dry ingredients before adding liquid.
3. Cook Low and Slow
Rushing the process by turning up the heat risks curdling or scorching. Keep the heat at medium-low and whisk constantly. The pudding will thicken gradually, giving you more control over its final texture.
Must-Have: A silicone whisk is gentle on cookware and prevents lumps—this is my favorite.
4. Melt the Chocolate Off the Heat
Once your pudding base has thickened, remove it from the heat before adding chopped chocolate. This prevents overheating, which can cause the chocolate to seize or turn grainy.
5. Strain for Professional Smoothness
Pour your pudding through a fine-mesh sieve before chilling. This extra step removes any small lumps or undissolved bits, leaving you with that luxurious, restaurant-style silkiness.
6. Chill Completely Before Serving
Even though it’s tempting to dig in while warm, chilling your pudding for at least 2–4 hours allows it to fully set and develop its velvety texture.
💡 Why This Works:
By balancing your ingredients, cooking patiently, and adding professional finishing touches like straining, you create a pudding that’s creamy, smooth, and irresistibly indulgent in every bite.

How Long Does Espresso Chocolate Pudding Take to Set? (The Perfect Chill Time for Best Results)
One of the most common questions about Espresso Chocolate Pudding is how long to let it set before serving. While the pudding begins to thicken on the stovetop, chilling is what transforms it from a warm, pourable custard into a firm yet creamy dessert. Getting the timing right ensures that every spoonful holds its shape while still melting in your mouth.
1. Minimum Chill Time: 2 Hours
If you’re in a hurry, you can chill your pudding for at least 2 hours before serving. At this point, it will be set enough to hold its form but still soft and creamy.
2. Optimal Chill Time: 4 Hours or Overnight
For the best flavor and texture, aim for 4 hours or even overnight. Extended chilling allows the espresso and chocolate flavors to deepen and meld, while giving the pudding a perfectly smooth, sliceable consistency.
Pro Tip: Store in individual jars or ramekins for faster chilling and easy serving—these are my favorites.
3. Preventing a Skin on Top
To avoid the thick skin that can form on pudding, press a piece of plastic wrap directly onto the surface before refrigerating. This keeps the top smooth and ready for garnishing.
4. Serving Temperature Matters
While most people enjoy pudding cold, letting it sit at room temperature for 5–10 minutes before serving can make it taste creamier and more aromatic.
5. When It’s Ready to Serve
Your pudding is ready when it has a firm jiggle and a spoon slides in cleanly without sinking too much. Add your favorite toppings—whipped cream, chocolate curls, or a sprinkle of cocoa—just before serving.
💡 Why This Works:
Allowing your pudding enough time to chill ensures the flavors fully develop and the texture becomes rich, creamy, and perfectly set—turning a simple dessert into something truly irresistible.
Can You Make Espresso Chocolate Pudding Ahead of Time? (Why It’s Even Better the Next Day)
One of the best things about Espresso Chocolate Pudding is that it’s not just make-ahead friendly—it actually tastes better after a night in the fridge. As it chills, the espresso and chocolate flavors have time to meld into a richer, deeper profile, and the texture becomes even silkier. This makes it a perfect dessert for dinner parties, holidays, or weekly meal prep.
1. Make It the Night Before for Peak Flavor
Preparing your pudding the day before serving allows the flavors to fully develop. The coffee becomes more aromatic, and the chocolate settles into a luscious, velvety base.
2. Store in Airtight Containers
Use glass jars, ramekins, or any airtight container to keep your pudding fresh and prevent it from absorbing fridge odors.
Pro Tip: These mini dessert jars are perfect for presentation and storage—find them here.
3. Keep the Garnish Separate
If you’re adding whipped cream, chocolate curls, or other toppings, wait until just before serving. This keeps your garnish fresh and prevents it from deflating or absorbing moisture from the pudding.
4. How Long It Lasts in the Fridge
Properly stored, espresso chocolate pudding will stay fresh for up to 3 days. After that, the texture can begin to loosen and the flavors may start to fade.
5. Freezing for Longer Storage
You can freeze pudding, but it may slightly change the texture. If freezing, store in airtight containers, leave a little space for expansion, and thaw overnight in the fridge before serving.
💡 Why This Works:
By making your pudding ahead, you take the pressure off last-minute prep while giving the flavors time to bloom. The result is a dessert that’s richer, smoother, and ready to impress the moment it hits the table.
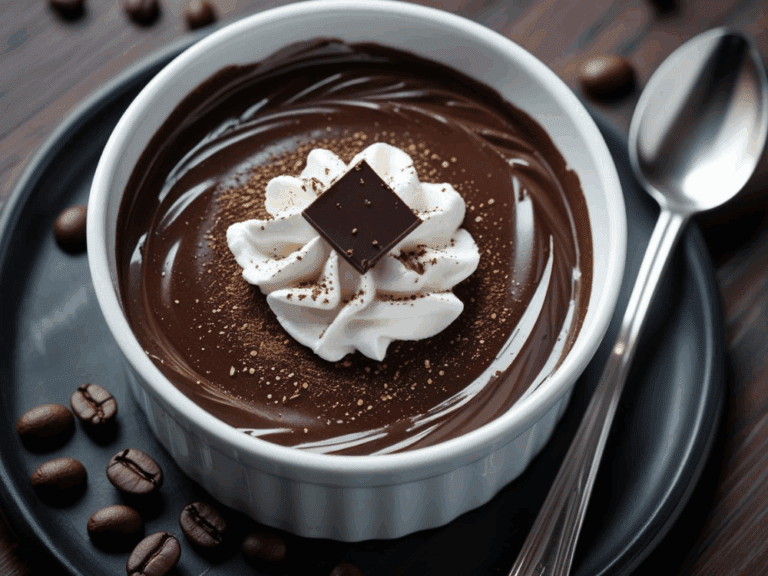
What Toppings Go Well with Espresso Chocolate Pudding? (Flavor Combinations You’ll Love)
The beauty of Espresso Chocolate Pudding is that it’s delicious on its own—but toppings can take it from simple to show-stopping. The right garnish can add texture, enhance flavor, and create a stunning presentation that makes your dessert feel worthy of a bakery display.
1. Whipped Cream
A swirl of freshly whipped cream adds lightness and balances the richness of the pudding. For an extra flavor boost, fold in a splash of vanilla extract or coffee liqueur.
Pro Tip: This stainless steel whipped cream dispenser makes silky cream in seconds—get it here.
2. Chocolate Garnishes
Shaved Dark Chocolate – Adds visual elegance and an extra punch of cocoa.
Chocolate Curls – Perfect for a professional, bakery-style finish.
Cocoa Powder Dusting – Creates a simple yet striking contrast on whipped cream.
3. Coffee-Themed Touches
Whole Coffee Beans – A chic garnish that hints at the espresso flavor inside.
Espresso Powder Sprinkle – Intensifies coffee aroma and taste in every bite.
4. Crunchy Additions
Candied Nuts – Almonds, pecans, or hazelnuts for a sweet-salty crunch.
Biscotti Crumbles – Adds texture and pairs beautifully with coffee flavors.
5. Sauces and Drizzles
Salted Caramel Drizzle – Sweet, salty, and decadent.
Chocolate Ganache – For the ultimate double-chocolate indulgence.
Berry Coulis – Adds fruity brightness to balance richness.
💡 Why This Works:
Toppings aren’t just decoration—they elevate both the taste and texture of your pudding. Whether you keep it simple with whipped cream or go all out with chocolate curls and caramel drizzle, your garnishes can turn every serving into a little work of art.
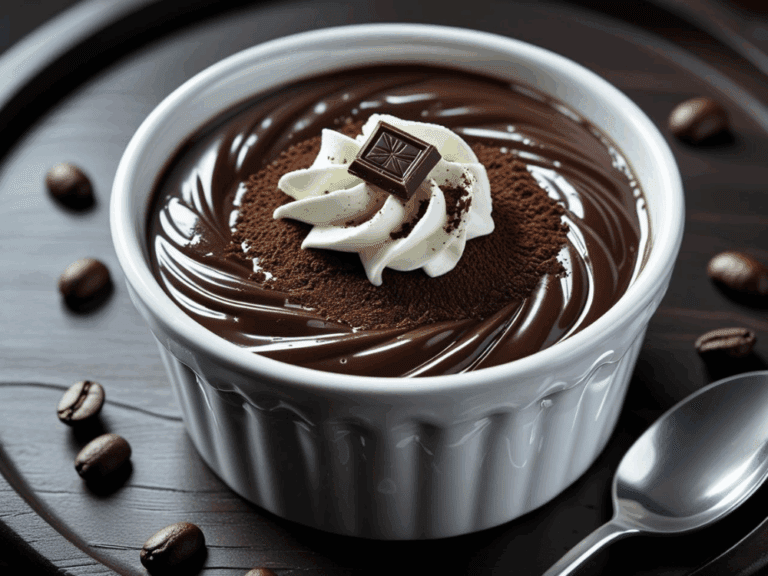
How Can I Make Espresso Chocolate Pudding Look Fancy for Guests? (Simple Tricks for a Stunning Presentation)
While Espresso Chocolate Pudding is naturally decadent, a few thoughtful presentation touches can turn it into a showpiece dessert worthy of a dinner party or special occasion. The best part? You don’t need to be a pastry chef—just a few easy upgrades will make your pudding look as good as it tastes.
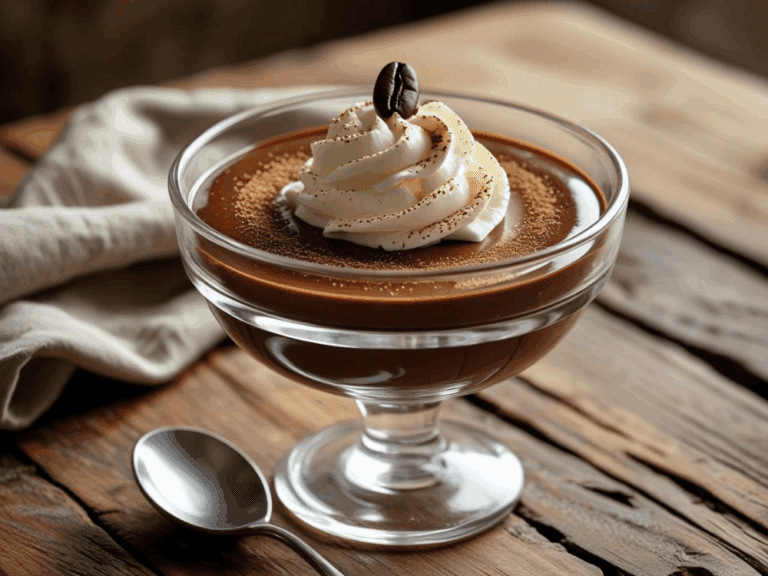
1. Serve in Elegant Glassware
Presentation starts with the container.
Stemmed Dessert Glasses – Create a café-style vibe.
Espresso Cups – Perfectly on theme for a coffee-infused dessert.
Mini Mason Jars – Add rustic charm while keeping portions controlled.
Pro Tip: This set of vintage-inspired dessert glasses always impresses—find them here.
2. Layer for Visual Impact
Layer pudding with whipped cream, chocolate shavings, or cookie crumbs for a parfait-like effect. This adds both beauty and texture.
3. Use Piping Bags for Whipped Cream
Instead of spooning whipped cream on top, use a piping bag to create clean, professional-looking swirls. Finish with a sprinkle of cocoa powder or a single coffee bean for a sophisticated touch.
Must-Have: A reusable piping bag kit makes this super easy—get it here.
4. Garnish with Edible Accents
Chocolate Curls or Shavings – Eye-catching and elegant.
Candied Orange Peel – Adds color and a subtle citrus aroma.
Mint Sprigs – A pop of green for contrast.
5. Add a Side Pairing
Serve with a small biscotti, shortbread cookie, or chocolate-dipped spoon on the plate for a little extra indulgence and visual appeal.
💡 Why This Works:
Great presentation engages more than just taste—it creates an experience. By choosing the right serving vessel, adding layers, and finishing with elegant garnishes, you’ll make a dessert that guests remember long after the last bite.

Can I Turn This Espresso Chocolate Pudding into a Layered Dessert or Trifle? (Creative Ways to Elevate It)
Absolutely! Espresso Chocolate Pudding is incredibly versatile and can easily be transformed into a layered dessert masterpiece. Whether you want to create an elegant trifle for a dinner party or individual parfaits for a casual get-together, layering adds texture, flavor variety, and stunning visual appeal.
1. Build a Classic Trifle
In a large glass trifle bowl, alternate layers of:
Espresso chocolate pudding
Crushed cookies or cake (ladyfingers, chocolate sponge, or biscotti)
Whipped cream or mascarpone cream
Repeat until the bowl is full, finishing with whipped cream and decorative toppings.
2. Make Individual Parfaits
Serve layered pudding in stemmed glasses, mason jars, or espresso cups. They look beautiful and make portion control effortless.
3. Add Flavor Layers
Mix and match flavors for extra depth:
Berry Compote – Adds a sweet-tart contrast.
Salted Caramel – For a decadent, sweet-salty finish.
Coffee Liqueur – Infuse ladyfingers or sponge cake for an adults-only twist.
4. Play with Texture
The best layered desserts balance creamy and crunchy. Pair the silky pudding with crunchy biscotti crumbles, toffee bits, or chocolate-covered espresso beans.
5. Finish with a Statement Garnish
A sprinkle of cocoa powder, chocolate curls, or a few coffee beans on top turns your layered creation into a professional-looking dessert.
💡 Why This Works:
Layering Espresso Chocolate Pudding gives you endless customization options and transforms a simple dessert into a multi-layered indulgence that’s as beautiful as it is delicious.
Lemon Chia Seed Muffins
Chocolate-Dipped Oranges with Sea Salt
Lucky Leprechaun Frozen Yogurt Bark
What’s the Best Way to Store and Serve Leftover Espresso Chocolate Pudding? (Keep It Fresh and Delicious)
One of the great things about Espresso Chocolate Pudding is that it stores beautifully, making it easy to enjoy later without losing that luscious, creamy texture. With the right storage methods, you can keep every bite as fresh, flavorful, and silky as the day it was made.
1. Use Airtight Containers
Transfer your pudding into airtight glass jars or ramekins to lock in freshness and prevent it from absorbing other fridge odors.
Pro Tip: These leak-proof glass containers are perfect for storing and serving—get them here.
2. Prevent a Skin from Forming
Before sealing, press a piece of plastic wrap directly onto the surface of the pudding. This blocks air contact and keeps the top smooth.
3. Store in the Refrigerator
Refrigerate your pudding promptly after it has cooled to room temperature. Properly stored, it will stay fresh for up to 3 days.
4. Freezing for Longer Storage
If you want to keep your pudding for longer, you can freeze it in portion-sized containers for up to 1 month. Thaw overnight in the fridge before serving. Note that the texture may soften slightly after freezing.
5. Serving Leftovers
Pudding is best served chilled, but letting it sit at room temperature for 5–10 minutes before eating will make the flavor richer and the texture even creamier. Add a fresh dollop of whipped cream, chocolate shavings, or a dusting of cocoa powder right before serving to refresh its appearance.
💡 Why This Works:
By storing your pudding properly and adding fresh garnishes before serving, you can enjoy every spoonful just as much the second (or third!) time around—making this dessert perfect for both planned and spontaneous indulgence.
These partnerships help support our content and keep our recipes free for our amazing readers. We only recommend products and brands we personally use and trust in our own kitchen. Thank you for supporting us! 💛
🛒 Shop the Recipe – Our Must-Have Tools for Perfect Espresso Chocolate Pudding
To make Espresso Chocolate Pudding truly shine, the right tools can take you from “pretty good” to wow-worthy results—every single time. These aren’t just kitchen gadgets… they’re your secret weapons for achieving silky texture, deep flavor, and picture-perfect presentation right at home.
Here’s what we swear by (and why you’ll love them too):
1️⃣ Wacaco Picopresso Portable Espresso Maker – Barista-Quality Flavor Anywhere
📍 Get it here →
If you want the richest coffee flavor in your pudding, nothing beats real espresso. The Wacaco Picopresso delivers café-quality shots in a compact, travel-friendly size. It captures bold coffee aroma and smooth crema, giving your pudding the coffee kick it deserves.
💡 Think of it as the bridge between your kitchen and your favorite coffee shop—without the long line.
2️⃣ Non-Stick Saucepan – Perfect for Lump-Free Pudding
📍 Get it here →
No one likes scorched milk or clumpy pudding. This heavy-bottom, ceramic-coated saucepan heats evenly, prevents sticking, and cleans like a dream. Your pudding will glide to silky perfection every time.
💡 The kind of saucepan that makes you wonder how you ever cooked without it.
3️⃣ Professional Whisk – Whip It Smooth Every Time
📍 Get it here →
A smooth pudding starts with the right whisk. This ergonomic whisk blends chocolate, espresso, and cream into a lump-free, velvety base without splashing.
💡 It’s not just a whisk—it’s your guarantee for silky pudding every single batch.
4️⃣ Bormioli Rocco Gelato Dessert Glasses – Serve in Style
📍 Get it here →
Presentation counts, and these elegant dessert glasses make your pudding look as indulgent as it tastes. Perfect for layering whipped cream, chocolate curls, or fresh berries.
💡 Because you eat with your eyes first—and these glasses make every bite an event.
5️⃣ Mini Glass Mason Jars – Perfect for Chilling and Gifting
📍 Get it here →
These mini jars are ideal for chilling individual servings, meal prepping desserts for the week, or gifting pudding to friends and neighbors. They seal tightly to keep flavors fresh.
💡 Dessert just got portable—and irresistibly adorable.
✨ Why We Recommend These:
These tools don’t just “do the job”—they elevate the entire cooking and serving experience. From brewing bold espresso to achieving a perfectly smooth pudding base, then serving it like a pro, they help you cook smarter, impress more, and enjoy every spoonful.
Espresso Chocolate Pudding
Equipment
- Medium Saucepan: For heating the milk, cream, and espresso powder.
- Whisk: To mix ingredients and ensure a smooth texture.
- Mixing Bowls: For combining dry ingredients and tempering the egg yolks.
- Ladle: To help temper the egg yolks with the hot pudding mixture.
- Spatula or Wooden Spoon: For stirring the pudding mixture while it cooks.
- Measuring Cups and Spoons: To measure out all ingredients accurately.
- Plastic Wrap: To cover the pudding and prevent a skin from forming.
- Serving Dishes: Individual bowls or a large bowl for chilling and serving the pudding.
Ingredients
- 2 Cups Whole milk
- 1 Cup Heavy cream
- 3 Tbsp Instant espresso powder
- 3/4 Cup Granulated sugar
- 1/4 Tsp Salt
- 4 large eggs yolks
- 6 Oz Semisweet chocolate, finely chopped
- 1 Tbsp Unsalted butter
- 1 Tsp Vanilla extract
Instructions
- Prepare the Espresso Mixture:In a medium saucepan, combine the milk, heavy cream, and instant espresso powder. Heat over medium heat, stirring occasionally, until the mixture is hot and the espresso powder has dissolved. Do not let it boil.
- Mix Dry Ingredients:In a separate bowl, whisk together the sugar, cocoa powder, cornstarch, and salt until well combined.
- Combine Ingredients:Gradually whisk the dry ingredients into the hot milk mixture until smooth.
- Cook the Pudding Base:Continue to cook the mixture over medium heat, stirring constantly, until it begins to thicken and come to a gentle boil. Reduce the heat to low and cook for an additional 2 minutes, stirring frequently.
- Temper the Egg Yolks:In a small bowl, whisk the egg yolks. Slowly add a ladleful of the hot pudding mixture to the egg yolks, whisking constantly to temper them and prevent curdling. Gradually whisk the tempered yolks back into the saucepan.
- Cook Until Thickened:Increase the heat to medium and cook the pudding, stirring constantly, until it thickens to a custard-like consistency, about 2-3 minutes.
- Add Chocolate and Butter:Remove the saucepan from the heat and stir in the chopped chocolate, butter, and vanilla extract until the chocolate and butter are fully melted and the mixture is smooth.
- Chill the Pudding:Pour the pudding into individual serving dishes or a large bowl. Cover with plastic wrap, pressing it directly onto the surface of the pudding to prevent a skin from forming. Refrigerate for at least 2 hours, or until thoroughly chilled.
❤️ From First Whisk to Last Spoonful
Espresso Chocolate Pudding isn’t just a dessert—it’s an experience. From the moment you whisk together the rich cocoa and bold espresso, to that first silky bite, every step is a little reminder of how comforting and joyful homemade sweets can be. It’s the kind of treat that feels indulgent yet approachable, perfect for weeknights, dinner parties, or simply those moments when you want to spoil yourself.
Whether you serve it simply with a dollop of whipped cream or dress it up in elegant glassware with chocolate curls, this pudding is meant to be savored slowly, shared with loved ones, and remembered long after the last spoonful. So go ahead—brew that espresso, melt that chocolate, and create something worth craving again and again.
Join Now!
❤️ Love this recipe? Don’t miss out on even more delicious, healthy, and easy-to-make recipes like this Espresso Chocolate Pudding!
🍽️ By joining our email community, you’ll gain exclusive access to bonus content, printable recipes, and clean eating tips that make healthy living a breeze.
📬 Enter your email & click below to subscribe — it only takes a minute to join our growing community of food lovers who believe healthy should still taste amazing!