Christmas Cookies

The Magic of Holiday Baking
The holiday season is here, and there’s no better way to embrace its magic than with a plate of festive, homemade cookies. These Melt-In-Your-Mouth Christmas Cookies are a true celebration of the season—soft, buttery, and decorated with all the sparkle and charm of the holidays. Whether you’re planning a cozy baking day with loved ones or need the perfect treat for gifting, this recipe will make your holidays sweeter and more memorable.
Picture this: the comforting aroma of vanilla and butter filling your kitchen, sprinkles scattered across the counter, and a cup of cocoa by your side. These cookies aren’t just about their irresistible taste—they’re about creating moments of joy and connection. Easy to make and endlessly customizable, they’re sure to bring smiles to anyone who takes a bite. Let’s roll up our sleeves and create a batch of holiday magic together!

Try some of our other recipes!

Pairing Suggestions: Drinks and Desserts
What’s a plate of cookies without the perfect pairing? These Melt-In-Your-Mouth Christmas Cookies shine even brighter when served alongside complementary drinks or desserts. Here are a few ideas:
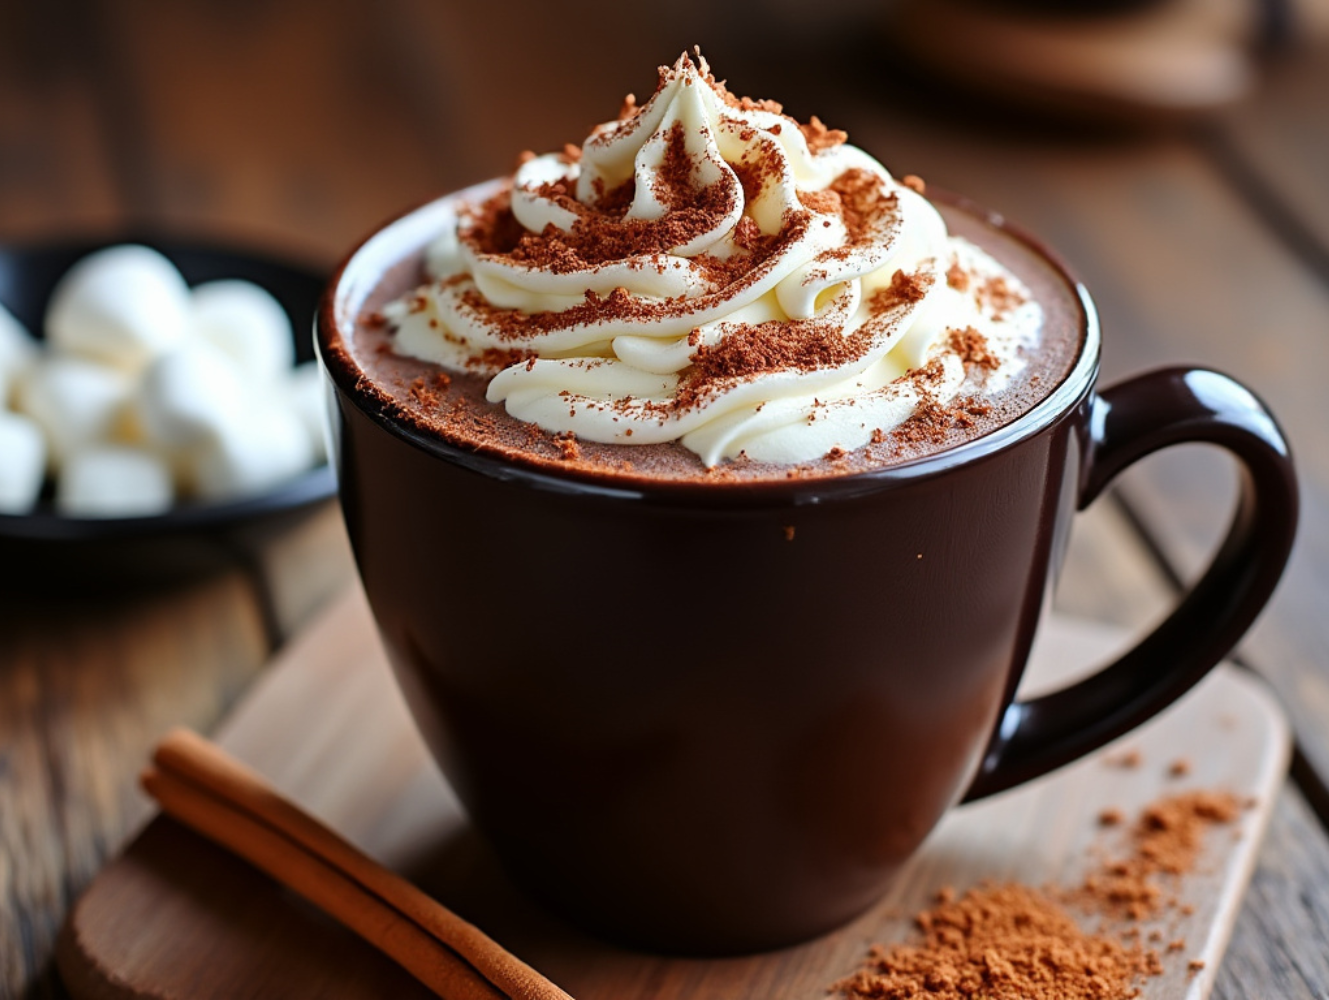
- Hot Cocoa: The rich creaminess of hot chocolate pairs beautifully with the buttery sweetness of these cookies. Add whipped cream, marshmallows, or a sprinkle of cinnamon for extra indulgence.
- Mulled Wine: The warm spices in mulled wine enhance the subtle flavors of the cookies, making it an elegant pairing for holiday gatherings.
- Eggnog: A classic holiday beverage, eggnog’s creamy texture and nutmeg notes perfectly balance the cookies’ melt-in-your-mouth texture.
- Ice Cream Sandwiches: For a fun twist, use two cookies to sandwich a scoop of vanilla, peppermint, or eggnog ice cream.
- Cheesecake Bites: Serve alongside bite-sized cheesecakes or mini tarts for a dessert platter that wows your guests.
Whether you’re hosting a holiday party or enjoying a quiet evening by the fire, these pairings elevate your Christmas cookie experience to a whole new level.

Festive Twists: Creative Variations for Your Christmas Cookies
One of the best things about these Melt-In-Your-Mouth Christmas Cookies is how versatile they are. You can easily customize the recipe to match your tastes, dietary preferences, or festive themes. Here are some fun and creative variations to try:
Flavor Twists
- Citrus Delight: Replace the almond extract with orange or lemon extract and add a teaspoon of finely grated citrus zest for a bright, zesty flavor.
- Peppermint Bliss: Swap the almond extract for peppermint extract and sprinkle crushed candy canes on top for a refreshing holiday twist.
- Spiced Cozy Cookies: Add 1/2 teaspoon of cinnamon and a pinch of nutmeg to the dough for a warm, spiced flavor perfect for the season.
Color and Decoration Ideas
- Holiday Ombre: Divide the dough into portions and dye each one a different festive color, like red, green, and white. Create marbled or layered cookies by combining them before rolling.
- Chocolate Lovers’ Dream: Dip half of each baked cookie into melted chocolate and sprinkle with crushed nuts or festive sprinkles.
- Glitter & Glam: Use edible glitter or metallic food paint to give your cookies a sparkling, magical touch.
Dietary-Friendly Options
- Gluten-Free: Replace the all-purpose flour with a gluten-free 1:1 baking flour blend for a celiac-friendly treat.
- Vegan: Substitute the butter with vegan butter and replace 1 tablespoon of flaxseed meal mixed with 2.5 tablespoons of water for each egg (if used in decoration or adjustments).
- Low-Sugar: Use a sugar substitute like erythritol or stevia in place of powdered sugar for a lower-sugar option.
Shape and Theme Customizations
- Seasonal Shapes: Use cookie cutters for different occasions like hearts for Valentine’s Day or pumpkins for Halloween.
- Mini Bites: Roll the dough into small balls and flatten slightly with a fork for adorable mini cookies perfect for snacking or gifting.
Creative Gift Ideas
- Personalized Cookies: Pipe names or holiday greetings onto the cookies for a thoughtful and unique edible gift.
- Cookie Sandwiches: Spread a layer of frosting, ganache, or jam between two cookies for an indulgent holiday treat.
Feel free to experiment with these variations or create your own unique spin on the recipe. After all, the best part of baking is making it your own!


Christmas Cookies
Equipment
- Mixing Bowls (one large and one medium)
- 1 Electric Mixer (hand or stand mixer)
- Measuring Cups and Spoons
- 1 Sifter (for flour and powdered sugar)
- 1 Spatula (for mixing and scraping the bowl)
- 1 Rolling Pin
- Cookie Cutters (various festive shapes like stars, trees, and snowflakes)
- Baking sheet(s)
- 1 Parchment Paper or a Non-Stick Baking Mat
- 1 Cooling rack
- Pastry Bags or Squeeze Bottles (for icing)
- Toothpicks or Small Decorating Tools (for precise designs)
- Small Bowls (for mixing icing colors)
- 1 Plastic Wrap (for chilling the dough)
- Optional:
- Edible Glitter or Sprinkles for decorations.
Ingredients
For the Cookies:
- 1 cup (2 sticks) unsalted butter, softened Tip: Room-temperature butter ensures a smooth and creamy dough.
- ¾ cup Powdered sugar This gives the cookies their delicate melt-in-your-mouth texture.
- 1 tsp Vanilla extract
- ½ tsp Almond extract (optional but adds a delightful depth of flavor)
- 2 cups All-purpose flour Pro tip: Sift the flour for an extra light and airy cookie.
- ¼ tsp Salt
For Decorating:
- Royal icing or store-bought cookie icing
- Assorted sprinkles, edible glitter, or colored sugar
- Food coloring (optional)
Instructions
Step 1: Prepare the Dough
- In a large mixing bowl, cream the butter and powdered sugar together until light and fluffy, about 2–3 minutes.Tip: Use a hand or stand mixer for best results.
- Add the vanilla and almond extracts, mixing until well combined.
- Gradually add the flour and salt, mixing on low speed until the dough comes together.If the dough feels too dry, add a teaspoon of milk at a time until it’s pliable.
Step 2: Chill the Dough
- Divide the dough in half, shape it into discs, and wrap each disc in plastic wrap.
- Refrigerate for at least 30 minutes. This step ensures the dough is firm enough to roll and prevents spreading during baking.
Step 3: Roll and Cut
- Preheat your oven to 350°F (175°C) and line baking sheets with parchment paper.
- Roll out one dough disc on a lightly floured surface to about 1/4-inch thickness.
- Use festive cookie cutters (stars, trees, snowflakes) to cut shapes from the dough. Transfer them to the prepared baking sheets.Tip: Dip the cookie cutters in flour to prevent sticking.
Step 4: Bake
- Bake the cookies for 8–10 minutes, or until the edges are just barely golden.
- Let them cool on the baking sheet for 5 minutes before transferring them to a wire rack to cool completely.
Step 5: Decorate
- Once cooled, decorate your cookies with royal icing, sprinkles, and edible glitter.Pro tip: For crisp, clean designs, let each icing layer dry before adding another.
Notes
Storage Tips: Keeping Your Cookies Fresh
One of the best things about these Melt-In-Your-Mouth Christmas Cookies is that they can be prepared ahead of time and enjoyed throughout the holiday season. Proper storage is key to maintaining their fresh, buttery texture and delightful flavor.- Room Temperature: Store your cookies in an airtight container lined with parchment paper to keep them fresh for up to a week. Place sheets of parchment between layers to prevent sticking or smudging of decorations.
- Freezing: For longer storage, freeze undecorated cookies in a single layer on a baking sheet until firm, then transfer them to a freezer-safe bag or container. Decorated cookies can also be frozen but should be handled carefully to preserve the icing. When ready to serve, allow them to thaw at room temperature for a few hours.
- Gift-Wrapping Storage: If you’re gifting these cookies, wrap them in individual cellophane bags or pack them in festive tins with wax paper for protection. This not only keeps them fresh but also makes for a beautiful presentation!

A Sweet Ending to Your Holiday Baking
These Melt-In-Your-Mouth Christmas Cookies are more than just a delightful holiday treat—they’re a way to bring warmth and joy to your home. With their soft texture, buttery flavor, and festive decorations, they capture everything we love about the season. Whether you’re baking them to share, gift, or simply enjoy yourself, these cookies are sure to become a cherished part of your holiday traditions.
We hope this recipe inspires you to get creative and make your holiday baking extra special. If you give these cookies a try, We’d love to hear about it! Share your experiences and photos in the comments below, and don’t forget to subscribe to Satisfy Your Cravings for more delicious recipes and festive inspiration. Here’s to baking memories, one cookie at a time—happy holidays! 🎄🍪


