When it comes to baking the perfect cheesecake — especially one as luscious and berry-topped as this one — having the right tools makes all the difference. These five pieces of equipment not only ensure success but also make the entire process easier, cleaner, and more enjoyable.
1. Springform Pan (9-inch)
A high-quality springform pan is non-negotiable for cheesecake baking! It allows you to easily release the cake without damaging the crust or edges.
Why We Love It:
Leak-proof seal
Easy release without flipping
Perfect depth for tall cheesecakes
 Check out this best-rated Springform Pan on Amazon (Hiware 9-Inch Nonstick) – Over 38,000 reviews and a 4.6-star rating!
2. Stand Mixer
Cream cheese needs to be beaten smooth, and incorporating eggs slowly without overmixing is key. A quality mixer helps achieve that luxuriously creamy texture.
Why We Love It:
Smooth, lump-free filling
Saves time and effort
Essential for gentle mixing to prevent cracks
This KitchenAid Series 4.5 Quart tilt-Head Stand Mixer – is a top choice with 4.7 stars and over 10,000 rave reviews.
3. Mixing Bowls
You’ll need multiple bowls — for crust, filling, and topping. A durable, non-slip set makes prep smoother and cleanup quicker.
Why We Love It:
Multiple sizes for different stages
Non-slip bottoms = no mess
Dishwasher safe
Cuisinart Stainless Steel Mixing Bowls with Lids – 4.7 stars and incredibly versatile.
4. Offset Spatula or Silicone Spreader
This tool helps you spread the cheesecake filling evenly and smooth the top — essential for that professional finish before baking (and again when topping with blueberries!).
Why We Love It:
Precise spreading
Ideal for smoothing edges and layers
Doubles for frosting cakes too
Wilton Angled Icing Spatula 13-Inch – A baking essential with over 18,000 reviews and a 4.7-star rating!
5. Roasting Pan for Water Bath
If you’re baking your cheesecake using a water bath (bain-marie) — which we highly recommend to avoid cracks — a sturdy roasting pan is a must.
Why We Love It:
Helps regulate oven temperature
Prevents cheesecake from drying out
Multi-purpose (use for turkey, lasagna, and more!)
Check out this Granite Ware Covered Roaster – Affordable, lightweight, and great for water baths!
 Bonus Add-On: Parchment Paper Rounds

Line the bottom of your springform pan for easy removal and cleaner presentation!
9-Inch Round Parchment Paper Liners – 200 Pack
Why These Tools Matter
 Why These Tools Matter
Having the right baking equipment ensures:
Even baking and a consistent texture
A smooth surface that’s free of cracks
Less mess and frustration (especially with sticky toppings!)
Professional-looking presentation that wows guests
Whether you’re new to cheesecake baking or a seasoned pro, these tools are the secret sauce behind picture-perfect results every time.

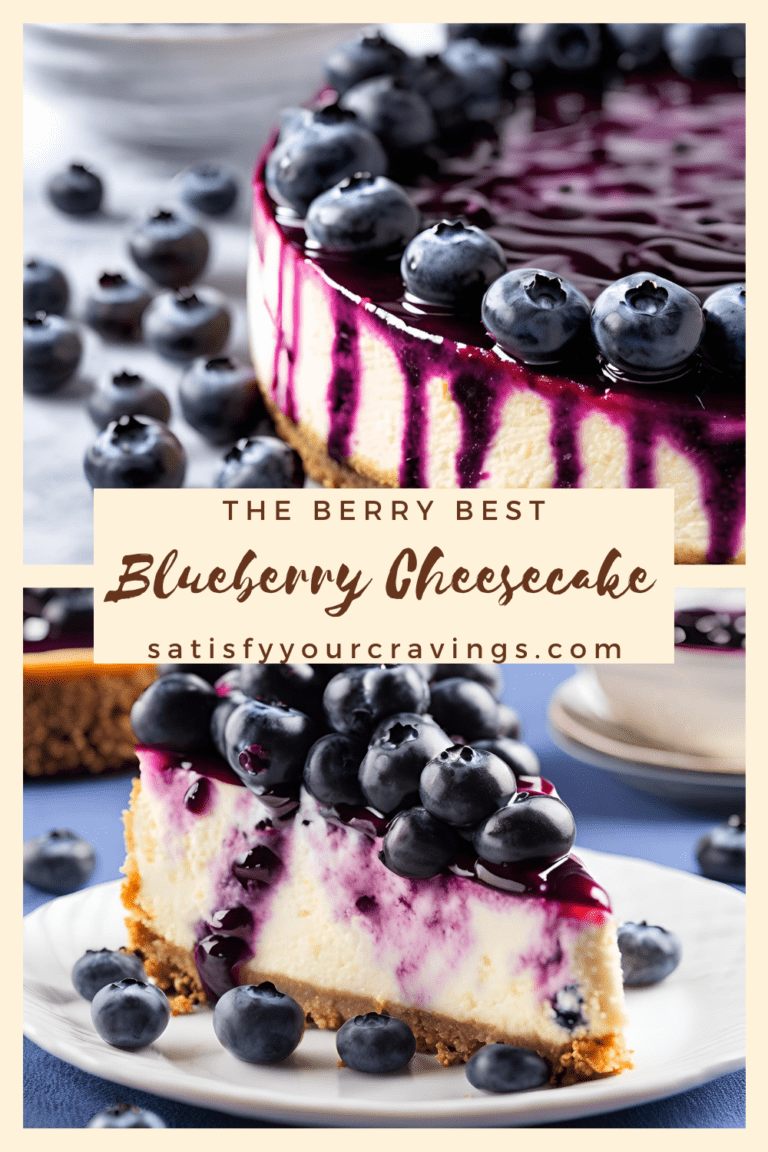
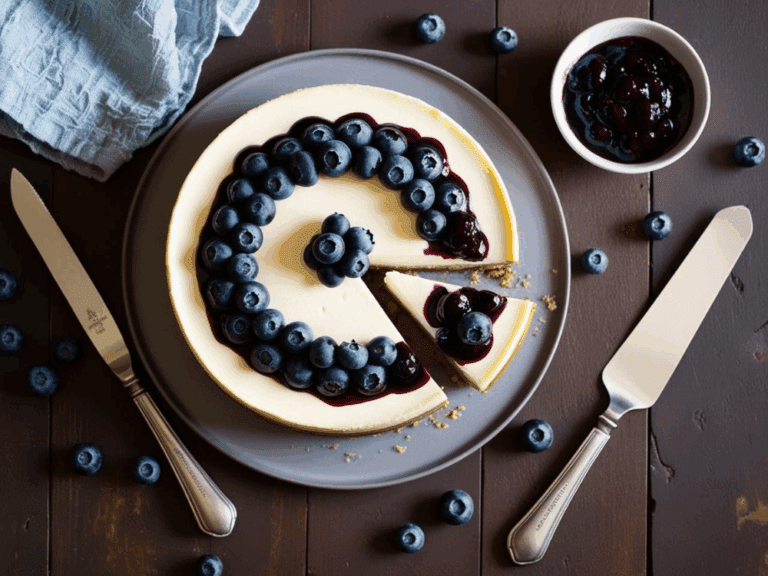
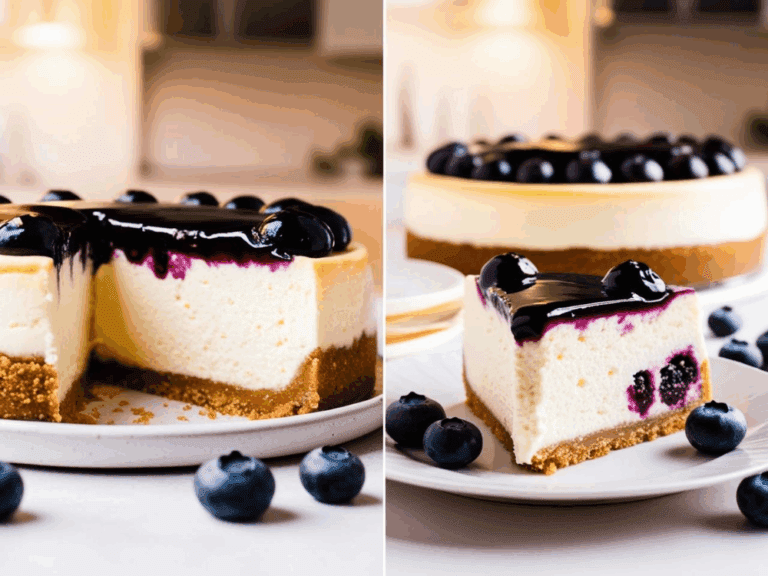
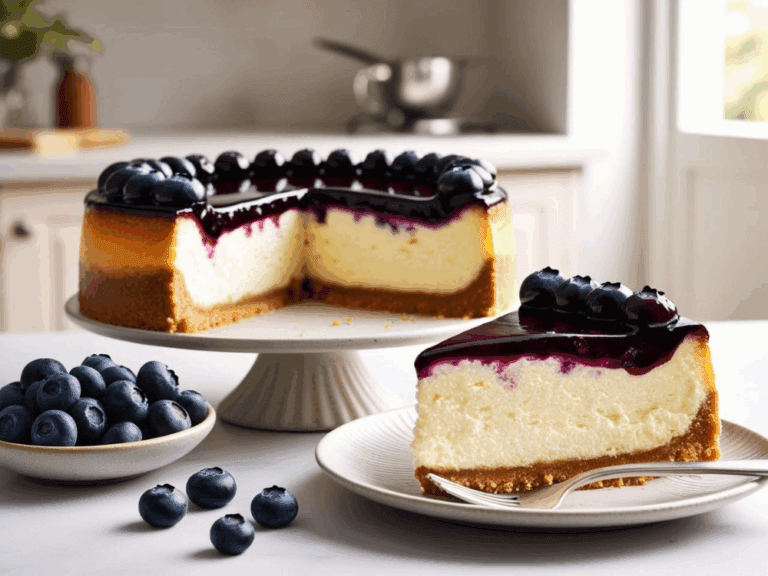
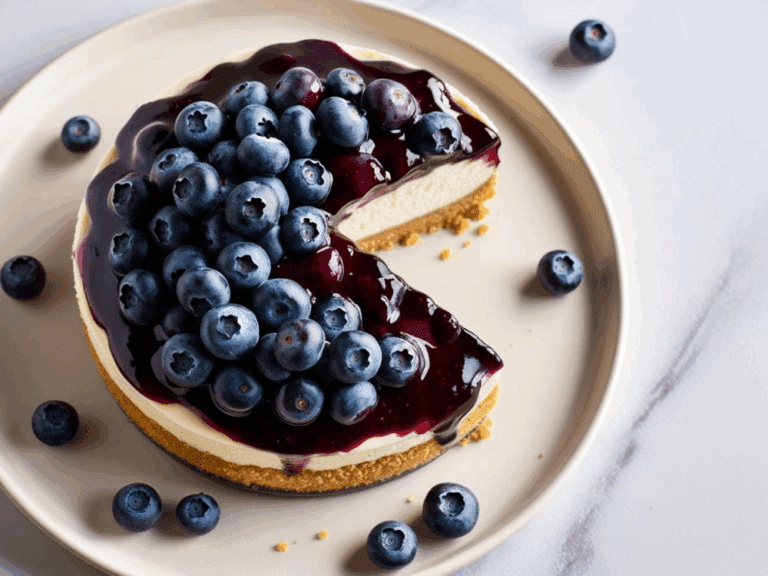
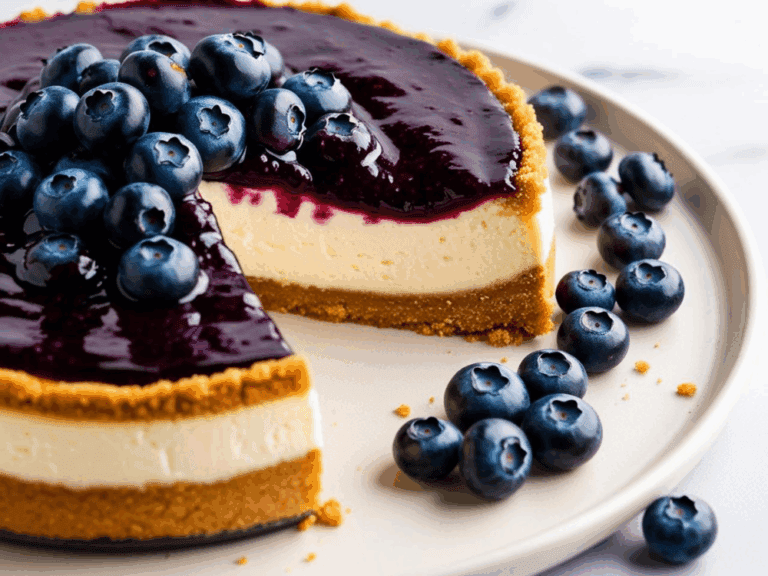
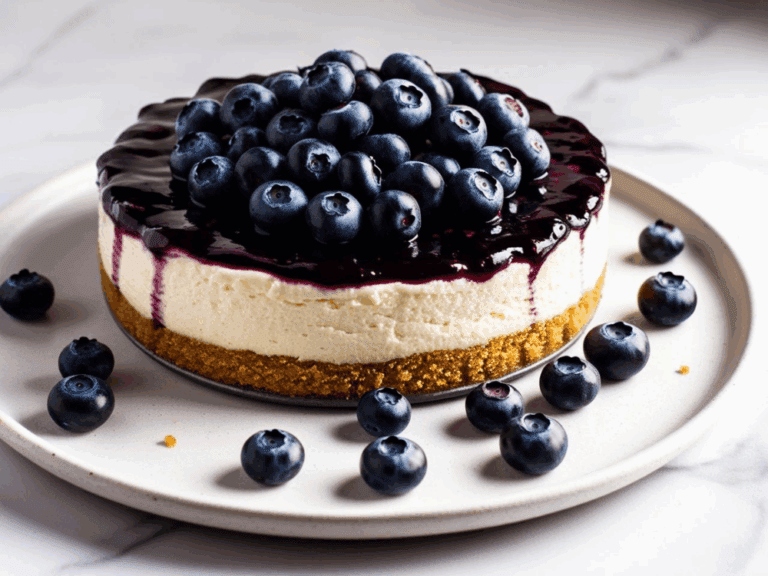
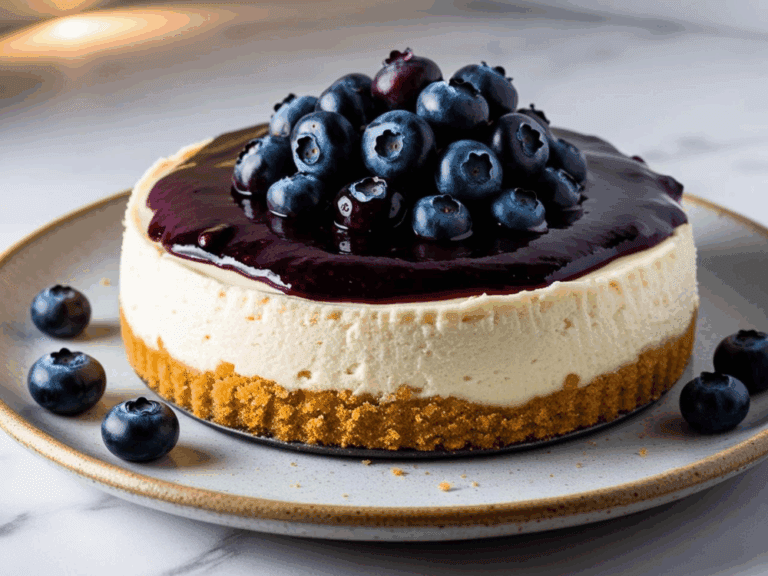
Blueberry Cheesecake
Equipment
- Springform Pan: Essential for easy release of the cheesecake without damaging the crust or edges. A 9-inch nonstick version works best.
- Electric Hand Mixer or Stand Mixer: Helps achieve a smooth, lump-free filling without overmixing, which prevents cracks.
- Mixing Bowls: Multiple sizes are needed for preparing the crust, filling, and topping components.
- Silicone Spatula: Ideal for scraping down the sides of the bowl and folding ingredients gently.
- Measuring Cups and Spoons: Ensures accurate measurements of both wet and dry ingredients.
- Parchment Paper: Helps prevent sticking and allows for cleaner removal from the pan base.
- Roasting Pan: Used to create a water bath, which provides even heat and prevents cracking.
- Aluminum Foil: Wraps the springform pan to protect it from leaks when using a water bath.
- Saucepan: Used to cook down the blueberries into a compote for the topping.
- Cooling Rack: Allows for even cooling and air circulation around the cheesecake.
- Sharp Knife: For clean, precise slicing (run under hot water and wipe between cuts).
- Cake Server: Helps lift perfect slices onto dessert plates without breaking the crust.
Ingredients
For the Crust:
- 1 1/2 Cups Graham cracker crumbs
- 1/4 Cup Granulated sugar
- 1/2 Cup Unsalted butter, melted
For the Cheesecake Filling:
- 4 8 oz Packages cream cheese, softened
- 1 Cup Granulated sugar
- 1 Tsp Vanilla extract
- 4 Large eggs
- 1/2 Cup Sour cream
- 1/4 Cup All-purpose flour
For the Blueberry Topping:
- 2 Cups Fresh or frozen blueberries
- 1/2 Cup Granulated sugar
- 1 Tbsp Lemon juice
- 2 Tbsp Cornstarch mixed with two tbsp water
Instructions
- Prepare the Crust:Preheat your oven to 325°F (160°C).In a medium bowl, mix the graham cracker crumbs, sugar, and melted butter until well combined.Press the mixture firmly into the bottom of a 9-inch springform pan.(Optional) Pre-bake the crust for 10 minutes for a crispier base. Let it cool while you prepare the filling.
- Make the Cheesecake Filling:In a large bowl, beat the softened cream cheese until smooth and creamy.Gradually add the sugar, beating until well combined.Mix in the vanilla extract and then add the eggs one at a time, beating well after each addition.Stir in the sour cream and flour until the mixture is smooth and free of lumps.Pour the cheesecake filling over the prepared crust, smoothing the top with a spatula.
- Bake the Cheesecake:Place the cheesecake in the oven and bake for 55-60 minutes, or until the center is set but still slightly jiggly.Turn off the oven and let the cheesecake cool inside with the door slightly ajar for about an hour. This helps prevent cracking.Once cooled, refrigerate the cheesecake for at least 4 hours, preferably overnight.
- Prepare the Blueberry Topping:In a medium saucepan, combine the blueberries, sugar, and lemon juice.Cook over medium heat until the blueberries release their juices and the mixture starts to boil.Stir in the cornstarch mixture and cook for another 2-3 minutes, or until the topping thickens.Remove from heat and let it cool completely before spreading over the chilled cheesecake.