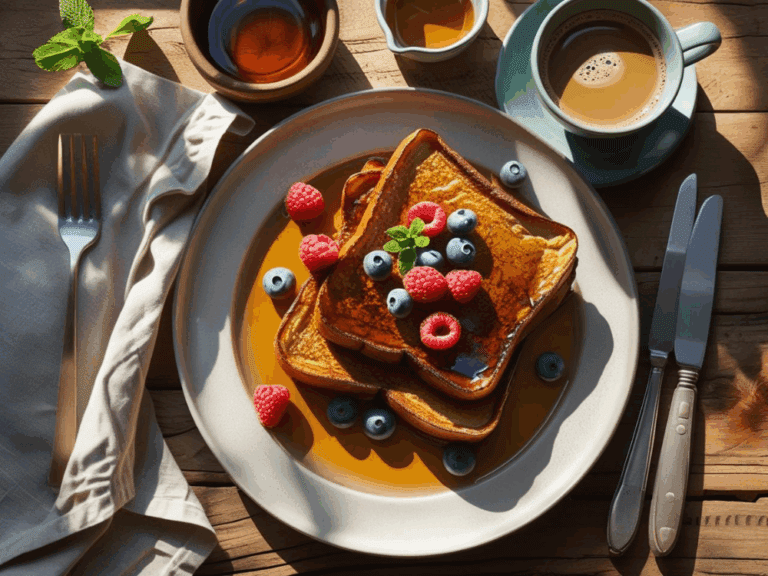
Let’s be real — French toast can have a bad rep. Traditional versions are often loaded with white bread, processed sugar, and heavy dairy. But here’s the good news:
You can 100% enjoy French toast while sticking to your clean eating lifestyle. 
In fact, with a few smart swaps and intentional ingredients, you’ll transform this classic comfort food into a nutrient-dense, blood sugar–friendly breakfast that fuels your day — and tastes just as indulgent.
 What Makes French Toast “Clean Eating Friendly”?
Clean eating is all about choosing whole, minimally processed foods and avoiding refined sugar, artificial additives, and overly processed carbs. So to make your French toast clean:
 Use whole grain or sprouted bread Choose plant-based milk or grass-fed dairy Sweeten with pure maple syrup or fruit Cook with natural oils like ghee or coconut oil Flavor with real spices — not imitation extracts
 The result? A fiber-rich, naturally sweet, protein-boosted breakfast that supports energy, digestion, and even hormone health.
1. Clean Bread Choices: Go Beyond White Bread
 1. Clean Bread Choices: Go Beyond White Bread
Skip ultra-processed white bread — it spikes blood sugar and offers little nutrition. Instead, choose:
Sprouted grain bread (like Ezekiel) – high fiber, slow-digesting
Sourdough – easier on digestion and low glycemic
Whole grain – hearty and nutrient-dense
Gluten-free seed bread – ideal for gut-sensitive eaters
2. Choose the Right Milk (No Refined Sugar or Fillers)
 2. Choose the Right Milk (No Refined Sugar or Fillers)
Traditional dairy milk can be inflammatory for some, especially when not organic or grass-fed. Instead, opt for:
Unsweetened almond milk – light and low calorie
Oat milk – super creamy and naturally sweet
Coconut milk (carton, not canned) – rich and tropical
Organic grass-fed milk – if you’re not dairy-free
Always check the label! Look for milks with just a few ingredients and no gums or artificial sweeteners.
3. Skip Refined Sugar — Use These Natural Sweeteners Instead
 3. Skip Refined Sugar — Use These Natural Sweeteners Instead
No need for powdered sugar or sugary syrups. Try these wholesome alternatives:
100% pure maple syrup – antioxidant-rich and natural
Mashed banana – adds sweetness to the custard
Unsweetened applesauce – bonus fiber & moisture
Coconut sugar – lower glycemic option
Date syrup or purée – nutrient-rich and caramelly
4. Cook It Clean: Use the Right Oils or Butters
 4. Cook It Clean: Use the Right Oils or Butters
You don’t need butter to get crispy, golden French toast. Try these healthier cooking fats:
Ghee – rich, nutty, and lactose-free
Coconut oil – adds light sweetness and browns beautifully
Avocado oil spray – neutral flavor, perfect for non-stick cooking
Avoid margarine or refined seed oils — they’re inflammatory and unnecessary with better options on hand.
 5. Add Nutritious Toppings for Bonus Flavor + Benefits
Top your French toast with real food that brings both flavor and function:
Fresh berries – packed with antioxidants
Nut butters – protein & healthy fats
Chia or flax seeds – fiber boost
Coconut yogurt – probiotic-rich & creamy
Toasted nuts – crunch + magnesium power
 Mix & match based on your cravings or what’s in season. You can even build a beautiful French Toast Topping Bar for weekend brunch!
The Clean Eating French Toast Formula (Save This!)
Bread + Clean Custard + Natural Oil + Real Toppings = A Breakfast That Loves You Back
This version supports:
Balanced blood sugar
Stable energy
Hormone-friendly fats
Gut health
Zero post-breakfast crash
 And with make-ahead options, it’s perfect for meal prep, school mornings, or elevated brunches.
Bonus Tip: Want It Sweeter? Try This!
 Bonus Tip: Want It Sweeter? Try This!
Instead of dousing your toast in syrup, add flavor to the batter — a splash of vanilla, a pinch of cinnamon, a little orange zest, or mashed banana.
You’ll naturally sweeten each bite from the inside out 
Final Thoughts: Yes, French Toast Can Be Healthy
 Final Thoughts: Yes, French Toast Can Be Healthy
When you use clean, whole ingredients, French toast transforms from a sugar bomb into a nourishing, protein-rich breakfast you can feel proud to serve.
It’s kid-approved, meal prep–friendly, and 100% satisfying — all without refined junk.
So you’ve mastered the golden, custardy slice of French toast — now what? The real fun starts with the toppings. From indulgent and sweet to fresh and wholesome, your French toast is a blank canvas for flavor, texture, and nutrition.
The right toppings elevate your French toast from “pretty good” to “WOW, can I have seconds?” — and whether you’re eating clean, treating yourself, or feeding picky eaters, there’s a topping combo for you.
Let’s dive into the ultimate list of French toast toppings that go beyond maple syrup — plus fun themes, clean-eating twists, and our must-have tools for serving it up right!
1. Fresh Fruit Toppings (Naturally Sweet + Clean)
 1. Fresh Fruit Toppings (Naturally Sweet + Clean)
Fruit is the perfect way to balance the richness of French toast with freshness and a pop of color.
Top picks:
Sliced strawberries
Blueberries
Raspberries
Banana slices
Sautéed cinnamon apples
Diced mango or pineapple
Pomegranate seeds
Fresh figs or blackberries
Roasted grapes (yes — try it!)


 Pro Tip: Lightly warm your fruit in a pan with cinnamon and a splash of lemon juice for a syrupy, antioxidant-rich compote.
 Use a ceramic fruit bowl set like this one to keep toppings organized at the table or brunch bar.
2. Wholesome Creamy Toppings (For That Rich Café Feel)
Creamy toppings turn every bite into a cozy, custardy dream — especially when they’re made with clean, dairy-free ingredients.
Try:
Whipped coconut cream
Greek yogurt (plain or vanilla)
Plant-based yogurt with fruit
Cashew or almond cream
Ricotta or cottage cheese (clean or organic versions)
3. Clean Syrups & Natural Sweeteners (Skip the Refined Sugar)
 3. Clean Syrups & Natural Sweeteners (Skip the Refined Sugar)
Skip the processed pancake syrup and go for real, nutrient-rich sweeteners that don’t spike your blood sugar as fast.
Favorites:
100% pure maple syrup
Honey (raw or manuka)
Coconut nectar
Date syrup
Mashed banana or applesauce
Homemade fruit puree or chia jam
Monk fruit or stevia syrup (for low-sugar options)
Warm your syrup slightly before pouring to make every bite extra luxurious.
Our all-time favorite clean syrup brands are linked here — tested, trusted, and pantry must-haves.
4. Nut Butters, Seeds & Crunch (Protein + Texture Power-Ups)
 4. Nut Butters, Seeds & Crunch (Protein + Texture Power-Ups)
Add richness and nutrition with these high-protein, crunchy toppers:
Almond butter or cashew butter
Peanut butter (clean-label only!)
Chopped walnuts, pecans, or pistachios
Sunflower seeds or pumpkin seeds
Chia seeds or ground flax
Toasted coconut flakes
Granola (low-sugar or homemade)
These additions are great for kids, athletes, and anyone who wants to stay full until lunch.
 Looking to upgrade your pantry? We curated the best clean nut butters and seed toppers here.
5. Dessert-Inspired Additions (For Brunch or Treat Days)
 5. Dessert-Inspired Additions (For Brunch or Treat Days)
Want to go all out? These toppings make your French toast feel like dessert — without the guilt (or with just enough to be fun  ).
).
Dark chocolate shavings
Cacao nibs
Clean chocolate hazelnut spread
Vegan caramel drizzle
Cinnamon sugar dusting
Crushed graham crackers or biscotti
Coconut whipped cream with a pinch of sea salt
 Try these combos for birthday breakfasts or holiday brunches — they’re unforgettable!
Build Your Own French Toast Topping Bar (Crowd Favorite!)
Hosting brunch or feeding a family with different tastes? Set up a DIY French Toast Topping Bar with:
2–3 fruit options
2 creamy bases (yogurt, coconut cream)
2–3 crunchy add-ins
1–2 sweet drizzles or sauces
Warm French toast on a platter
Labels, spoons, and small bowls for a clean layout
Want the perfect brunch setup? We found the best serving trays, label kits, and syrup pitchers here — it’s a vibe.
Clean Eating Topping Combos We Love:
Blueberries + Greek yogurt + chia seeds
Strawberries + almond butter + maple drizzle
Banana slices + cacao nibs + coconut flakes
Sautéed apples + cinnamon + pecans
Raspberries + cashew cream + granola
Why Toppings Matter (And How They Boost Nutrition)
 Why Toppings Matter (And How They Boost Nutrition)
Toppings aren’t just for looks — they add:
Fiber to keep you full
Healthy fats for brain & hormone support
Natural sweetness without added sugar
Colorful antioxidants to reduce inflammation
Protein to balance carbs and sustain energy
French toast becomes a complete meal when you add intention to your toppings — and it looks way more Instagram-worthy too
Final Thoughts: Dress It Up, Keep It Clean, Make It Yours
The beauty of French toast is that it’s a blank canvas. Whether you’re going for clean and energizing or sweet and cozy, your toppings can transform it into a new experience every time.
So next time you whip up your favorite batch, get creative — mix, match, drizzle, sprinkle, and stack your way to the perfect plate 
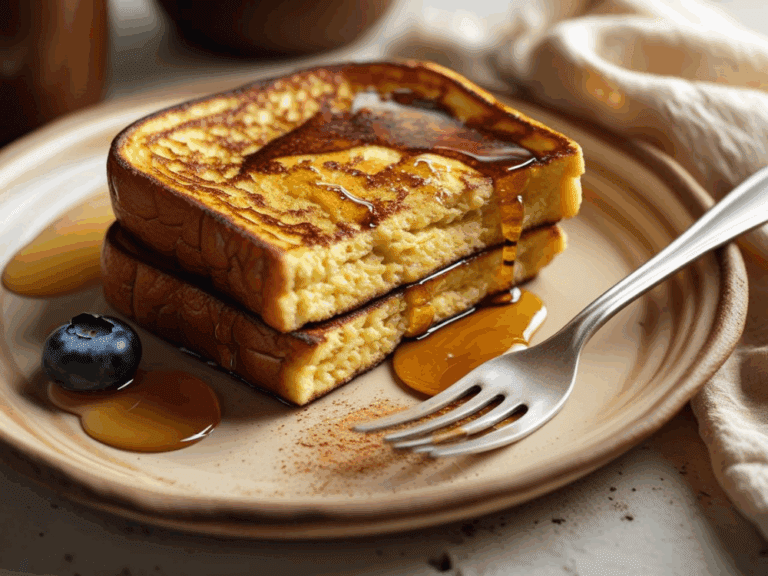
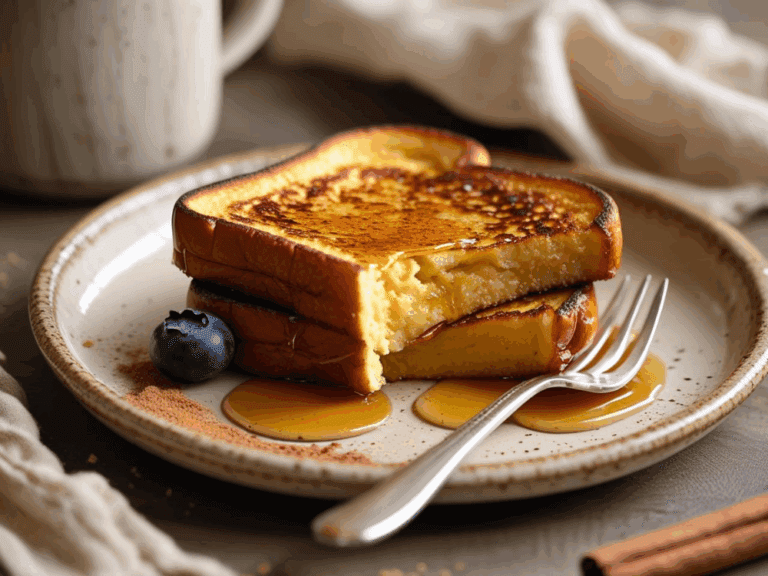
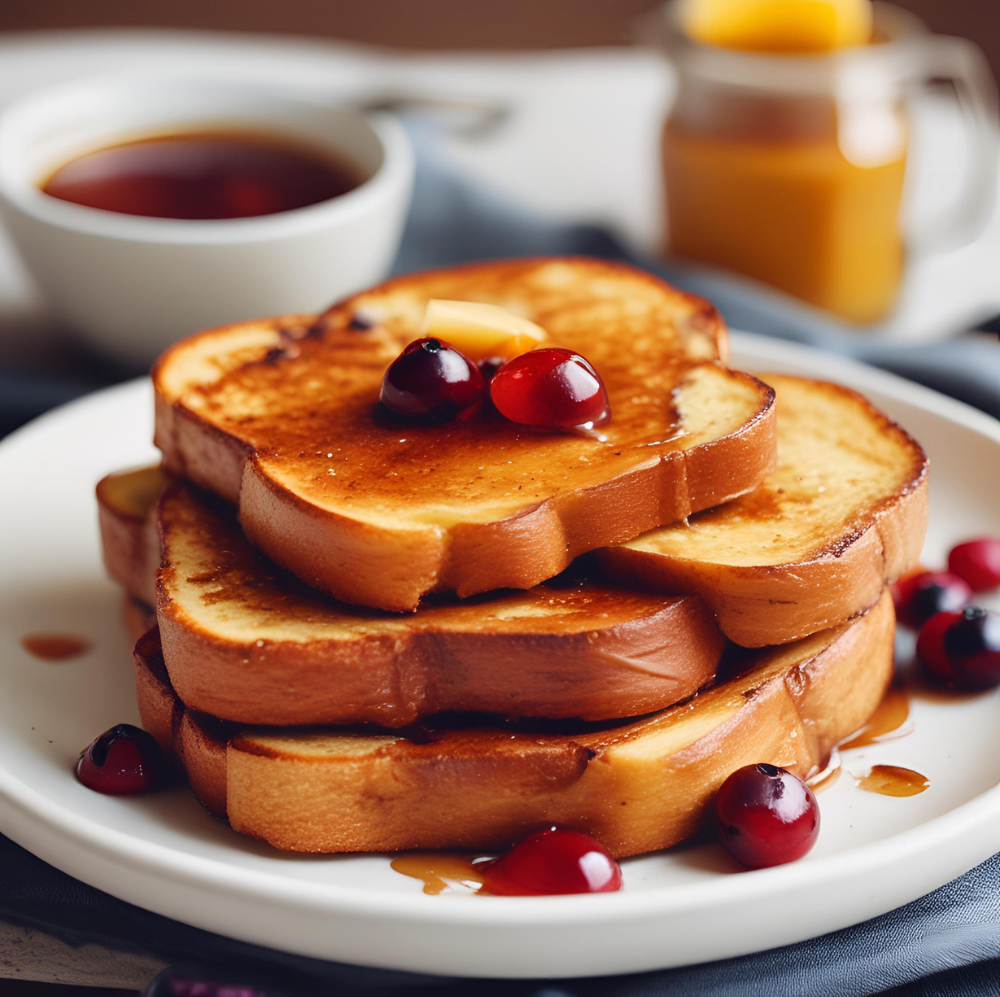
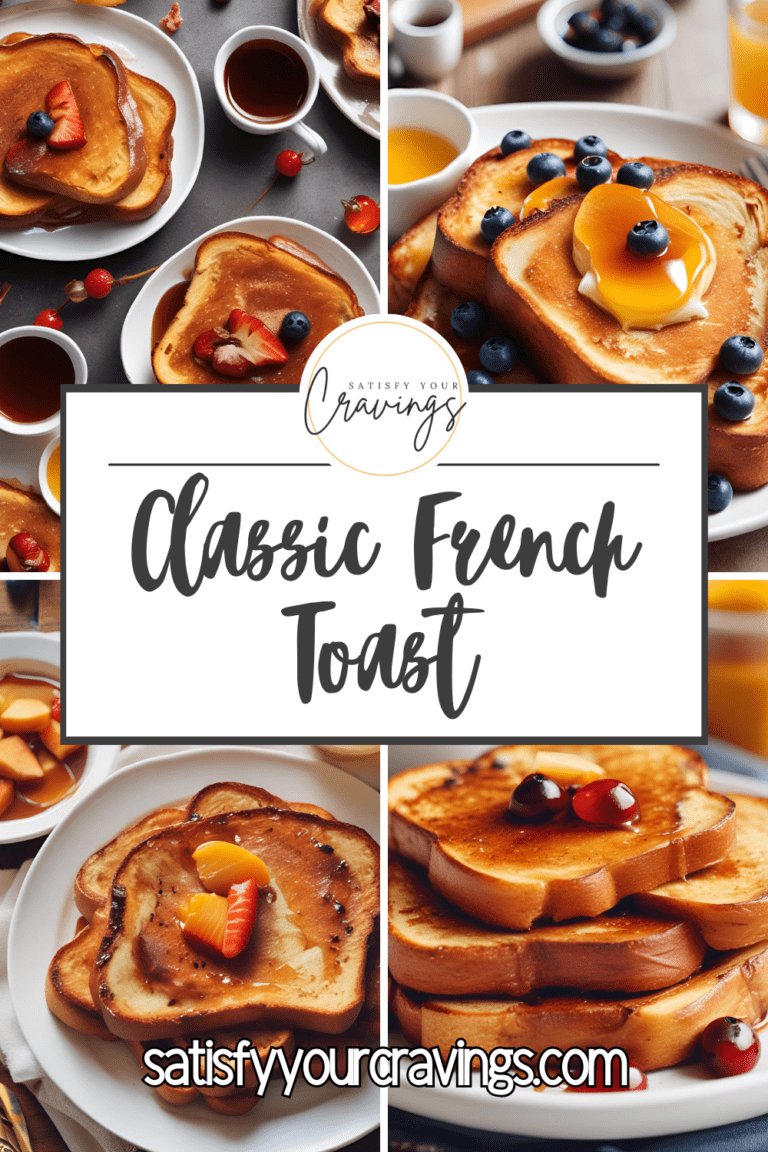
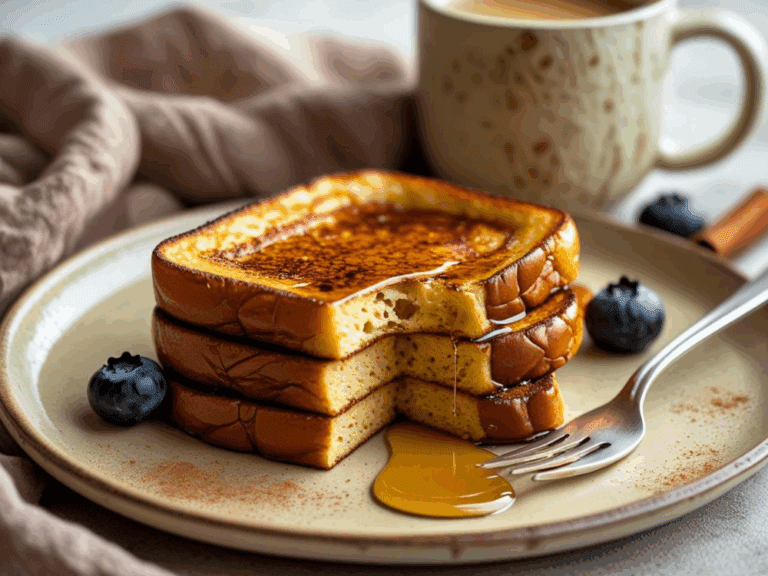
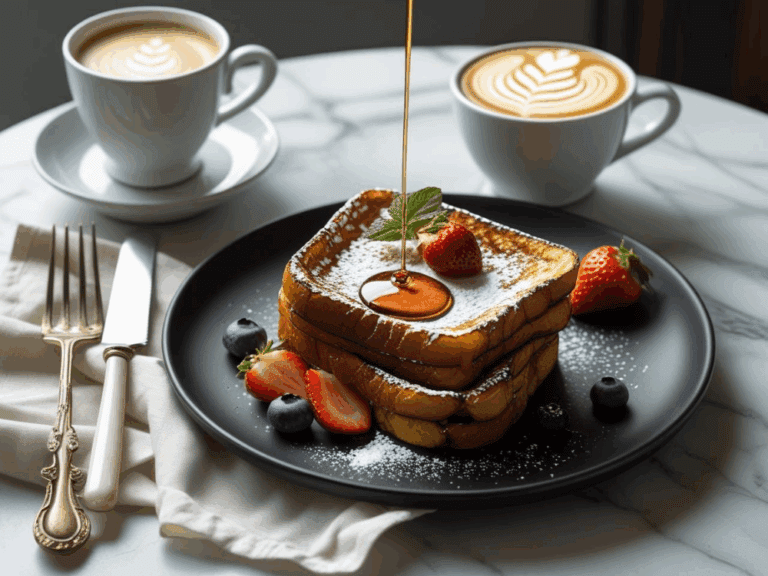
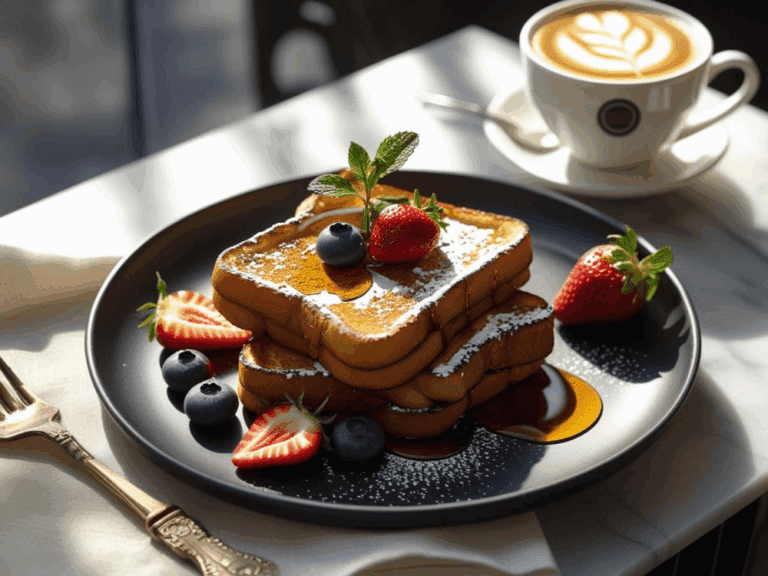
Classic French Toast with Maple Syrup
Equipment
- Mixing Bowl: For whisking the egg mixture.
- Whisk: To combine the eggs, milk, vanilla, and cinnamon.
- Large Skillet or Griddle: For cooking the French toast.
- Spatula: To flip the bread slices while cooking.
- Measuring Cups and Spoons: For accurately measuring ingredients.
- Plate: For holding the soaked bread slices before they go into the skillet.
- Serving Platter: To serve the cooked French toast.
- Small Saucepan (optional): For warming the maple syrup.
Ingredients
- 4 Large eggs
- 1 Cup Whole milk
- 1 Tsp Vanilla extract
- 1/2 Tsp Ground cinnamon
- 8 Slices of day-old bread (brioche, challah, or any thick-cut bread words best
- 2 Tbsp Unsalted butter
- 1/4 Cup Maple syrup, warmed
- A pinch of salt
Instructions
- Prepare the Egg Mixture:In a large mixing bowl, whisk together the eggs, milk, vanilla extract, cinnamon, and a pinch of salt until well combined.
- Soak the Bread:Dip each slice of bread into the egg mixture, ensuring both sides are thoroughly coated. Allow the bread to soak for about 20 seconds per side to absorb the flavors.
- Heat the Skillet:Place a large skillet or griddle over medium heat and add a tablespoon of butter. Let the butter melt and coat the surface evenly.
- Cook the French Toast:Place the soaked bread slices onto the hot skillet. Cook for 2-3 minutes on each side, or until golden brown and slightly crispy. You may need to cook in batches, adding more butter as needed.
- Serve:Transfer the cooked French toast to a serving platter. Drizzle with warmed maple syrup and serve immediately.