 Other Halloween Recipes to Make Alongside Pumpkin Witch Hat Cookies
 Other Halloween Recipes to Make Alongside Pumpkin Witch Hat Cookies
If you’re already in the Halloween baking spirit, why stop at just one treat? Pumpkin Witch Hat Cookies make a stunning centerpiece, but pairing them with other festive cookies and spooky-themed desserts creates a full dessert table that’s impossible to resist. Not only will your guests have more variety, but you’ll also get to showcase your creativity in the kitchen.
1. Monster Mash Sweet Potato Fries (Sweet Meets Savory)
These aren’t cookies, but they make the perfect savory balance to your dessert spread. Crispy sweet potato fries shaped like monster claws or “fingers” pair wonderfully with your sweet treats and keep the Halloween theme going strong.
Get the recipe 
2. Mummy-Wrapped Avocado Toast (Creepy and Cute)
Serve these as a fun appetizer or snack to go alongside your witch hat cookies. Toasted bread topped with creamy avocado, then wrapped with strips of cheese “bandages” and edible candy eyes for a silly-yet-spooky look.
Get the recipe
3. Monster Eyeball Meatballs (Savory Party Hit)
Another savory option, these tender meatballs are topped with mozzarella slices and an olive “pupil” to create a giant monster eyeball. They’re both eerie and delicious — the perfect savory counter to your sweet cookies.
Get the recipe
4. Witch’s Potion Smoothie (Colorful Drink Pairing)
This smoothie isn’t a cookie, but it’s the perfect complement to your sweet treats. Layers of green, purple, and black make it look like a witch’s cauldron brew — and it’s packed with healthy ingredients for a refreshing balance.
Get the recipe
5. Witch’s Cauldron Veggie Soup (Savory Warm-Up)
For those cooler October nights, a bubbling pot of witch’s cauldron soup sets the mood perfectly. Serve in mini cauldron bowls for extra fun — your guests will love sipping it between bites of cookies.
Get the recipe
6. Frightful Fruit Parfait (Light & Spooky)
Layers of blackberries, orange segments, and creamy yogurt make this parfait a lighter Halloween dessert option. Top with candy eyes or gummy worms for a playful touch.
Get the recipe

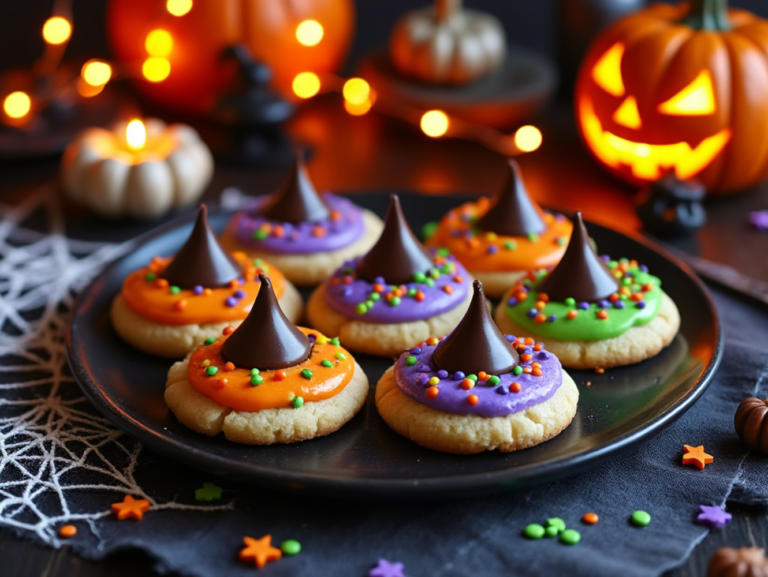
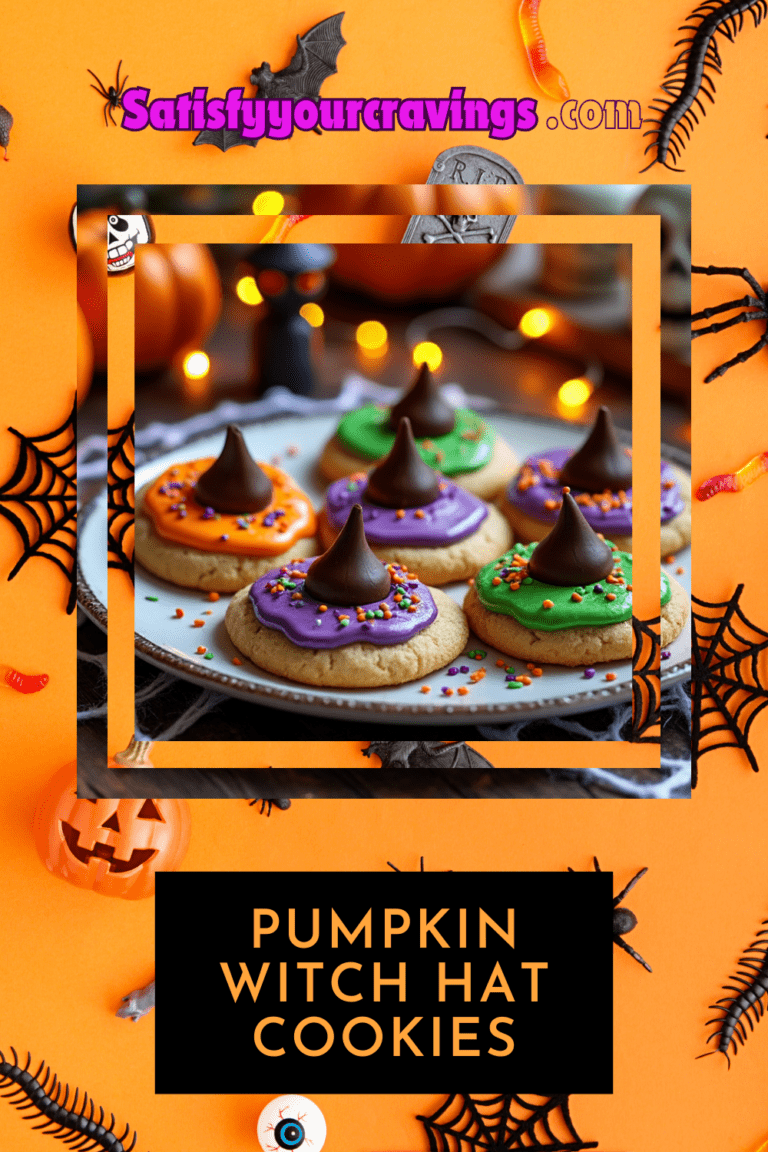
Pumpkin Witch Hat Cookies
Equipment
- Mixing bowls (large and medium)
- 1 Electric mixer or hand whisk
- Measuring Cups and Spoons
- 1 Baking sheet
- 1 Parchment paper or silicone baking mat
- 1 Spatula or wooden spoon
- 1 Cookie scoop (optional, for evenly sized cookies)
- 1 Wire cooling rack
- Piping bag or small plastic bag (for decorating)
- 1 Offset spatula or butter knife (for spreading icing)
Ingredients
For the Pumpkin Cookies:
- 1 cup (226g) Unsalted butter, softened
- 1 cup (200g) Granulated sugar
- 1 Large egg
- 1 tsp Vanilla extract
- ½ cup (122g) Pumpkin puree
- 2½ cups (320g) All-purpose flour
- 1 tsp Baking powder
- ½ tsp Baking soda
- ½ tsp Salt
- 1½ tsp Pumpkin pie spice (or a mix of cinnamon, nutmeg, ginger, and cloves)
For the Decoration:
- 1 Bag of chocolate kisses (about 24 pieces)
- ½ cup Semi-sweet chocolate chips, melted
- ½ cup Black or dark purple decorating icing
- Green and orange decorating gel or frosting
- Halloween sprinkles (optional)
Instructions
Step 1: Prepare the Pumpkin Cookies
- Preheat your oven to 350°F (175°C) and line a baking sheet with parchment paper.
- In a large bowl, cream together the softened butter and granulated sugar until light and fluffy.
- Add the egg and vanilla extract, beating until well combined.
- Mix in the pumpkin puree until smooth.
- In a separate bowl, whisk together the flour, baking powder, baking soda, salt, and pumpkin pie spice.
- Slowly add the dry ingredients to the wet mixture, beating on low until a soft dough forms.
- Scoop out tablespoon-sized balls of dough and roll them into smooth rounds. Place them onto the prepared baking sheet, spacing them about 2 inches apart.
- Bake for 10-12 minutes or until the edges are lightly golden. Let the cookies cool on a wire rack.
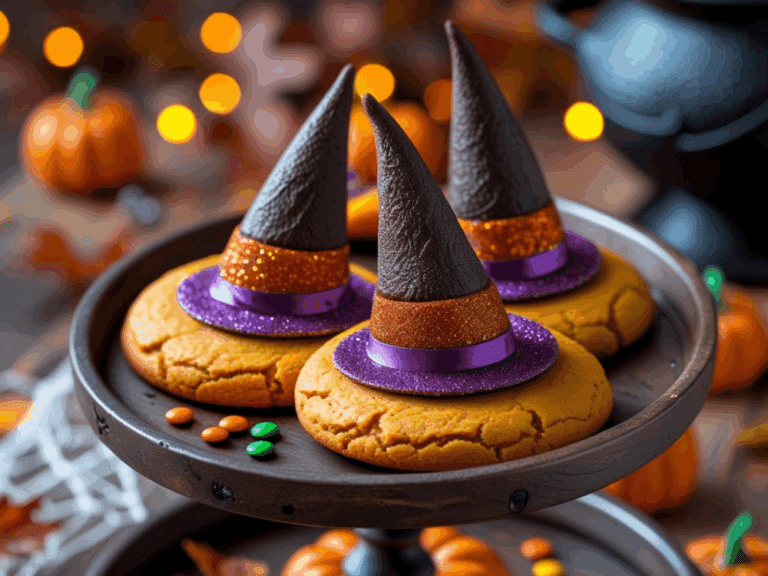
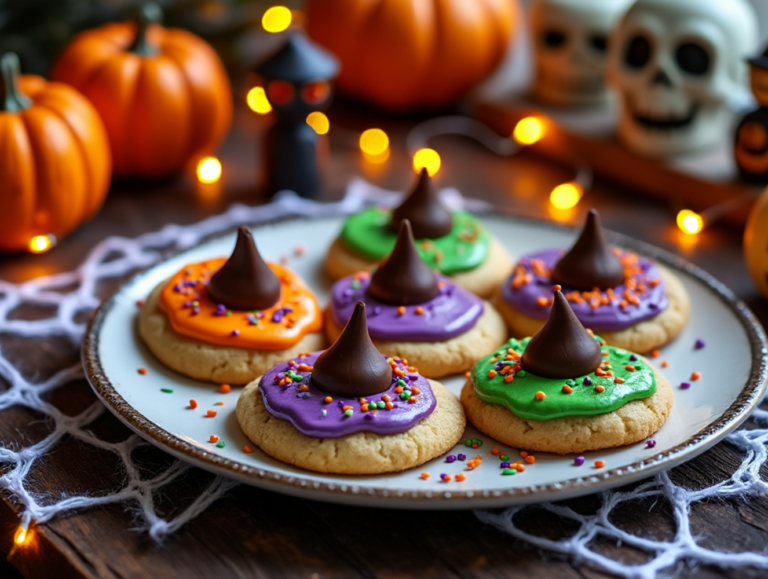
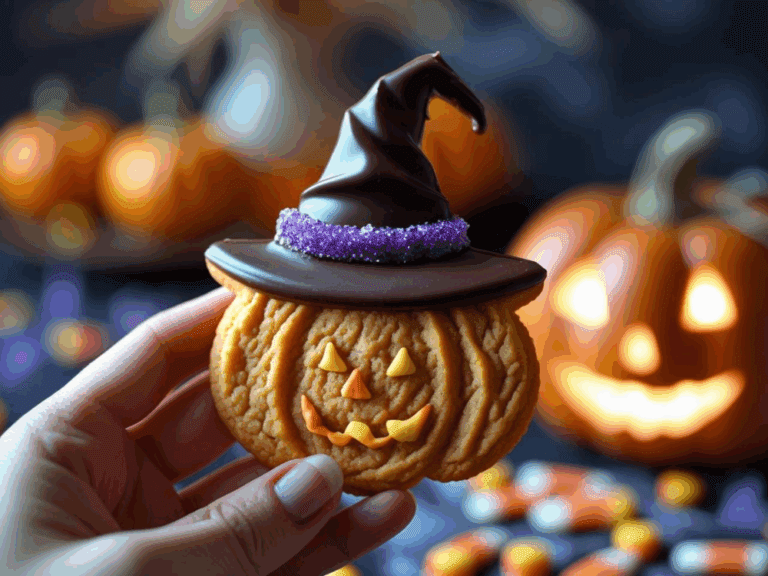
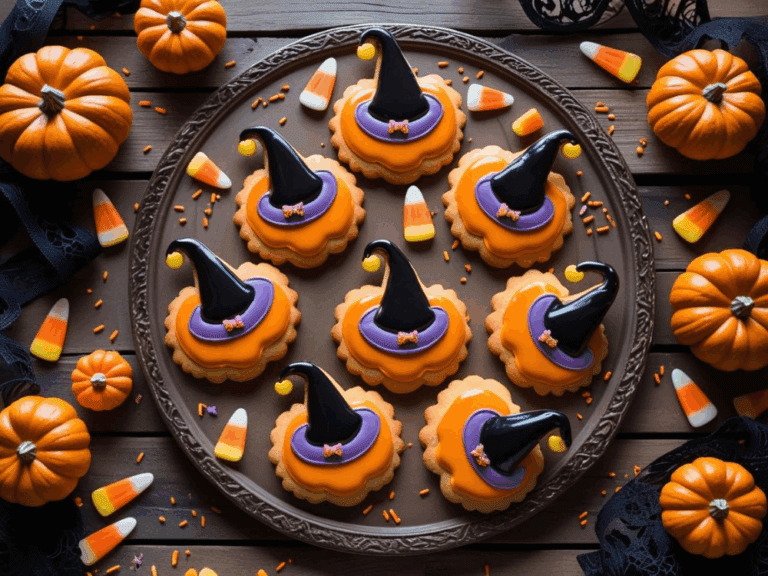
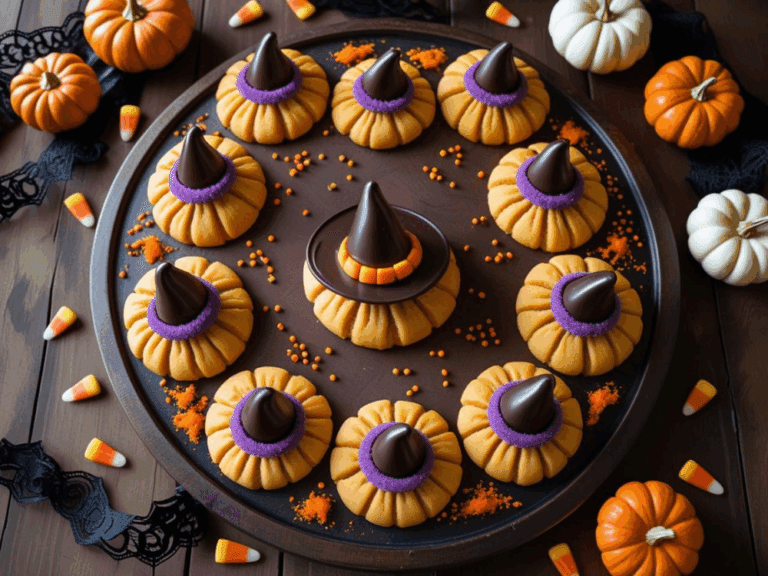
Step 2: Decorate the Witch Hats
- Once the cookies are completely cooled, it's time to create the witch hats!
- Place the melted chocolate chips into a piping bag (or a small plastic bag with the corner snipped off).
- Pipe a small circle of melted chocolate onto the center of each cookie and press a chocolate kiss into the middle to form the hat’s point.
- Use the black or purple decorating icing to draw a thin band around the base of the chocolate kiss.
- For extra flair, add Halloween sprinkles or use the green and orange gel frosting to create decorative details like a buckle on the hatband or spider webs.
- Feel free to decorate any way you want! There can be very simple or very detailed! It's all up to you.
- Allow the decorations to set for 10-15 minutes before serving or packaging.
Notes