Graveyard Pudding Cups

Spook-tacular Graveyard Pudding Cups: The Ultimate Halloween Treat!
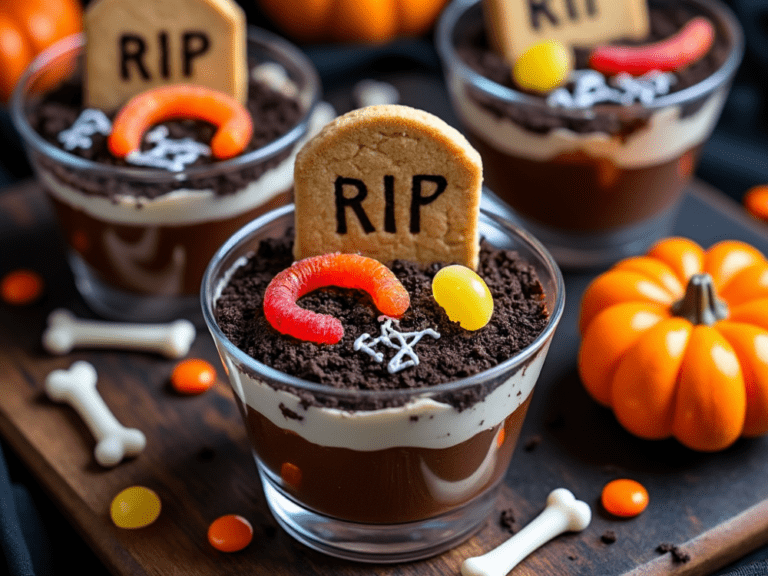
Halloween is here, and what better way to get into the spooky spirit than with these fun and delicious Graveyard Pudding Cups? Picture rich, creamy chocolate pudding topped with a layer of cookie “dirt,” complete with eerie gravestones and wiggly gummy worms. This festive dessert isn’t just a treat—it’s an edible Halloween scene that’s as fun to create as it is to eat. Perfect for family gatherings, Halloween parties, or even a cozy movie night, these pudding cups bring an element of playfulness to the season that everyone will love.
Whether you’re crafting a creepy dessert spread or looking for a kid-friendly recipe to get everyone involved, Graveyard Pudding Cups are a guaranteed crowd-pleaser. Each cup can be personalized with different decorations, letting everyone in on the fun of building their own mini “graveyard.” So grab your favorite spooky toppings, gather around, and let the Halloween magic begin—one deliciously spooky cup at a time!
Try some of our other recipes!

Monster Eyeball Meatballs
Read More

Witch’s Potion Smoothie
Read More

Chocolate Dipped Banana Ghosts for Halloween
Read More
Make-Ahead Instructions
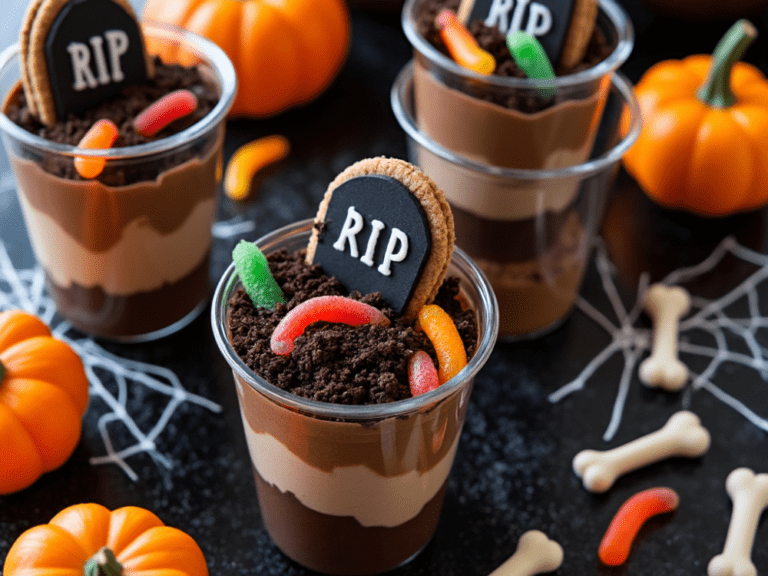
Planning a Halloween bash? These Graveyard Pudding Cups are ideal for making ahead, so you have more time to enjoy the festivities!
- Prepare the Pudding: You can make the pudding a day in advance. Store it in individual cups (without the toppings) and cover them tightly with plastic wrap.
- Crush the Cookies Ahead of Time: Store the “dirt” in an airtight container at room temperature to keep it fresh and ready to sprinkle on just before serving.
- Decorate Just Before Serving: To avoid soggy toppings, add the cookie “dirt,” gravestones, and any gummy worms right before serving. This keeps the decorations looking fresh and makes for a more festive presentation.
These simple prep tips will keep your Graveyard Pudding Cups looking perfect and ensure you’re ready to serve up some Halloween magic!
Ingredient Substitutions
Sometimes, you may need a little flexibility with ingredients, and luckily, these Graveyard Pudding Cups are easy to customize. Here are some swaps that won’t sacrifice the spooky fun:
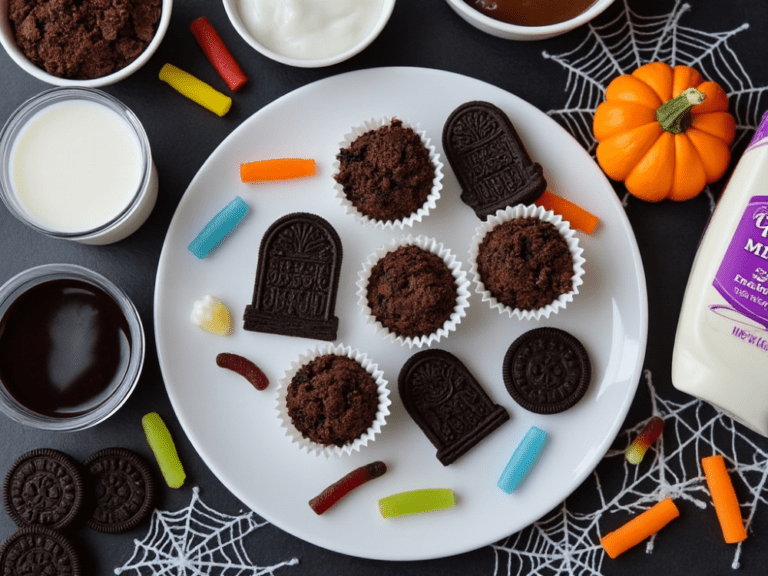
- Pudding Substitutes: Swap chocolate pudding for vanilla pudding with black food coloring for a ghostly look, or try cookies and cream pudding for added texture.
- Cookie “Dirt” Alternatives: If you’re out of chocolate sandwich cookies, crushed graham crackers or chocolate cereal can also work for the “dirt” layer.
- Gravestone Cookie Options: Use whatever cookies you have on hand that can resemble gravestones—chocolate-covered graham crackers or wafer cookies are great alternatives.
- Candy Options: If gummy worms aren’t available, substitute with any spooky candy like candy eyes, candy bones, or licorice pieces for a creepy effect.
With these handy substitutions, you can adapt the recipe to suit your pantry or guests’ preferences, keeping things stress-free and delicious!
Customize Your Creepy Cups: Delicious Variations for Every Ghoul!
-
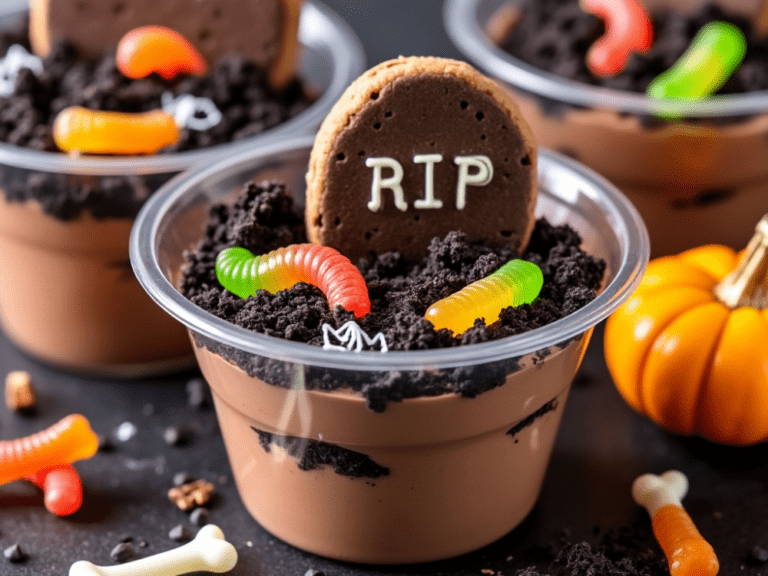
Monster Mash-up Pudding: For a fun twist, swap out the chocolate pudding with layers of green vanilla pudding or pistachio pudding to make it look extra eerie. Top it with crushed chocolate cookie “dirt” and add candy eyes peeking out for a monster-themed graveyard!
-
Gluten-Free Graveyard: Make a gluten-free version by using gluten-free chocolate cookies for the “dirt” layer and gluten-free cookie options for the gravestones. The same spooky look and taste, but with everyone’s dietary needs in mind!
-
Vegan Graveyard Cups: Use a dairy-free chocolate pudding mix with almond or coconut milk, and opt for vegan chocolate cookies. You can even find vegan gummy worms or spooky candies to make it completely plant-based!
-
Pumpkin Patch Graveyard: Embrace fall flavors by adding a layer of pumpkin spice pudding between the chocolate pudding and cookie “dirt” layer. Top with candy pumpkins and graham cracker “gravel” for a cute pumpkin patch theme.
-
Ghostly Graveyard: Add ghost-shaped marshmallows or whipped cream “ghosts” on top for a fun twist. You can even add a sprinkle of edible glitter to make the graveyard extra enchanting.
-
Coffin Surprise: Hide candy bones or mini chocolate bars inside the pudding for a “buried treasure” surprise as you dig in! Perfect for an interactive treat that’s both fun and delicious.
-
Graveyard Dirt Cake Trifle: If you’re making this for a crowd, layer the pudding, cookie “dirt,” and gummy worms in a large trifle bowl. Add tombstones and spooky decorations on top for a creepy centerpiece that everyone can scoop from!
Each of these variations lets you add a unique twist, so feel free to get creative and make this recipe your own! Whether you’re catering to specific dietary needs or just looking to have some extra Halloween fun, these ideas keep the recipe fresh and festive.
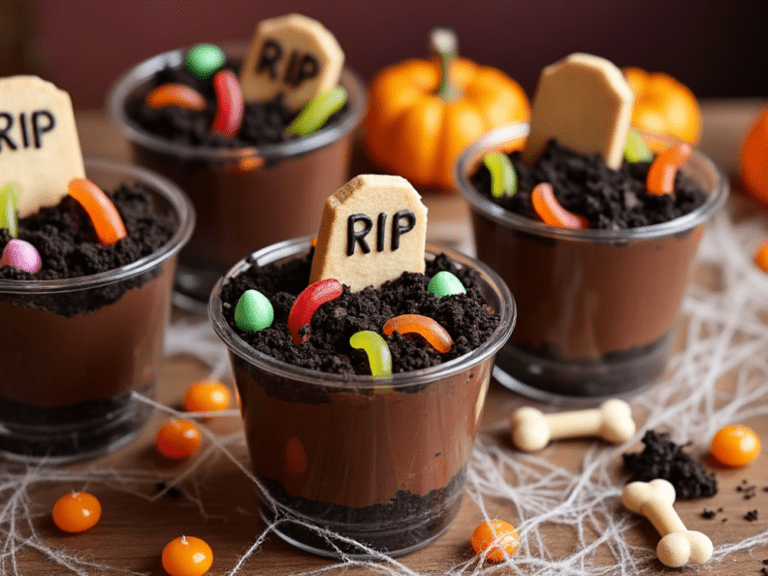

Graveyard Pudding Cups
Ingredients
Equipment
Method
- In a mixing bowl, whisk together the milk and instant chocolate pudding mix for 2 minutes until thickened.
- Let it set in the fridge for 5 minutes to reach a firm consistency.
- Place the chocolate sandwich cookies in a plastic bag and crush them with a rolling pin until they resemble “dirt.”
- For a finer texture, pulse them in a food processor. Set aside.
- Divide the chocolate pudding evenly among 4–6 clear cups, filling each cup about ¾ full.
- Sprinkle a generous layer of crushed cookies on top of the pudding to resemble dirt.
- Take the oval or rectangular cookies and use black gel or melted chocolate to write spooky words like “RIP,” “Boo,” or even the names of classic Halloween characters (e.g., Dracula, Witch).
- Allow the writing to set for a few minutes to avoid smudging.
- Insert one decorated “gravestone” cookie into each pudding cup, pushing it gently into the pudding so it stands upright.
- Add gummy worms, candy bones, or green icing to complete the scene. You can also sprinkle some crushed graham crackers for a “sandy” graveyard look.
- Place the assembled pudding cups in the fridge for 10–15 minutes before serving. This allows the pudding to set further and keeps the decorations firm.
- Pro Tip: For an extra creepy touch, add a layer of red raspberry jelly between the pudding and the cookie “dirt” layer to resemble “blood.”
Notes
Storage Instructions
If you have leftover Graveyard Pudding Cups or need to prepare them in advance, here’s how to store them for maximum freshness:- Refrigerate: Cover each pudding cup with plastic wrap or place them in an airtight container to prevent any flavors from the fridge from seeping in. Store them in the refrigerator for up to 2 days to keep the pudding and cookie layers fresh.
- Avoid Decorating in Advance: If possible, wait to add the cookie “dirt” layer and decorative toppings until just before serving. This helps prevent the cookies from becoming soggy and ensures the toppings look fresh and festive.
- Make-Ahead Tip: For the best results, assemble the pudding layer in advance and store it separately. Then, just before serving, add the cookie “dirt” and decorations for a quick, ready-to-go treat.
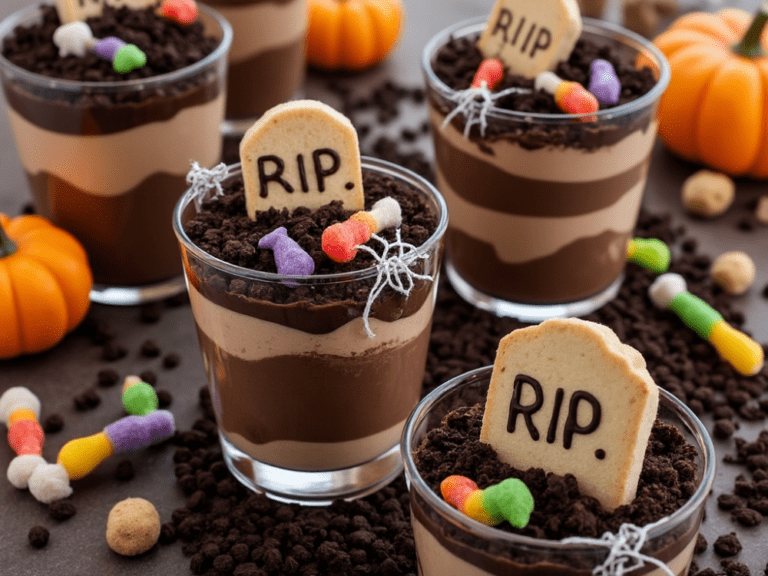
Gather Your Ghouls and Dive into These Delicious Halloween Treats
These Graveyard Pudding Cups are a simple yet spooky way to make Halloween even more memorable. With layers of chocolatey goodness and fun, creative toppings, they’re perfect for sharing with friends and family. Each cup is like a mini Halloween scene, and the best part? Everyone can make it their own with custom decorations and a little spooky flair. It’s a treat that brings out the playful spirit of the season and is sure to be a hit with guests of all ages.
So go ahead, gather your ghouls, and dive into the Halloween fun! We’d love to see how you put your own twist on these Graveyard Pudding Cups—share your creations with us on social media! And if you’re craving more festive recipes, don’t forget to subscribe to Satisfy Your Cravings for delicious, creative ideas all year round. Here’s to a Halloween filled with treats, smiles, and spooky delights!
