Easy Homemade Peppermint Bark

Holiday Magic in Every Bite
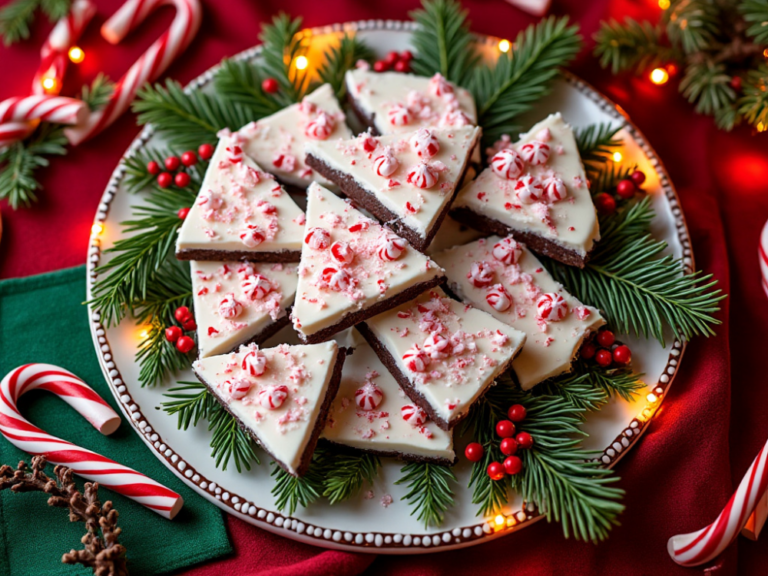
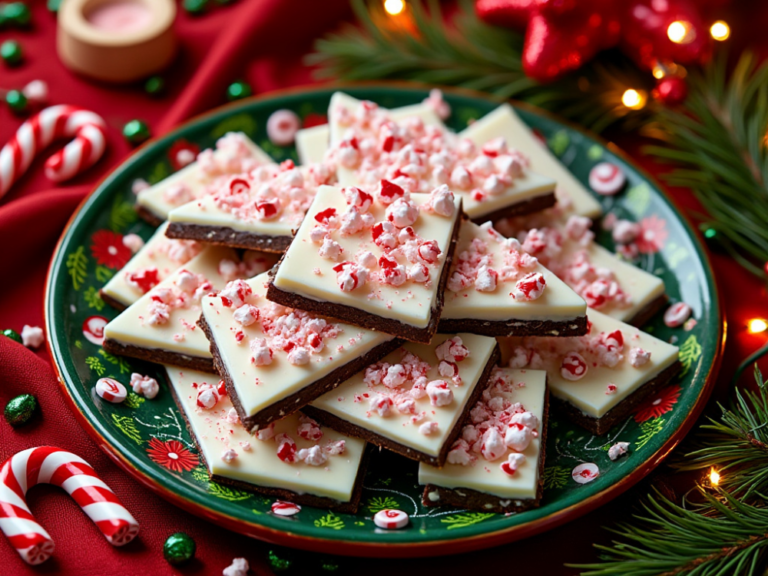
There’s nothing that says “holiday magic” quite like the sweet, minty crunch of peppermint bark. This festive treat combines rich, creamy chocolate with the refreshing burst of peppermint, topped with crushed candy canes for an irresistible crunch. It’s not just a dessert; it’s a tradition that brings joy to the season and warmth to every gathering. Whether you’re looking to impress guests or whip up an easy homemade gift, peppermint bark is the perfect solution.
What makes this recipe a must-try? It’s incredibly simple, requiring just a few ingredients and no baking. Plus, it’s versatile enough to suit any occasion, from holiday parties to cozy nights by the fire. Ready in under 30 minutes, this peppermint bark is as satisfying to make as it is to share. Let’s dive into the recipe and create a little holiday magic together!
Try some of our other recipes!
Common Mistakes and How to Fix Them
Even though peppermint bark is a simple recipe, a few common mistakes can happen during the process. Don’t worry—we’ve got you covered with solutions to ensure your bark turns out perfect every time!
1. Chocolate Layers Separating
This usually happens if the first layer is too cold or hasn’t properly set before adding the next. To avoid this:
- Let the bottom chocolate layer cool until it’s just firm but still slightly tacky to the touch.
- If it has set completely, lightly score the surface with a fork to help the layers adhere.
2. Chocolate Seizing While Melting
If even a tiny bit of water gets into the chocolate, it can seize and become clumpy. To prevent this:
- Use a dry, heatproof bowl and avoid contact with steam when melting.
- If the chocolate seizes, try adding a small amount of coconut oil or vegetable shortening and stirring until smooth.
3. Candy Canes Not Sticking to the Top Layer
If the white chocolate sets before you add the crushed candy canes, they won’t adhere properly. To fix this:
- Work quickly and sprinkle the candy canes immediately after spreading the white chocolate.
- If they don’t stick, melt a small bit of white chocolate, brush it on, and press the candy canes into place.
4. Uneven Chocolate Layers
Thick or uneven layers can make the bark hard to break and less visually appealing. To avoid this:
- Use a spatula to spread each layer evenly and aim for consistent thickness.
5. Overheating Chocolate
Overheating can cause the chocolate to scorch or lose its glossy texture. To prevent this:
- Melt the chocolate in short intervals (30 seconds) in the microwave, stirring in between.
- Use low heat if melting on the stovetop with a double boiler.
By keeping these tips in mind, you’ll ensure your peppermint bark is a festive masterpiece every time! Mistakes happen, but with these fixes, you’re ready to tackle any peppermint bark challenge.

Storage Tips: Keeping Your Peppermint Bark Fresh
Proper storage is key to ensuring your peppermint bark stays as delicious and festive as the day you made it. With the right techniques, you can enjoy this holiday treat for weeks—or even save some for later celebrations! Here’s how to keep your peppermint bark fresh and flavorful.
1. Use an Airtight Container
- Place your peppermint bark in an airtight container to prevent it from absorbing moisture or odors from other foods.
- Separate layers with parchment or wax paper to keep the pieces from sticking together.
2. Store in a Cool, Dry Place
- Peppermint bark should be stored in a cool, dry spot, away from direct sunlight or heat sources, which can cause the chocolate to melt or bloom.
- Your pantry or a cool cupboard works well if the ambient temperature isn’t too warm.
3. Refrigeration
- If your kitchen is on the warmer side, refrigerate the peppermint bark to maintain its texture and prevent melting.
- Use a sealed container to avoid moisture and refrigerator odors from affecting the bark.
4. Freezing for Long-Term Storage
- Peppermint bark can be frozen for up to 3 months. Place it in a freezer-safe container or ziplock bag with parchment paper between layers.
- When ready to enjoy, let it thaw at room temperature for about 15–20 minutes before serving to avoid condensation.
By following these storage tips, you can enjoy your homemade peppermint bark for weeks and share it with family and friends without worrying about it losing its freshness!

Easy Homemade Peppermint Bark
Equipment
- Microwave-Safe Bowls: For melting the semi-sweet and white chocolate layers.
- Rubber Spatula or Spoon: To stir and spread the chocolate evenly.
- Baking Sheet or Tray: A flat surface to spread the chocolate layers.
- Parchment Paper or Silicone Baking Mat: To line the baking sheet and prevent sticking.
- Rolling Pin or Heavy Object: For crushing the candy canes.
- Ziplock Bag: To hold the candy canes while crushing them, keeping the mess contained.
- Knife or Hands: For breaking the bark into pieces once it’s set.
Ingredients
Base Layer
- 12 Oz Semi-sweet chips
- 1 Tsp Coconut oil
Top Layer
- 12 Oz White chocolate chips
- 1 Tsp Coconut oil (optional.)
- 1/2 Tsp Peppermint extract
Topping
- 1/2 Cup Crushed candy canes or peppermint candies
Instructions
- Step 1: Prep Your WorkspaceLine a baking sheet with parchment paper or a silicone mat. This prevents sticking and ensures easy cleanup.Crush your candy canes into small pieces. Place them in a ziplock bag and use a rolling pin for controlled crushing.
- Step 2: Melt the Semi-Sweet ChocolateIn a microwave-safe bowl, combine the semi-sweet chocolate chips and 1 tsp of coconut oil. Microwave in 30-second intervals, stirring in between, until fully melted and smooth.Pour the melted chocolate onto the prepared baking sheet. Use a spatula to spread it into an even layer about 1/4 inch thick.Place the tray in the refrigerator to set (about 10–15 minutes).
- Step 3: Prepare the White Chocolate LayerRepeat the melting process with the white chocolate chips and coconut oil. Once melted, stir in the peppermint extract.Gently pour the white chocolate over the hardened semi-sweet chocolate layer. Spread it evenly with a spatula.
- Step 4: Add the Finishing TouchImmediately sprinkle the crushed candy canes over the top while the white chocolate is still wet. Press lightly to ensure they stick.Refrigerate for at least 20 minutes or until completely hardened.
- Step 5: Break and EnjoyOnce set, remove the tray from the refrigerator and gently lift the bark using the edges of the parchment paper.Break into pieces by hand or use a knife for cleaner edges.

Bring Joy to Your Holidays with Every Bite
Peppermint bark isn’t just a treat; it’s a celebration of the season’s magic. From the creamy layers of chocolate to the refreshing crunch of peppermint, this dessert has a way of bringing people together and making moments sweeter. Whether you’re gifting it to loved ones, sharing it at a holiday gathering, or enjoying it by the fire with a warm drink, each piece carries a little bit of holiday cheer.
I hope this recipe becomes a part of your holiday traditions, bringing smiles and sweetness to your celebrations. If you try it, I’d love to hear about your experience! Share your thoughts, photos, and any creative twists you’ve added in the comments or on social media. Don’t forget to subscribe to Satisfy Your Cravings for more festive recipes to make every season deliciously memorable. Happy holidays!


