
Don’t have a popsicle mold? No problem! You can still enjoy delicious homemade blueberry yogurt popsicles with ingredients you already have at home. In fact, some of the most charming and creative popsicles are made using simple, everyday kitchen tools.
Whether you’re trying to avoid buying extra gear or just need a quick frozen fix, these no-mold hacks will help you create beautiful, refreshing treats without skipping a beat. 
 1. Use Small Paper Cups or Silicone Muffin Liners
 1. Use Small Paper Cups or Silicone Muffin Liners
This is the most popular and beginner-friendly method!
Amazon Link – Small Paper Cups
Amazon Link – Silicone Muffin Liners
How it works:
Fill small 3 oz or 5 oz paper cups (like Dixie cups) with your blueberry yogurt mixture.
Cover the tops with foil or plastic wrap.
Gently poke a wooden popsicle stick or straw through the center.
Freeze until solid (usually 4–6 hours).
To serve, just peel off the cup — no cleanup needed!
 Pro Tip: Silicone muffin cups also work great and pop off even more easily when frozen.
 2. Ice Cube Trays for Mini Pops
Perfect for little ones or bite-sized frozen snacks!
How to do it:
Pour your yogurt and fruit blend into each section of an ice cube tray.
Cover with plastic wrap and poke a toothpick or cocktail stick into each cube.
Freeze and pop them out for tiny frozen bites.
 These mini-pops are great for toddlers or portion control!
 3. Reuse Empty Yogurt Containers or Baby Food Jars
 3. Reuse Empty Yogurt Containers or Baby Food Jars
Eco-friendly and super resourceful!
Instructions:
Wash and reuse individual yogurt containers or glass baby food jars.
Fill with your mixture, cover, and insert a wooden stick.
Once frozen, run warm water around the outside and gently remove.
 Reusing containers is great for reducing kitchen waste — and they make cute, rustic presentations!
 4. Try Shot Glasses or Small Plastic Cups
Hosting a party? Use shot glasses for trendy, grown-up pops.
Steps:
Fill with your mixture and insert wooden sticks.
Freeze upright (a muffin tin works great to keep them stable).
Once frozen, dip briefly in warm water to loosen.
5. Go Stick-Free: Make “Frozen Yogurt Bites” Instead
 5. Go Stick-Free: Make “Frozen Yogurt Bites” Instead
If you don’t have sticks at all, skip them entirely!
How to make them:
Use silicone mini muffin pans or candy molds.
Spoon in the blueberry yogurt mix and freeze.
Once frozen, pop them out and enjoy like frozen truffles or bites.
Summary: Best Mold Substitutes for Yogurt Popsicles
 Summary: Best Mold Substitutes for Yogurt Popsicles
| Substitute | Stick Options | Notes |
|---|---|---|
| Paper cups | Popsicle sticks or straws | Disposable, easy to peel |
| Ice cube trays | Toothpicks or mini skewers | Great for kids or parties |
| Yogurt containers | Popsicle sticks | Eco-friendly, budget-friendly |
| Shot glasses | Lollipop sticks or skewers | Ideal for adults or events |
| Silicone molds | No stick needed | Use for frozen bites or snacks |
You don’t need fancy equipment to make blueberry yogurt popsicles — just a little creativity and a freezer! With these alternatives, you can enjoy a nutritious, refreshing treat anytime, anywhere.
And hey, the popsicle molds can wait — your cravings shouldn’t have to 
Once you’ve gone through the fun of blending, pouring, and freezing your delicious blueberry yogurt popsicles, the next question naturally comes up:
“How long will these last in the freezer?”
Whether you’re meal prepping healthy snacks for the week or making a big batch for a summer party, knowing how to properly store your popsicles — and how long they’ll stay fresh — is key to keeping them flavorful, creamy, and ready when cravings hit. 

Let’s dive into shelf life, storage best practices, and how to keep your frozen treats from getting icy or bland!
How Long Do Homemade Yogurt Popsicles Last?
Homemade blueberry yogurt popsicles will stay fresh in the freezer for about:
That’s the sweet spot for both flavor and texture. After 3 weeks, they may still be safe to eat, but they’ll start to lose their creamy consistency and take on a bit of freezer burn — which can make them taste dull or icy.
Why Homemade Popsicles Don’t Last as Long as Store-Bought
 Why Homemade Popsicles Don’t Last as Long as Store-Bought
Store-bought popsicles often contain preservatives, emulsifiers, and stabilizers that extend shelf life and reduce freezer damage. Your homemade version? Not so much — and that’s a good thing! You’re working with:
Real fruit
No additives or chemicals
Fresh yogurt or plant-based alternatives
These whole-food ingredients are nutrient-rich, but more sensitive to freezing conditions. That’s why proper storage matters so much.
Best Way to Store Blueberry Yogurt Popsicles
To get the most out of your pops, follow these clean-storage tricks:
1. Remove from Mold After Freezing
Once the popsicles are fully frozen (after 4–6 hours or overnight), remove them from the mold to prevent sticking, melting, or flavor loss over time.
2. Wrap Individually
Wrap each popsicle tightly in parchment paper, wax paper, or plastic wrap. This keeps out air and protects them from absorbing freezer odors.
3. Store in Airtight Container or Freezer Bag
Place the wrapped pops in a zip-top freezer bag or a sturdy airtight container. This prevents exposure to air and helps maintain flavor.
 Label with the date you made them so you can keep track of freshness!
 Signs Your Popsicles Have Gone Bad
 Signs Your Popsicles Have Gone Bad
If your pops have been in the freezer for a while, watch for:
Frost or ice crystals forming on the outside
Crumbly or dry texture
Dull or freezer-burned flavor
Loss of color or separation
They might not be unsafe to eat, but they definitely won’t be as enjoyable.
Can You Refreeze a Melted Popsicle?
 Can You Refreeze a Melted Popsicle?
Technically, yes — but it’s not recommended. If a popsicle has already melted significantly, refreezing it can lead to:
An unpleasant, icy texture
Potential separation of ingredients (especially yogurt-based)
Loss of flavor and structure
If it’s only slightly softened (like during transport), pop it back into the mold quickly. But if it’s mostly liquid? Time to make a smoothie instead! 

Quick Recap: How to Keep Popsicles Fresh
 Quick Recap: How to Keep Popsicles Fresh
| Storage Tip | Why It Works |
|---|---|
| Wrap individually | Prevents ice crystals & odor absorption |
| Store in airtight container | Keeps them sealed & safe from moisture |
| Label with date | Helps track freshness |
| Eat within 2–3 weeks | Best flavor & texture guaranteed |
Homemade blueberry yogurt popsicles are best enjoyed within 2–3 weeks, while their flavor is bold and their texture is creamy and dreamy. With a little prep and smart storage, you’ll have a stash of healthy, grab-and-go frozen snacks that are as tasty on day 14 as they were on day 1.
And let’s be honest — they rarely last that long anyway
You’ve blended the perfect mix, waited (impatiently) for your blueberry yogurt popsicles to freeze, and now comes the most exciting part — getting them out of the mold!
But wait… why is it stuck? Why did the stick pull out without the pop? 
We’ve all been there. The truth is, removing popsicles cleanly is part science, part technique — and 100% essential for that satisfying first bite (and that Insta-worthy photo 
 ).
).
Here’s your ultimate guide to releasing popsicles like a pro — without breaking them, melting them, or losing your mind!
Why Popsicles Stick to the Mold
First, it helps to understand why this happens. Popsicles cling to the inside of molds when:
The mix is too soft or under-frozen
The stick isn’t fully embedded or centered
The mold isn’t warmed slightly before removing
There’s no buffer (like fat or sugar) to prevent sticking
Thankfully, these are easy to solve with the right techniques and a bit of patience.
Step-by-Step: How to Remove Popsicles Perfectly Every Time
1. Make Sure They’re Fully Frozen
 1. Make Sure They’re Fully Frozen
Popsicles need at least 4–6 hours, ideally overnight, to firm up completely — especially when made with yogurt or fruit purées. If the center is still soft, it won’t release cleanly.
Tip: Tap the mold lightly. If it sounds hollow and icy, they’re ready!
2. Use the Warm Water Trick (This One’s Gold!)
 2. Use the Warm Water Trick (This One’s Gold!)
This is the most effective and safest way to loosen your popsicles from the mold:
Here’s how:
Fill a bowl or pan with warm water (not hot!)
Dip the popsicle mold into the water up to the fill line, keeping the tops dry
Hold for 15–30 seconds — you may hear a slight crack as the edges loosen
Gently wiggle the stick side to side, then pull straight up
3. Avoid These Common Mistakes
 3. Avoid These Common Mistakes
Don’t twist the stick hard — this can crack your pop or leave the stick in your hand
Don’t run the mold under boiling water — it will melt your pops before you even taste them
Don’t leave pops in the mold too long after freezing — freezer burn can form and make them harder to release later
Extra Tips for Foolproof Popsicle Release
Grease the mold lightly with coconut oil or nonstick spray before pouring the mix (optional, but helpful for sticky blends)
Insert sticks halfway into the pop (about 2–2.5 inches) for a stable hold
Use thicker yogurt or add a touch of honey or maple syrup to prevent icy build-up that sticks
Let them sit at room temperature for 2–3 minutes before dipping in water for even easier release
After Removing: How to Store Them
Once released, you can eat them right away or store for later:
Wrap each pop individually in parchment or wax paper
Place in a zip-top freezer bag or airtight container
Stack with layers of parchment to prevent sticking
 Popsicles stay at peak freshness for about 2–3 weeks when stored properly.
 Bonus: Reusable Molds vs. Disposable Molds
 Bonus: Reusable Molds vs. Disposable Molds
| Mold Type | Pros | Best Practices |
|---|---|---|
| Silicone | Flexible, easy release | Dip briefly in warm water |
| Plastic | Durable, great for batches | Warm water + gentle wiggle |
| Paper cups | Disposable, no cleanup | Just peel and go! |
| Ice cube trays | Great for minis | Use short sticks or toothpicks |
Your Perfect Pops Every Time
With the right technique and a little patience, your blueberry yogurt popsicles will slide out of the mold like a dream — no cracks, no mess, and no frustration.
It’s all about timing, temperature, and a gentle touch. Master this part, and your freezer will always be stocked with photogenic, delicious, easy-to-enjoy frozen treats
Planning ahead is the secret to stress-free snacking and effortless entertaining — and when it comes to blueberry yogurt popsicles, there’s no better treat to prep in advance. These colorful, naturally sweet frozen snacks are perfect for meal prepping, birthday parties, summer barbecues, and even after-school cravings.
The best part? With the right techniques, you can freeze your popsicles ahead of time without worrying about freezer burn, flavor loss, or sticky disasters.
Let’s break down everything you need to know about making popsicles in advance and keeping them fresh, organized, and party-ready 

How Far in Advance Can You Make Homemade Popsicles?
For best taste and texture, you can make blueberry yogurt popsicles:
Up to 2–3 weeks in advance with proper storage.
They’ll hold their flavor and creaminess for up to 21 days, though most families (and guests!) devour them long before that 
Party Prep 101: Make-Ahead Freezing Tips for Events
Hosting a party? Here’s how to prepare popsicles like a pro:
1. Freeze in Batches
If you only have one mold, start making popsicles a week in advance, freezing and releasing batches daily. Store them in an airtight container until the big day.
2. Unmold and Wrap
Once each batch is frozen:
Remove from molds using the warm water method (see Section #9)
Wrap individually in wax paper, parchment paper, or plastic wrap
Place in a zip-top freezer bag or shallow container to keep them flat and prevent sticking
 Bonus tip: Use decorative washi tape or labels with flavors for themed parties!
 3. Keep Them Cold on the Go
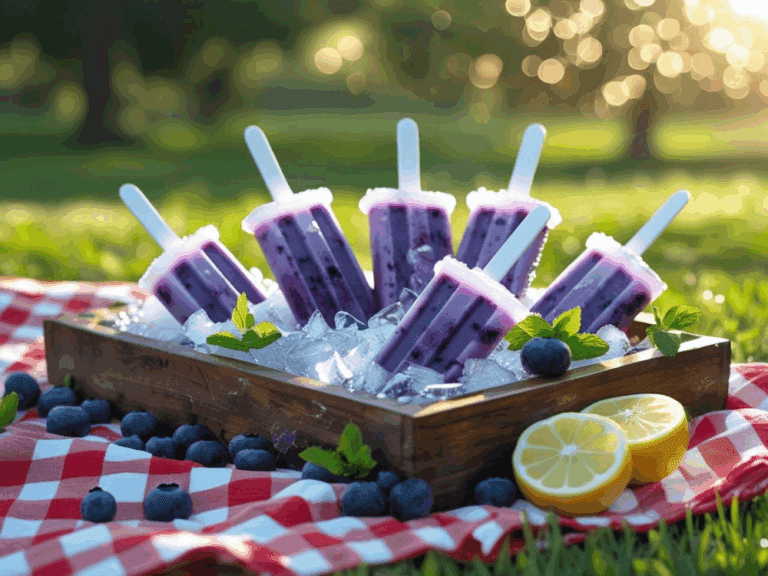
Use a cooler filled with dry ice or frozen gel packs to transport or serve popsicles outside. Place wrapped pops in a tray lined with crushed ice for a colorful and chilled display that’s also photogenic
Meal Prep Magic: Popsicles as Weekly Grab-and-Go Snacks
If you’re making popsicles as part of your clean eating meal prep, they’re a great option for:
Afternoon energy boosts
Post-workout cool-downs
Low-sugar desserts
Lunchbox treats (kept in an insulated bag)
Here’s how to keep your snack stash organized:
Store Smart:
Use a clear bin or freezer-safe container labeled by date
Line with parchment to prevent sticking
Keep pops toward the front of the freezer to avoid frost buildup
Portion for the Week:
Make a batch of 6–10 popsicles and track them in your meal planner — each one counts as a healthy treat packed with protein, antioxidants, and probiotics.
Tips to Keep Popsicles Fresh Longer
| Tip | Why It Works |
|---|---|
| Wrap individually | Prevents freezer burn & sticking |
| Freeze immediately after pouring | Locks in flavor and freshness |
| Use airtight containers | Protects against odors and frost |
| Label with date | Helps track peak freshness |
| Store away from raw meats or smelly foods | Prevents flavor absorption |
Popsicle Bar Party Idea
 Popsicle Bar Party Idea
Want to make your gathering unforgettable? Create a DIY popsicle bar where guests can customize their frozen treats.
Setup Ideas:
Pre-freeze blueberry yogurt pops
Offer small dipping bowls of:
Crushed granola
Mini chocolate chips
Shredded coconut
Fresh berries
Drizzled honey or melted dark chocolate
Provide parchment paper sleeves for easy (and less messy) eating
This turns dessert into an interactive, memory-making moment — and it’s way healthier than cake or candy!
Prep Once, Enjoy Often
Whether you’re throwing a backyard party, prepping lunchbox treats, or just want to stay stocked with healthy, frozen snacks — make-ahead blueberry yogurt popsicles are a smart and delicious choice.
With just a few storage tricks and a little planning, you can serve up cool, refreshing treats anytime — no blender or last-minute scrambling required. Now that’s clean eating made easy
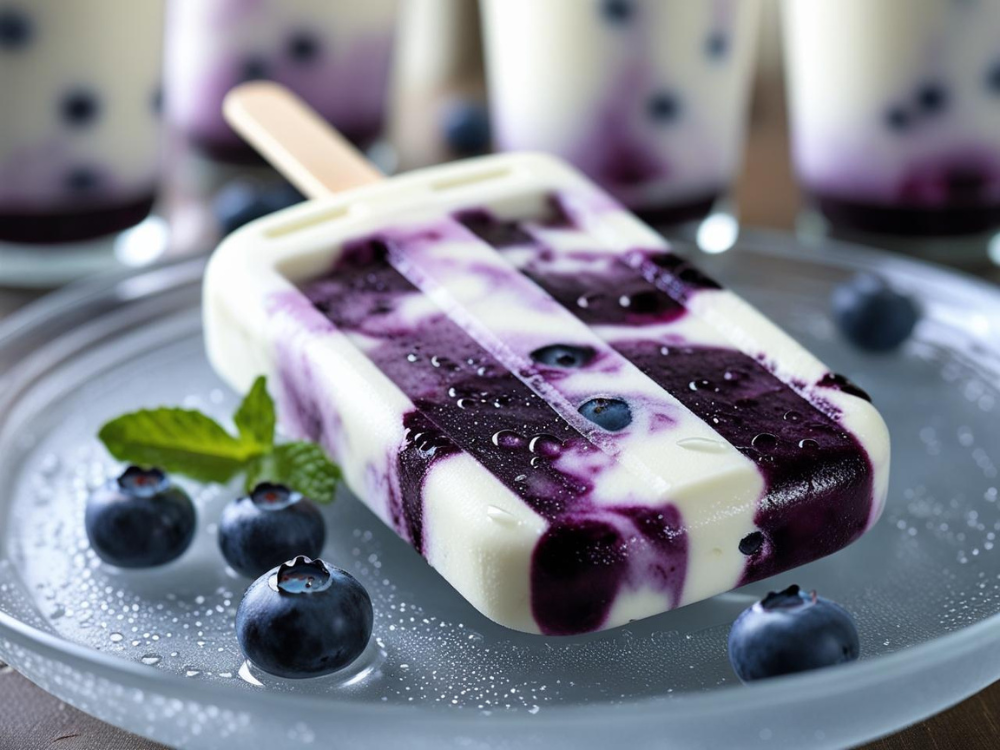
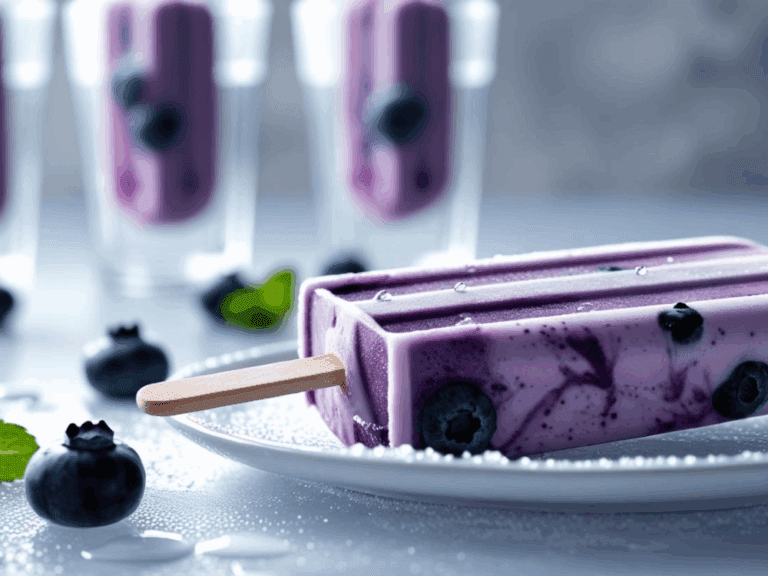
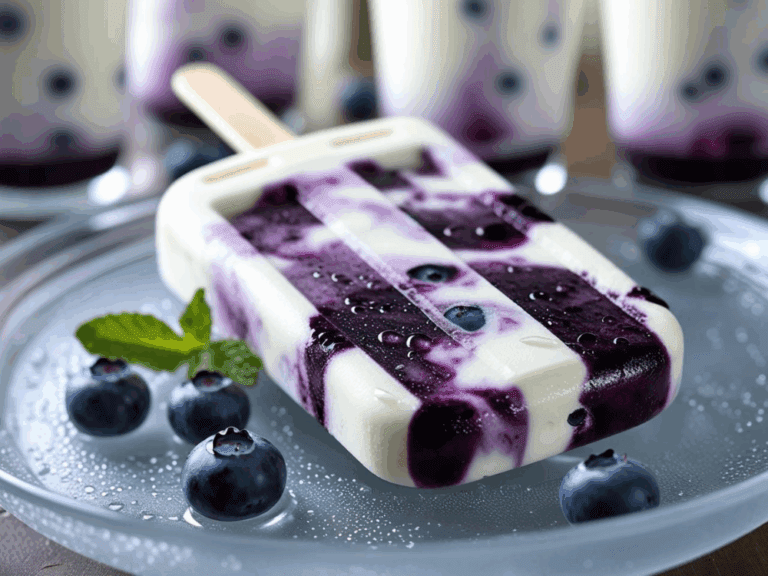
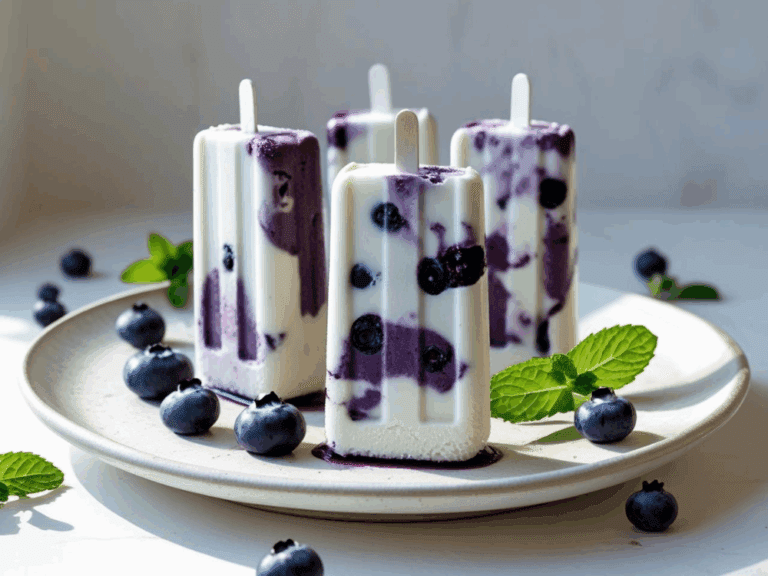
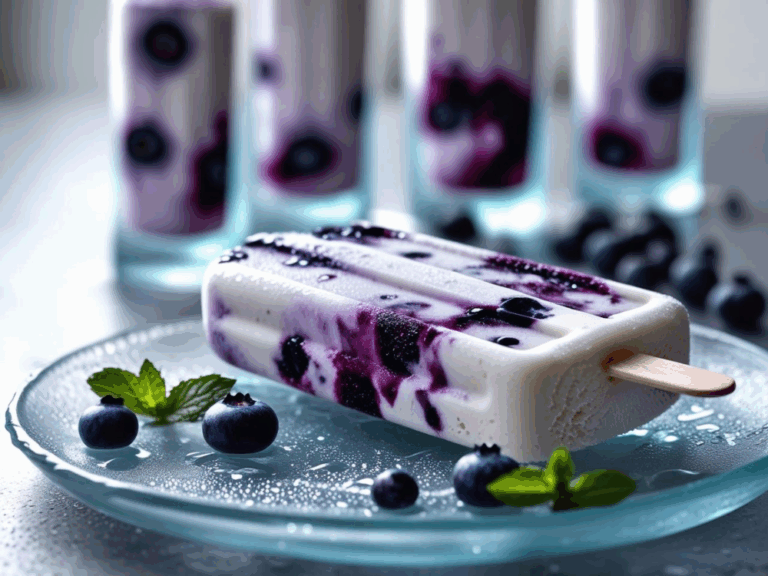
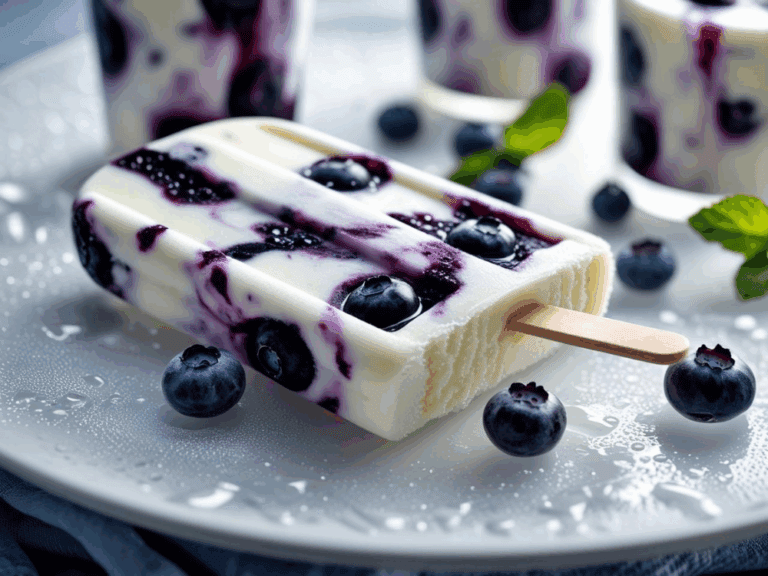
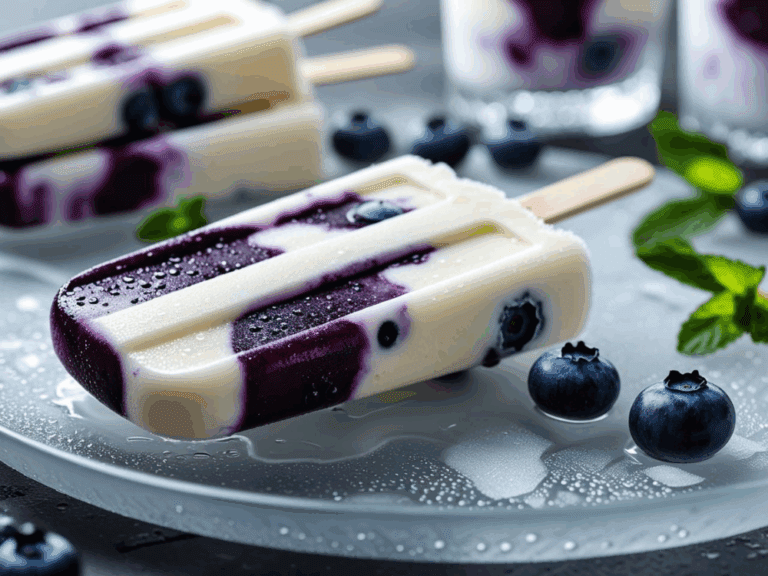
Blueberry Yogurt Popsicles
Equipment
- Blender or Food Processor: For blending the blueberries to a smooth consistency.
- Mixing Bowl: To mix the Greek yogurt, sweetener, and vanilla extract.
- Measuring Cups and Spoons: For accurately measuring the ingredients.
- Popsicle Molds: To form the popsicles. If you don't have molds, you can use small paper cups.
- Popsicle Sticks: To insert into the molds for easy handling of the frozen popsicles.
- Skewer or Thin Knife: To swirl the yogurt and blueberry mixtures for a marbled effect (optional).
- Spoon or Spatula: For layering the mixtures into the molds.
- Freezer: To freeze the popsicles until solid.
Ingredients
- 2 Cups Fresh blueberries
- 2 Cups Greek yogurt (plain or vanilla)
- 1/4 Cup Honey or maple syrup (adjust to taste)
- 1 Tsp Vanilla extract
- 1 Tbsp Lemon juice (optional, for a tangy twist)
Instructions
- Prepare the Blueberries:Rinse the fresh blueberries under cold water and pat them dry.In a blender or food processor, blend the blueberries until smooth. If you prefer chunks of fruit in your popsicles, blend only half of the blueberries and keep the rest whole.
- Sweeten the Yogurt:In a mixing bowl, combine the Greek yogurt, honey or maple syrup, and vanilla extract. Mix well until the sweetener is fully incorporated.For an extra layer of flavor, add the lemon juice to the yogurt mixture and stir.
- Layer the Popsicles:Begin by spooning a layer of the yogurt mixture into the popsicle molds.Follow with a layer of blended blueberries. Repeat the layers until the molds are filled, leaving a little space at the top to allow the mixture to expand as it freezes.Use a skewer or a thin knife to gently swirl the layers for a marbled effect.
- Insert Sticks and Freeze:Place the popsicle sticks into the molds.Freeze the popsicles for at least 4-6 hours, or until they are completely solid.
- Unmold and Enjoy:To release the popsicles, run the molds under warm water for a few seconds.Gently pull on the sticks to remove the popsicles.