One of the best parts about Chocolate-Dipped Banana Ghosts is that they don’t require fancy equipment — just a few simple tools you may already have in your kitchen. Having the right gear on hand makes the process faster, cleaner, and way more fun, especially if you’re making a big batch for a party or decorating with kids.
Essential Tools for Banana Ghosts 

Popsicle Sticks – These make it easy to hold the banana halves while dipping and give your ghosts a classic “lollipop” feel. Reusable silicone popsicle sticks are eco-friendly and sturdy, while wooden ones are inexpensive and disposable.
Chocolate Melting Pot – Smooth chocolate is the secret to perfect ghosts. A microwave-safe bowl works well, but a dedicated chocolate melting pot keeps chocolate warm and silky for longer decorating sessions.
Parchment Paper – Absolutely essential for setting your dipped ghosts! Without it, the chocolate will stick to the tray and ruin their smooth shape.
Baking Sheet – A flat tray lined with parchment is the perfect base to hold your ghosts while they chill in the fridge or freezer.
Airtight Containers – Ideal for storing leftovers or prepping ahead of time. Look for stackable containers if you plan on making a large batch.
Helpful Extras for Decorating


Reusable Piping Bags or Squeeze Bottles – Great for piping on melted chocolate details like smiles, fangs, or spooky eyebrows.
Candy Eyes – For guests who love extra personality on their ghosts.
Having these extras on hand makes decorating more creative and fun, especially when kids are involved.
Why the Right Equipment Matters

Using proper tools saves time and reduces frustration. Parchment paper keeps ghosts smooth and easy to lift, a chocolate melting pot prevents your chocolate from clumping, and airtight containers help your ghosts stay fresh longer. With the right setup, you’ll spend less time fixing mistakes and more time enjoying your spooky creations.
Pro Tip

Turn the process into a party activity! Set up a Banana Ghost Decorating Station with bowls of toppings, extra piping bags, and a few platters. Guests can decorate their own ghosts, then you can store them easily on parchment-lined trays.
The truth is, you don’t need to be a professional baker to make banana ghosts look amazing — you just need the right tools. With a few smart investments, your kitchen will be Halloween-ready for years to come.
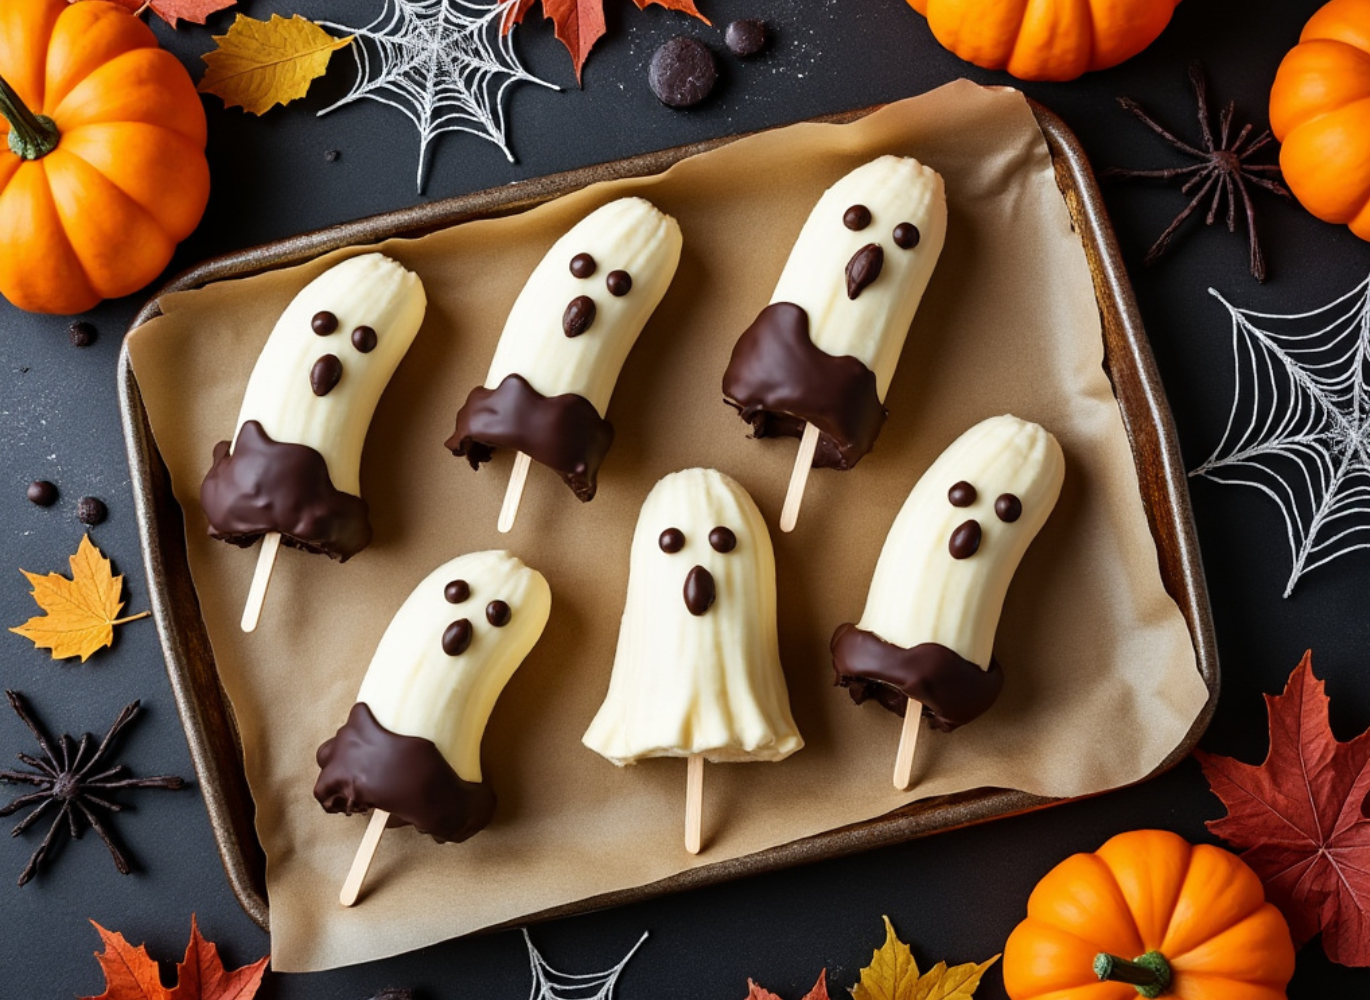
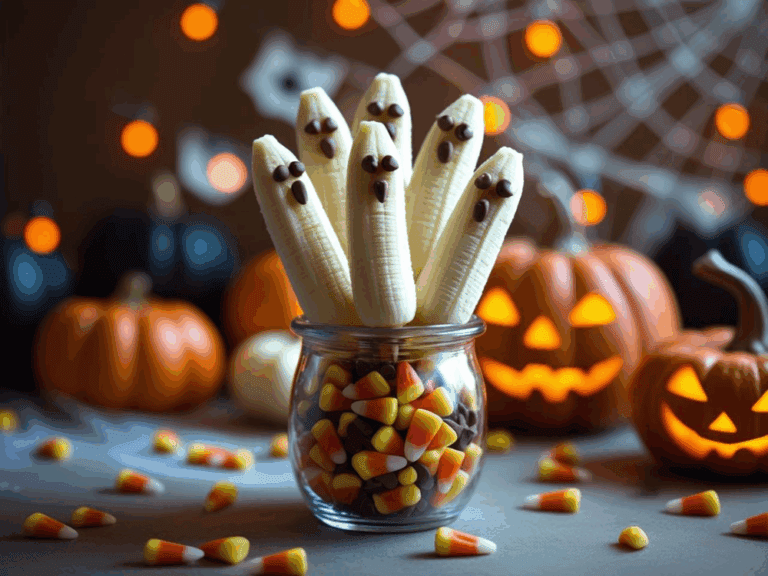
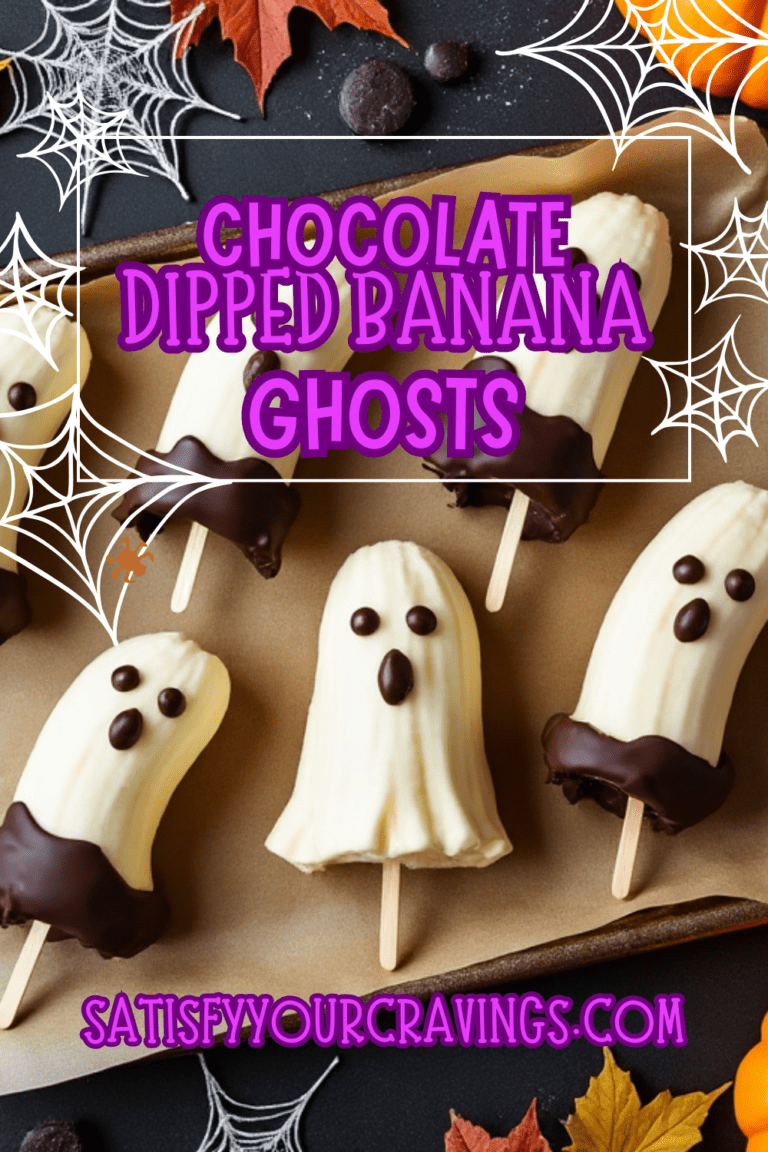
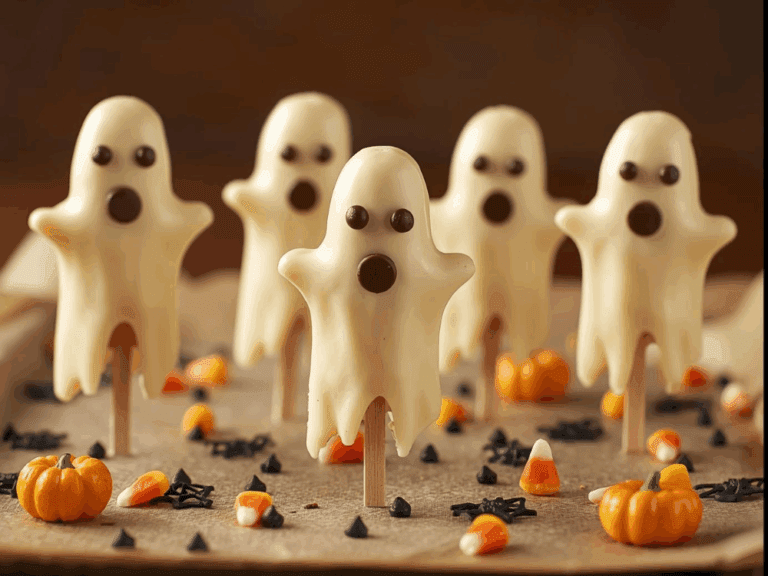
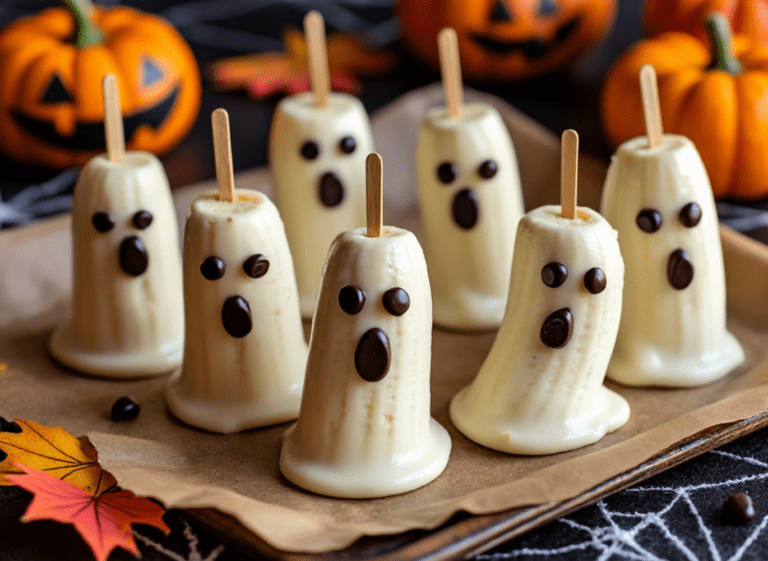
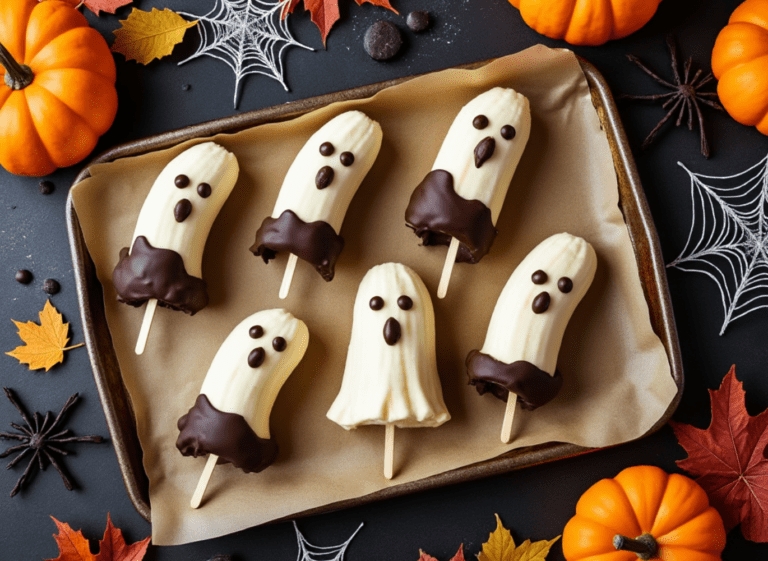
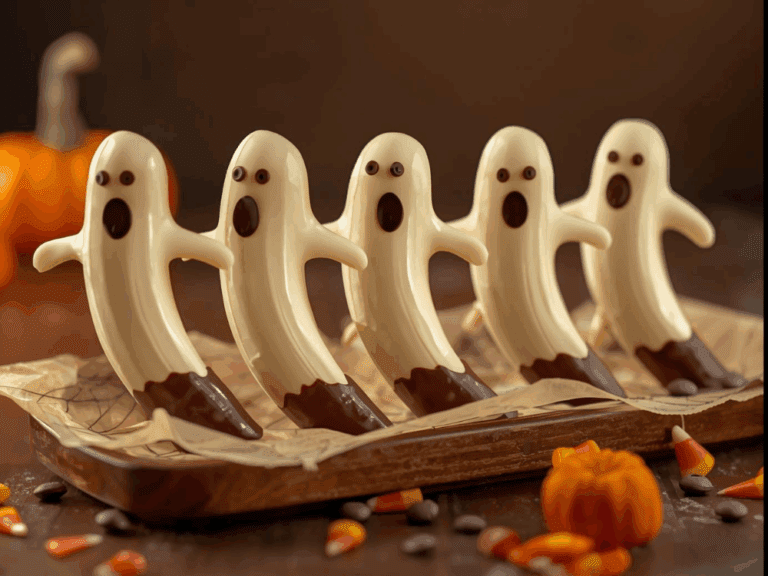
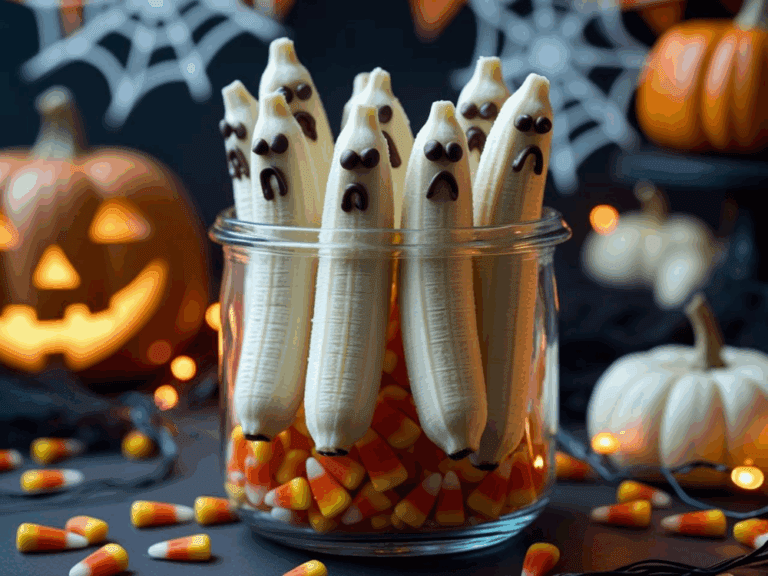
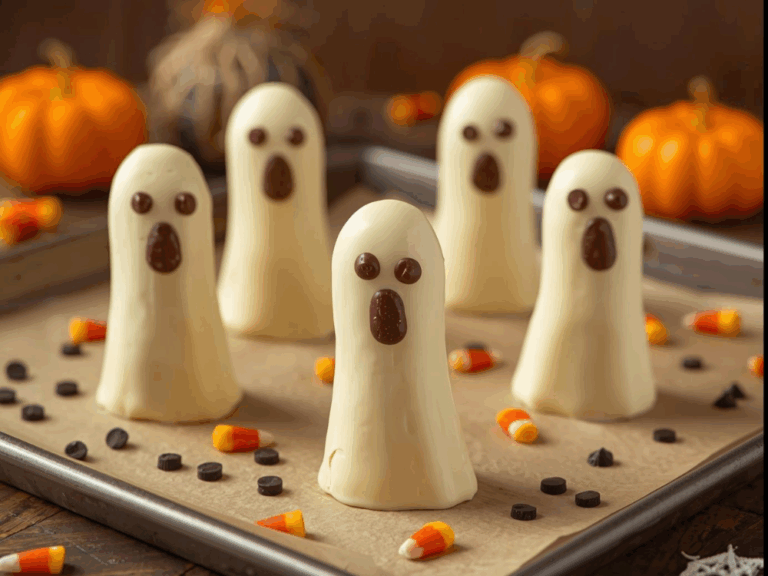
Chocolate Dipped Banana Ghosts for Halloween
Equipment
- Cutting board and knife: To slice the bananas in half.
- Popsicle sticks or wooden skewers: To insert into the banana halves for easy dipping.
- Baking sheet: To place the bananas on for freezing and after dipping.
- Parchment paper or wax paper: To line the baking sheet and prevent the bananas from sticking.
- Microwave-safe bowl or double boiler: For melting the chocolate.
- Spoon: To help coat the bananas with melted chocolate if needed.
- Freezer: To freeze the bananas before dipping and after decorating.
- Small bowl for decorations: To hold mini chocolate chips, candy eyes, or other toppings for decorating.
Ingredients
- 4 Ripe bananas
- 1 Cup Dark chocolate chips (or semi-sweet, if preferred)
- 1 Tbsp Coconut oil (optional, for a smoother chocolate coating
- 8 Mini chocolate chips (for ghost eyes)
- 4 Large white candy eyeballs or more mini chocolate chips (for the ghost mouths)
- Popsicle sticks or wooden skewers
Instructions
- Prepare the Bananas:Start by peeling the bananas and cutting them in half. Insert a popsicle stick or wooden skewer into each banana half, making sure it’s secure. Place them on a lined baking sheet and freeze for about 1 hour, or until solid.
- Melt the Chocolate:In a microwave-safe bowl, add the dark chocolate chips and coconut oil (if using). Microwave in 30-second intervals, stirring between each, until the chocolate is fully melted and smooth. Be careful not to overheat it, as this can cause the chocolate to seize.Tip: If you prefer, you can also melt the chocolate using a double boiler for more controlled heating.
- Dip the Bananas:Remove the frozen bananas from the freezer and dip each one into the melted chocolate, coating it evenly. You may need to tilt the bowl or use a spoon to help cover the banana completely. Place the dipped bananas back on the lined baking sheet.
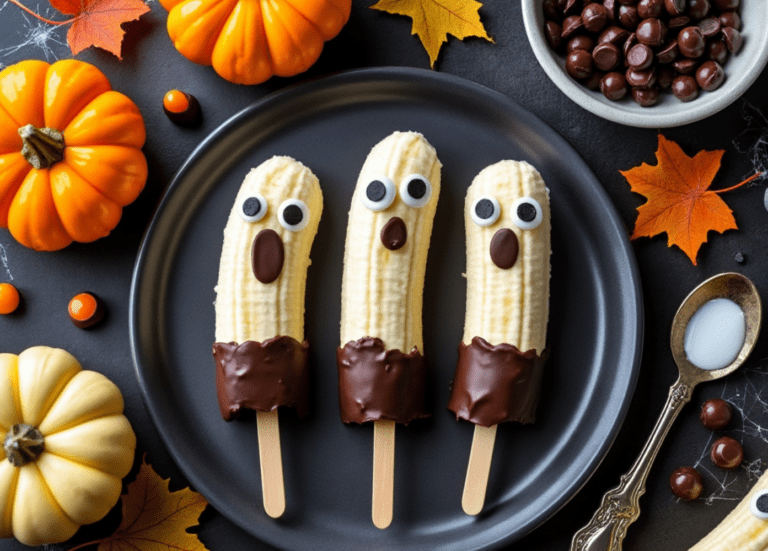
- Add the Faces:While the chocolate is still wet, carefully press two mini chocolate chips into each banana for the eyes and one large candy eyeball (or mini chocolate chip) for the mouth. Get creative with their expressions!
- Chill and Set:Once the bananas are decorated, return them to the freezer for 15-20 minutes to allow the chocolate to fully harden. When ready to serve, let them sit at room temperature for about 5 minutes before enjoying.