Ginger Turmeric Wellness Shots

Kickstart Your Day with Ginger Turmeric Wellness Shots
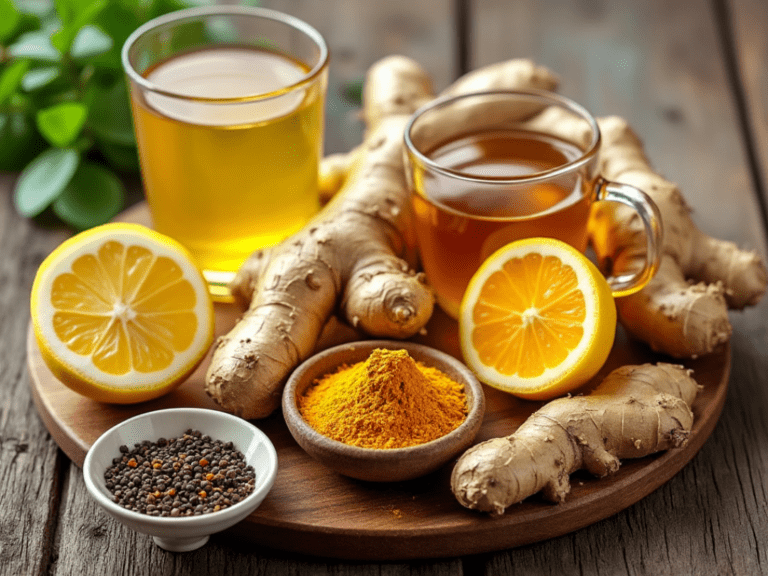
Looking for a quick, natural way to boost your health and energy levels? These Ginger Turmeric Wellness Shots are your answer! Packed with anti-inflammatory and immune-boosting ingredients like fresh ginger, turmeric, and lemon, these shots are a powerful way to support your body’s natural defenses. Whether you’re trying to fight off a cold, improve digestion, or simply kick-start your day, this easy-to-make recipe will quickly become a staple in your wellness routine.
Ginger and turmeric have long been celebrated for their medicinal properties, especially in reducing inflammation and promoting overall wellness. By combining them with the tangy brightness of lemon and a dash of black pepper to enhance turmeric’s absorption, this wellness shot delivers a potent health boost in just a few sips. Plus, it’s versatile enough to tweak to your liking, making it a perfect go-to for anyone looking to feel their best.
Try some of our other recipes!

Pumpkin & Sweet Potato Soup
Read More

Cuban Breakfast Sandwiches
Read More
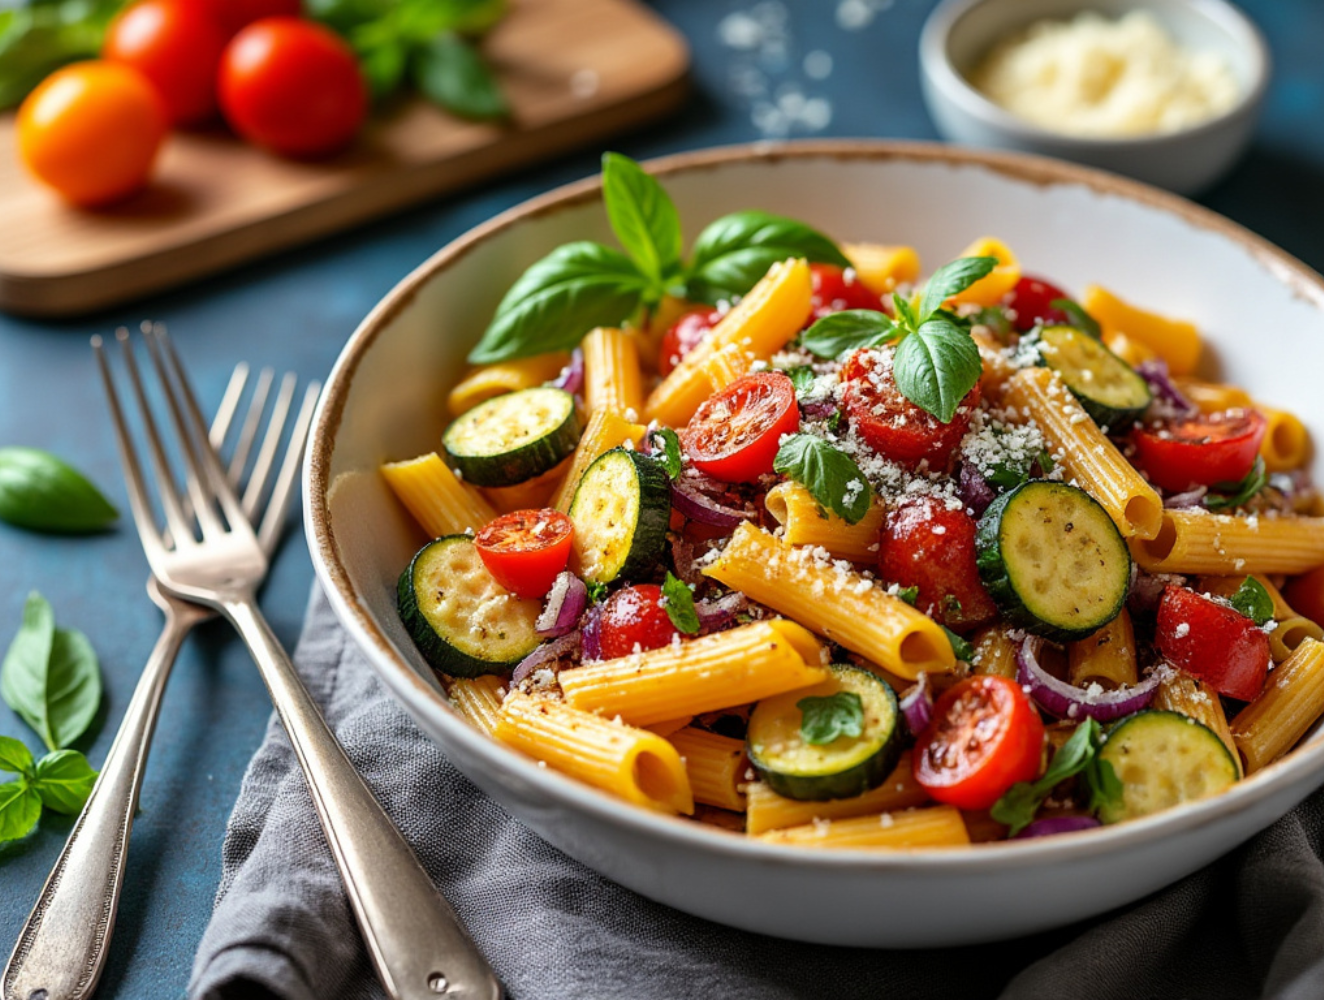
Roasted Veggie Pasta
Read More
Health Benefits of Ginger and Turmeric
Ginger and turmeric have been used for centuries in traditional medicine, and modern science is finally catching up to their incredible health benefits. Ginger is known for its powerful anti-inflammatory and antioxidant effects, helping to reduce muscle soreness, aid digestion, and alleviate nausea. It’s also great for boosting your immune system, especially during cold and flu season.
Turmeric, on the other hand, contains curcumin, a compound renowned for its potent anti-inflammatory properties. It’s been shown to help reduce symptoms of chronic inflammation, support joint health, and even improve brain function. Together, ginger and turmeric create a wellness powerhouse that can help you feel more energized, combat inflammation, and support overall health.
How Often Should You Take Ginger Turmeric Shots?
When it comes to incorporating ginger turmeric wellness shots into your routine, consistency is key. For most people, taking these shots once a day is enough to experience their full range of benefits. Drinking them first thing in the morning on an empty stomach helps your body absorb the nutrients quickly, giving you an immediate health boost.
If you’re using the shots for specific health issues, such as reducing inflammation or boosting your immune system, you may want to take them up to twice a day. However, as with any supplement, it’s important to listen to your body and adjust accordingly. Some people may find that every other day works better for them, especially if the shots feel too strong for daily consumption.
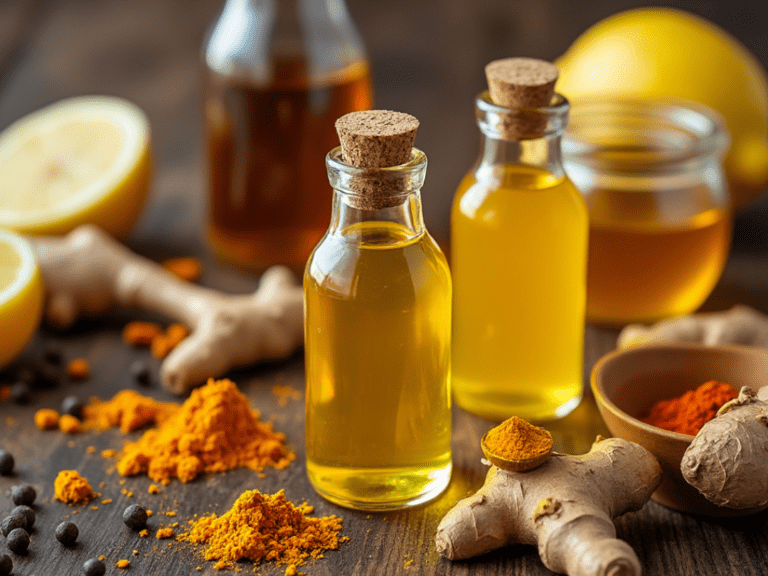
Customize Your Ginger Turmeric Shots with These Variations
-
Spicy Ginger Turmeric Shot: If you enjoy a little extra kick, add a pinch of cayenne pepper or a slice of fresh jalapeño. This not only brings some heat but can also help boost your metabolism and promote circulation.
-
Citrus Blend Shot: For a tangier version, add a splash of freshly squeezed orange juice or grapefruit juice. The citrus enhances the flavor and adds a dose of vitamin C for an extra immune boost.
-
Green Wellness Shot: Amp up the nutrients by blending in a handful of fresh spinach or kale. This variation turns your shot into a green powerhouse packed with antioxidants and vitamins without changing the flavor too much.
-
Superfood Boost: Add a teaspoon of superfood powders like spirulina, chlorella, or wheatgrass to give your wellness shot an added nutritional boost. These are great for detoxifying the body and providing essential nutrients.
-
Sweet and Fruity: If the strong flavors of ginger and turmeric are too bold for you, balance them with a touch of sweetness by adding apple juice or pineapple juice. These fruits complement the spiciness and make the shot more palatable, especially for first-timers.
-
Honey Lemon Ginger Shot: If you’re not a fan of turmeric, stick to a classic honey-lemon-ginger combo. This version is great for soothing sore throats and is a milder but still potent option.
-
Coconut Water Base: For a more hydrating and refreshing take, use coconut water as the base instead of filtered water. This adds electrolytes and natural sweetness to the shot while keeping it light and healthy.
Each of these variations allows you to customize your ginger turmeric wellness shots to fit your taste preferences or specific health goals. Feel free to experiment with different combinations and find the one that works best for you!


Ginger Turmeric Wellness Shots
Ingredients
Equipment
Method
- Prep the Ingredients: Start by peeling the ginger and turmeric roots. Use a spoon to scrape the skin off for minimal waste. Roughly chop them into smaller pieces to make blending easier.
- Blend It All Together: In a high-powered blender, combine the ginger, turmeric, lemon juice, black pepper, and coconut water. Blend on high until smooth, making sure all the ingredients are fully incorporated.
- Strain the Mixture: Pour the blended mixture through a fine mesh strainer or cheesecloth into a bowl or jug. Use a spoon to press down, extracting as much juice as possible. This step helps eliminate the pulp, leaving you with a silky, easy-to-drink shot.
- Sweeten to Taste: If the shot is too strong for your liking, stir in honey or maple syrup to balance the bold flavors of ginger and turmeric.
- Serve and Store: Pour the liquid into small shot glasses. If you have extra, store it in an airtight container in the fridge for up to five days. Shake well before serving as the ingredients tend to settle.
- Enjoy: Take your shot first thing in the morning on an empty stomach or before a meal for optimal absorption.
Notes
How to Make Ginger Turmeric Shots Without a Juicer or Blender
If you don’t have a juicer or blender, you can still make Ginger Turmeric Wellness Shots with just a grater and a bit of elbow grease. Start by finely grating the ginger and turmeric roots using a microplane or small grater. Once grated, transfer the mixture into a bowl, add the lemon juice, black pepper, and water. Stir well to combine. Next, use a fine mesh strainer or cheesecloth to press the juice out of the grated ginger and turmeric. Squeeze out as much liquid as possible. You can add honey or maple syrup for sweetness if desired. Pour into shot glasses and enjoy your homemade wellness shot—no fancy equipment required!Make Ahead and Storage
Ginger Turmeric Wellness Shots are perfect for making ahead and enjoying throughout the week. You can easily prepare a batch and store it in the fridge for up to 5 days. Simply pour the strained juice into an airtight container, like a glass jar or bottle, and keep it chilled. Before drinking, give the container a good shake, as the ingredients may settle over time. These shots are great for quick, grab-and-go servings in the morning or whenever you need a health boost. If you want to make an even larger batch, the shots can also be frozen in ice cube trays for up to 1 month—just thaw and enjoy as needed!Best Time to Drink Ginger Turmeric Shots
To maximize the benefits of your ginger turmeric wellness shots, timing matters. The best time to take them is first thing in the morning on an empty stomach. This allows your body to absorb the nutrients more efficiently, giving you an energy boost to kickstart your day. Plus, taking them before breakfast can aid digestion and help set a healthy tone for the rest of the day.
You can also drink a shot before meals to aid digestion and reduce inflammation, especially after a heavier meal. Some people like to take them in the afternoon as a natural pick-me-up instead of relying on caffeine. Whenever you choose to take your ginger turmeric shot, you’ll be giving your body a quick dose of wellness that fits easily into your daily routine.

A Simple Way to Boost Your Health, One Shot at a Time
These Ginger Turmeric Wellness Shots offer an easy and effective way to incorporate powerful, natural ingredients into your daily routine. With their bold flavors and health benefits, they are perfect for anyone looking to enhance their wellness regimen. Whether you’re starting your day or need a mid-afternoon pick-me-up, these shots will provide a quick burst of energy and support for your immune system.
We hope you enjoy this recipe as much as we do! Give it a try and feel the difference in your health. Don’t forget to share your experience in the comments, and if you’re looking for more easy, healthy recipes, be sure to subscribe to Satisfy Your Cravings. Let’s continue this journey toward better health—one wellness shot at a time!
Grilled Portobello Mushrooms: The Perfect Meat-Free Delight
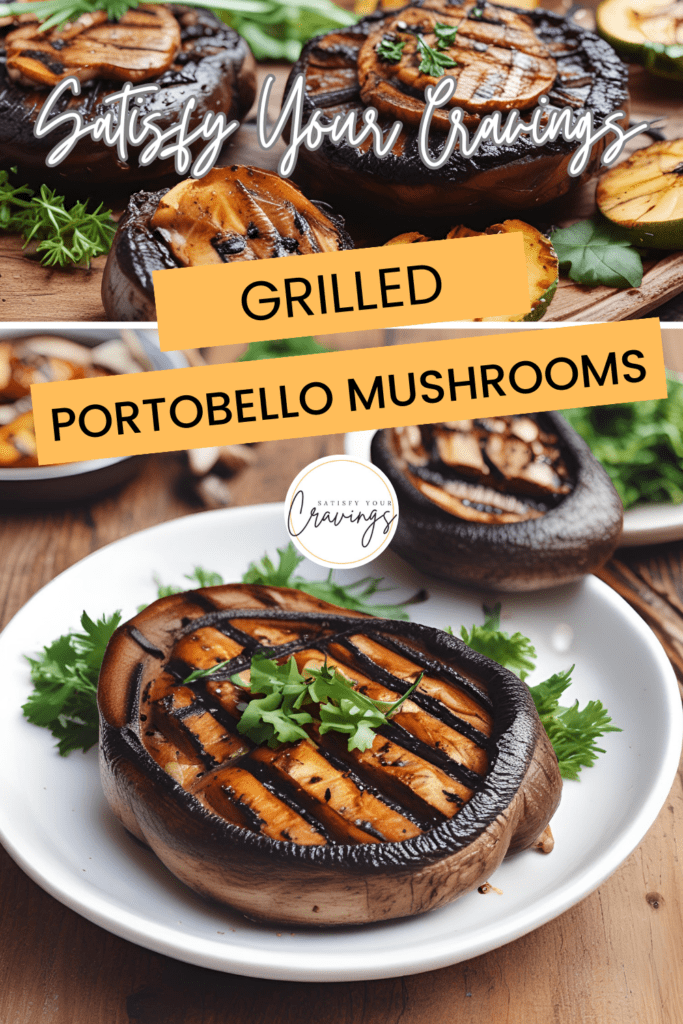
Unlock the Flavor: Grilled Portobello Mushrooms Made Easy
Are you looking for a delicious and healthy alternative to your usual grilled fare? Look no further! This Grilled Portobello Mushrooms recipe is a game-changer. Whether you’re a seasoned grill master or a novice in the kitchen, this recipe will quickly become a favorite. Perfect for vegetarians, vegans, or anyone seeking a hearty, flavorful dish, these grilled mushrooms are a versatile addition to any meal.
Imagine sinking your teeth into a juicy, smoky mushroom cap that’s been marinated to perfection. The rich, meaty texture of Portobello mushrooms makes them an excellent substitute for traditional meats. Plus, they’re packed with nutrients and low in calories, making them a healthy choice for any diet.
In this post, you’ll discover step-by-step instructions to achieve the perfect grilled Portobello mushrooms, tips for enhancing their flavor, and creative variations to keep your taste buds excited. By the end of this article, you’ll be ready to impress your family and friends with a dish that’s both nutritious and incredibly satisfying. Let’s get grilling!
Try some of our other recipes!

Pumpkin & Sweet Potato Soup
Read More

Cuban Breakfast Sandwiches
Read More

Roasted Veggie Pasta
Read More
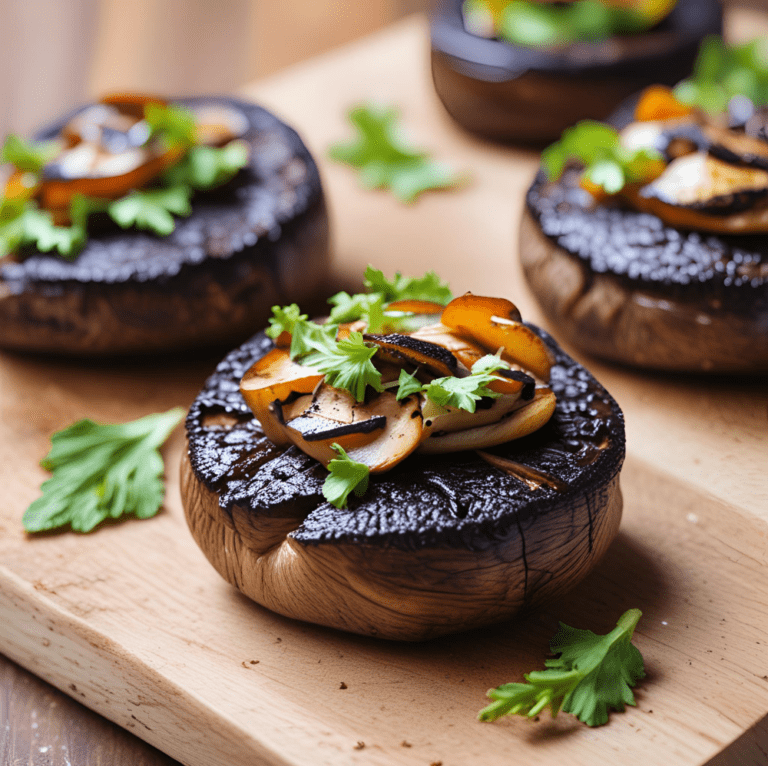
Common Mistakes to Avoid When Making Grilled Portobello Mushrooms
Grilled Portobello mushrooms are a delicious and healthy addition to any meal, but there are some common mistakes that can affect the outcome. Here are the top pitfalls to watch out for and how to avoid them:
-
Skipping the Marinade:
- Mistake: Not marinating the mushrooms long enough or skipping the marinade entirely.
- Solution: Marinate the mushrooms for at least 30 minutes to ensure they absorb the flavors and remain moist during grilling.
-
Not Cleaning the Mushrooms Properly:
- Mistake: Washing mushrooms under running water, causing them to become waterlogged.
- Solution: Use a damp paper towel to gently wipe the mushrooms clean to avoid excess moisture.
-
Overcrowding the Grill:
- Mistake: Placing too many mushrooms on the grill at once, leading to uneven cooking.
- Solution: Leave enough space between mushrooms to ensure they cook evenly and get those beautiful grill marks.
-
Using High Heat:
- Mistake: Grilling the mushrooms over too high heat, causing them to burn on the outside and remain raw inside.
- Solution: Grill over medium-high heat for even cooking and to prevent charring.
-
Overcooking:
- Mistake: Leaving the mushrooms on the grill for too long, resulting in a rubbery texture.
- Solution: Grill for 5-7 minutes per side or until tender, but not mushy.
-
Not Oiling the Grill Grates:
- Mistake: Forgetting to oil the grill grates, causing the mushrooms to stick.
- Solution: Lightly oil the grill grates before placing the mushrooms to prevent sticking.
-
Removing the Gills (or Not):
- Mistake: Not knowing whether to remove the gills or not, leading to excess moisture or a bitter taste.
- Solution: Removing the gills can prevent excess moisture and a bitter flavor, but it’s optional based on personal preference.
-
Inconsistent Sizing:
- Mistake: Grilling mushrooms of varying sizes together, leading to uneven cooking.
- Solution: Choose mushrooms of similar size or adjust cooking times accordingly.
-
Ignoring Resting Time:
- Mistake: Serving the mushrooms immediately without allowing them to rest, causing loss of juices.
- Solution: Let the mushrooms rest for a few minutes after grilling to allow the juices to redistribute.
-
Neglecting to Season Properly:
- Mistake: Not seasoning the mushrooms adequately, resulting in bland flavor.
- Solution: Season the marinade well with salt, pepper, and herbs to enhance the mushrooms’ natural flavors.
Avoiding these common mistakes will help you achieve perfectly grilled Portobello mushrooms every time, ensuring a delicious and satisfying dish that everyone will love.
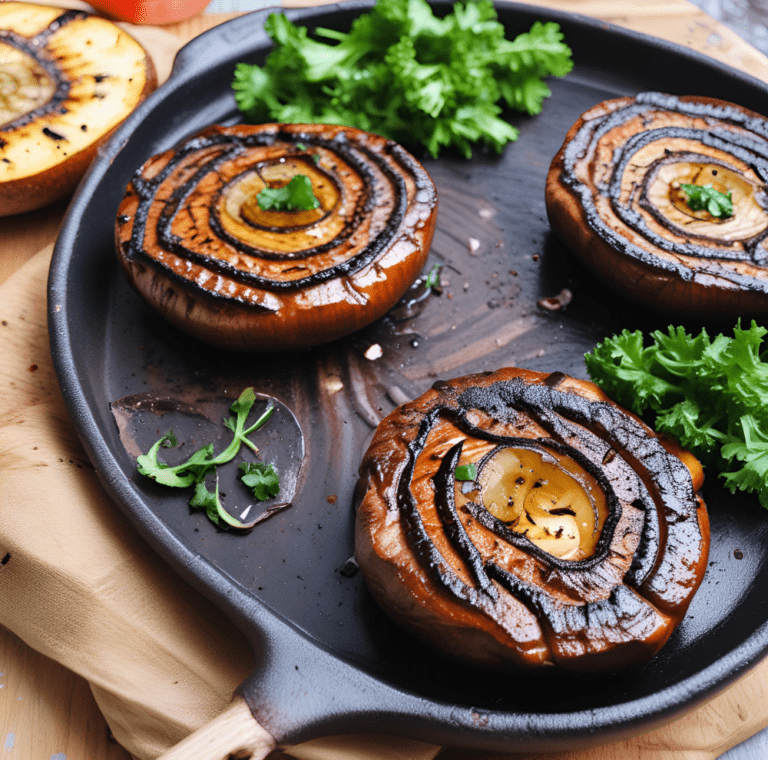
Mushroom Mastery: Tips and Twists to Elevate Your Grilled Portobellos
Tips for Grilled Portobello Perfection
-
Use Fresh Herbs:
- Fresh herbs like rosemary, thyme, or basil can add a burst of flavor to your marinade. Chop them finely and mix them in for an aromatic twist.
-
Add a Splash of Citrus:
- A squeeze of lemon or lime juice can brighten up the flavors of your mushrooms. Add it to the marinade or sprinkle it on top just before serving.
-
Try Different Oils:
- Experiment with different oils like avocado oil or sesame oil for a unique taste. Each oil can bring a different flavor profile to your dish.
-
Cheese, Please:
- Add a slice of your favorite cheese on top of the mushrooms during the last few minutes of grilling. Melted cheese adds a delicious, creamy layer of flavor.
-
Smoky Flavor:
- For an extra smoky flavor, use a smoker box with wood chips on your grill. Hickory or mesquite can give your mushrooms a rich, smoky taste.
-
Perfect Pairing:
- Serve your grilled mushrooms with a side of quinoa, couscous, or a fresh salad. These sides complement the mushrooms’ earthy flavors and make for a well-rounded meal.
Variations to Keep Things Interesting
-
Mediterranean Delight:
- Top your grilled mushrooms with a mixture of chopped tomatoes, olives, feta cheese, and fresh oregano for a Mediterranean twist.
-
Asian-Inspired:
- Marinate the mushrooms in a blend of soy sauce, ginger, garlic, and sesame oil. Serve with a side of stir-fried vegetables and jasmine rice for an Asian-inspired meal.
-
Italian Flair:
- After grilling, top the mushrooms with marinara sauce and shredded mozzarella cheese. Place them back on the grill or under the broiler until the cheese is melted and bubbly.
-
Spicy Kick:
- Add some heat to your marinade with sriracha, crushed red pepper flakes, or cayenne pepper. Serve with a cooling cucumber salad to balance the spice.
-
Stuffed Mushrooms:
- Before grilling, stuff the mushroom caps with a mixture of sautéed spinach, garlic, and ricotta cheese. Grill until the filling is hot and the mushrooms are tender.
-
Herb Butter Finish:
- Top the grilled mushrooms with a pat of herb butter (mix softened butter with chopped herbs, garlic, and a pinch of salt). Let it melt over the mushrooms for a rich, flavorful finish.
-
Taco Night:
- Slice the grilled mushrooms and use them as a filling for tacos. Top with avocado, cilantro, and a squeeze of lime for a delicious vegetarian taco option.
-
Portobello Pizza:
- Use the mushroom caps as a base for mini pizzas. Add your favorite pizza toppings and grill until the cheese is melted and bubbly.
These tips and variations will help you take your grilled Portobello mushrooms to the next level. Whether you’re sticking to the classic recipe or experimenting with new flavors, you’re sure to impress your family and friends with this versatile and delicious dish. Happy grilling!

Grilled Portobello Mushrooms
Ingredients
Method
- Prepare the Mushrooms:Clean the Portobello mushrooms by gently wiping them with a damp paper towel. Remove the stems and use a spoon to scrape out the gills if desired (this step is optional but can help reduce moisture).Tip: Removing the gills can help the mushrooms absorb the marinade better and prevent them from becoming too watery.
- Make the Marinade:In a small bowl, whisk together the olive oil, balsamic vinegar, minced garlic, oregano, basil, salt, and pepper.Tip: For a smoother marinade, you can blend the ingredients in a food processor.
- Marinate the Mushrooms:Place the mushrooms in a large resealable plastic bag or a shallow dish. Pour the marinade over the mushrooms, making sure they are evenly coated. Let them marinate for at least 30 minutes, or up to 2 hours for a more intense flavor.Tip: Turning the mushrooms occasionally helps them marinate evenly.
- Preheat the Grill:Heat your grill to medium-high heat. If using a gas grill, preheat it for about 10 minutes. If using a charcoal grill, wait until the coals are covered with gray ash.Tip: To prevent the mushrooms from sticking, oil the grill grates lightly.
- Grill the Mushrooms:Place the marinated mushrooms on the grill, gill side down. Grill for about 5-7 minutes, then flip and grill for another 5-7 minutes, or until the mushrooms are tender and have nice grill marks.Tip: Use a grill basket or skewers to make flipping easier and prevent the mushrooms from falling apart.
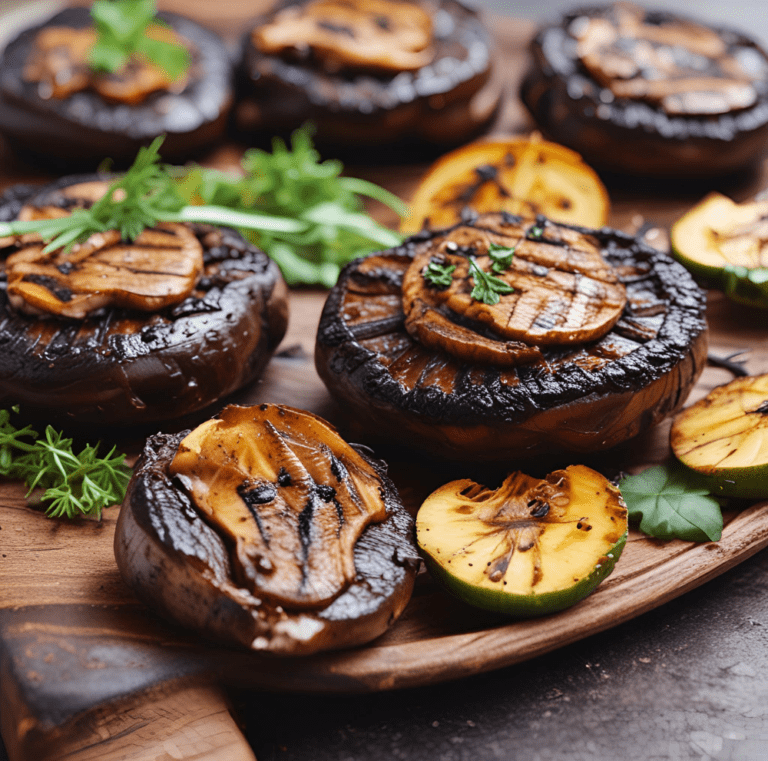
Share the Love: Enjoy and Engage!
Grilled Portobello mushrooms are more than just a meal—they’re a celebration of flavor and health. Whether you’re enjoying them as a hearty main course, a savory side, or a delightful burger substitute, these mushrooms are sure to impress. Their rich, smoky taste and meaty texture make them a favorite at any gathering.
We hope this recipe brings as much joy to your table as it does to ours. Don’t forget to experiment with the variations and make it your own. We’d love to hear about your grilling adventures! Share your experiences, tips, and photos in the comments below. And if you enjoyed this recipe, be sure to subscribe to our blog for more delicious and healthy meal ideas. Happy grilling!
