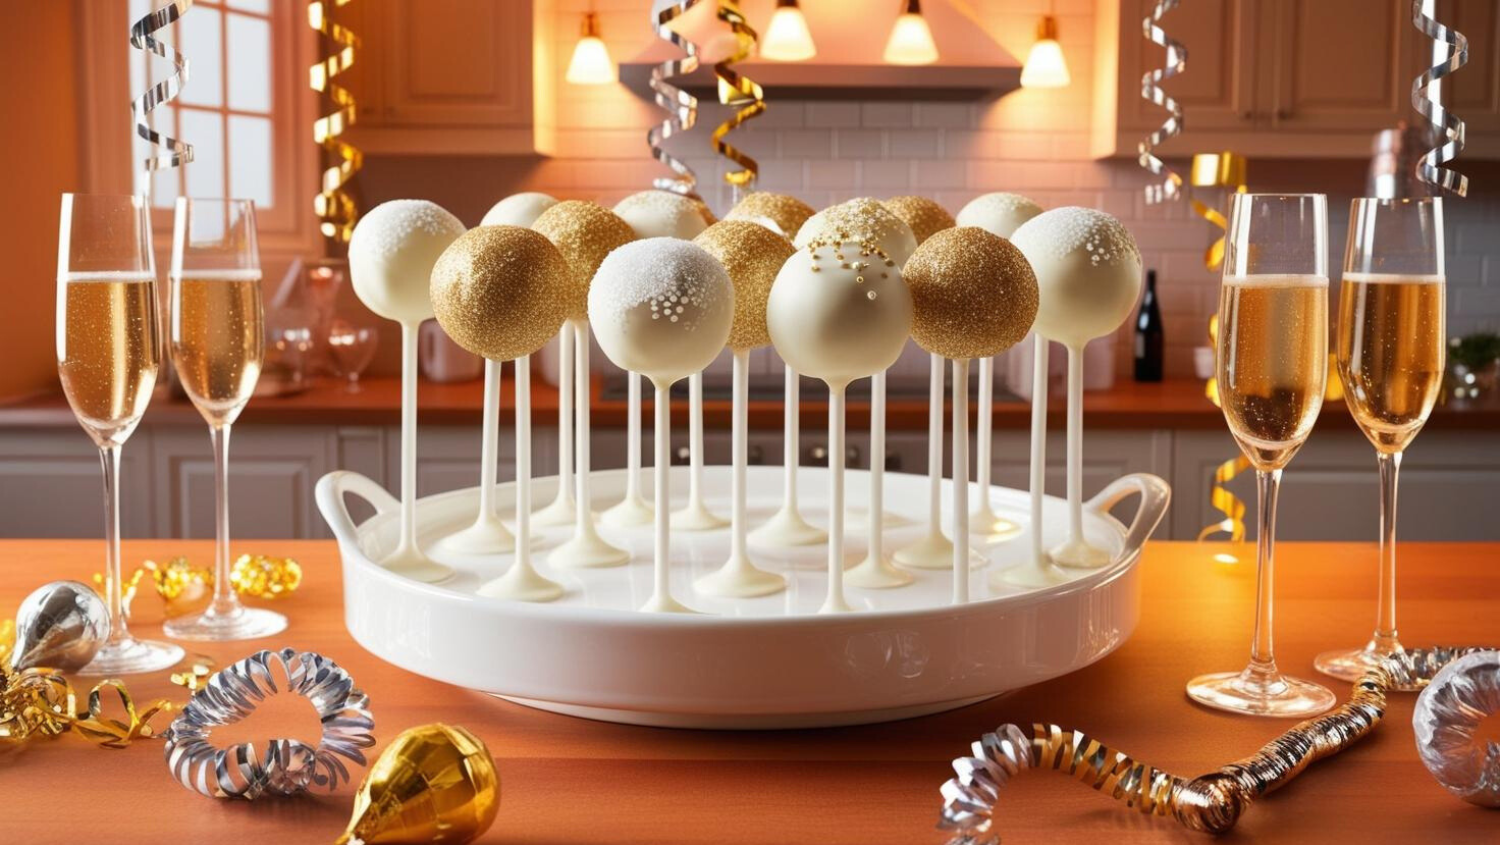
Champagne Cake Pops
Bite-sized elegance meets festive fun with these Champagne Cake Pops! Made with moist cake infused with bubbly champagne and coated in creamy white chocolate, they’re the perfect dessert for New Year’s Eve, weddings, or any celebration. Adorned with edible glitter and sprinkles, these cake pops are as beautiful as they are delicious. Customize them with variations like rosé, chocolate, or non-alcoholic sparkling juice for a treat everyone will love. Easy to make and stunning to serve, these cake pops are guaranteed to impress!
Equipment
- Mixing Bowls – For preparing the cake batter and mixing the frosting.
- 1 Hand Mixer or Stand Mixer – To ensure a smooth and lump-free batter.
- 1 9x13-inch Baking Pan – For baking the cake.
- 1 Cooling Rack – To cool the cake completely before crumbling.
- 1 Fork or Pastry Blender – For crumbling the cake into fine crumbs.
- 1 Spatula or Wooden Spoon – To mix the frosting with the crumbled cake.
- 1 Baking Sheet – For arranging the rolled cake balls.
- 1 Parchment Paper or Wax Paper – To prevent sticking while forming and chilling cake balls.
- 1 Cake Pop Sticks – Essential for creating the classic cake pop look.
- 1 Microwave-Safe Bowl – For melting candy melts or chocolate.
- 1 Microwave – To melt the coating quickly and evenly.
- 1 Tall Mug or Small Bowl – Ideal for dipping cake pops into the melted coating.
- 1 Styrofoam Block or Cake Pop Stand – For holding cake pops upright while the coating dries.
- Measuring cups and spoons – to ensure accurate ingredient measurements
- Decorating Supplies – Such as sprinkles, edible glitter, and piping bags for creative decorations.
- 1 Freezer or Refrigerator – For chilling the cake balls before dipping.
Ingredients
For the Cake:
- 1 Box Of vanilla or white cake mix (or your favorite homemade vanilla cake recipe)
- 1 Cup Champagne (Prosecco or sparkling wine works too)
- 3 Large Eggs
- ½ Cup Vegetable oil
For the Frosting:
- 4 oz (½ cup) Unsalted butter, softened
- 2 Cups Powdered sugar, sifted
- 2-3 tbsp Champagne
- ½ tsp Vanilla extract
For Assembly and Decoration:
- 1 Bag (12 oz) White chocolate or candy melts
- 2 tbsp Vegetable shortening (optional, for smoother coating)
- Edible gold glitter, sprinkles, or pearlized sugar for decoration
- Cake pop sticks
Instructions
Step 1: Bake the Cake
- Preheat your oven to 350°F (175°C) and prepare a 9x13-inch baking dish by greasing it lightly or lining it with parchment paper.
- In a large mixing bowl, combine the cake mix, champagne, eggs, and oil. Beat until smooth and lump-free, about 2 minutes on medium speed.
- Pour the batter into the prepared pan and bake according to the package directions (typically 28–33 minutes) or until a toothpick inserted in the center comes out clean.
- Let the cake cool completely before moving on to the next step.
Step 2: Prepare the Frosting
- In a bowl, beat the butter until light and fluffy.
- Gradually add the powdered sugar, mixing on low speed to avoid a sugar cloud.
- Add champagne and vanilla extract, one tablespoon at a time, until the frosting reaches a creamy, spreadable consistency.
Step 3: Make the Cake Pop Mixture
- Crumble the cooled cake into fine crumbs in a large bowl.
- Add 3–4 tablespoons of frosting to the crumbs and mix with a spatula or your hands until the mixture holds together when pressed. Add more frosting if needed, but avoid making it too wet.
Step 4: Shape the Cake Pops
- Roll the mixture into uniform balls, about 1–1½ inches in diameter. Place them on a baking sheet lined with parchment paper.
- Chill the balls in the freezer for 15–20 minutes or in the refrigerator for 1 hour to firm up.
Step 5: Dip and Decorate
- Melt the white chocolate or candy melts in a microwave-safe bowl, heating in 30-second increments and stirring until smooth. Add shortening for a thinner consistency if desired.
- Dip the tip of each cake pop stick into the melted chocolate, then insert it halfway into a cake ball. This helps secure the stick.
- Dip each cake pop into the melted chocolate, ensuring it's fully coated. Gently tap off the excess.
- Decorate immediately with edible glitter, sprinkles, or pearlized sugar before the coating sets.
- Insert the cake pops into a styrofoam block or stand to dry completely.
Notes
Storage and Transport Tips
Proper storage and transport are essential to keeping your Champagne Cake Pops looking flawless and tasting fresh. Whether you’re preparing them ahead of time for a party or taking them as a gift, these tips will ensure your cake pops stay perfect every step of the way.Storage Tips
-
Room Temperature (Short-Term Storage)
- If you plan to enjoy the cake pops within a day or two, store them at room temperature in an airtight container.
- Place parchment paper between layers to prevent sticking.
- Keep the container in a cool, dry place away from direct sunlight to avoid melting or softening the coating.
-
Refrigeration (Longer Storage)
- For storage up to a week, refrigerate the cake pops in an airtight container.
- Ensure they are fully dry and set before placing them in the fridge to prevent condensation.
- Allow refrigerated cake pops to come to room temperature before serving to enhance flavor and texture.
-
Freezing (Extended Storage)
- Wrap each cake pop individually in plastic wrap to protect against freezer burn.
- Place them in a freezer-safe container with parchment paper between layers.
- Store in the freezer for up to 1 month. Thaw in the refrigerator before serving.
How to Freeze and Reuse Leftovers
Sometimes, you might have a few Champagne Cake Pops left over—or perhaps you want to prepare them in advance. Either way, freezing and reusing leftovers is a fantastic way to keep them fresh and ready for any occasion. How to Freeze Cake Pops- Prepare for Freezing: Once your cake pops are fully coated and decorated, allow them to dry completely.
- Wrap Individually: Wrap each cake pop in plastic wrap or place them in small zip-top bags to prevent freezer burn.
- Store Securely: Arrange the wrapped cake pops in a freezer-safe, airtight container. Place parchment paper between layers to keep them from sticking.
- Freeze: Store the container in the freezer for up to 1 month.
- Thaw Gradually: Remove the cake pops from the freezer and allow them to thaw in the refrigerator for a few hours or overnight.
- Serve at Room Temperature: Once thawed, let the cake pops sit at room temperature for about 30 minutes before serving to enhance their flavor and texture.
- Cake Pop Crumbles: Break leftover cake pops into pieces and use them as toppings for ice cream or yogurt.
- Mini Trifles: Layer cake pop crumbles, whipped cream, and fruit in a glass for an elegant dessert.
- Cake Pop Milkshakes: Blend a few leftover cake pops with vanilla ice cream and milk for a fun and indulgent treat.
